kingcrunch
Full Access Member
Howdy friends of the allmighty, overpowered and fast truck.
Well, this is my first post on this board and i figure i use it to intruduce myself and my project.
Which does not have as much in common with SRT-10 Rams, but you'll learn about it in a second.
My name is Alex, i am located in Germany. I have a knack for Dodge trucks.
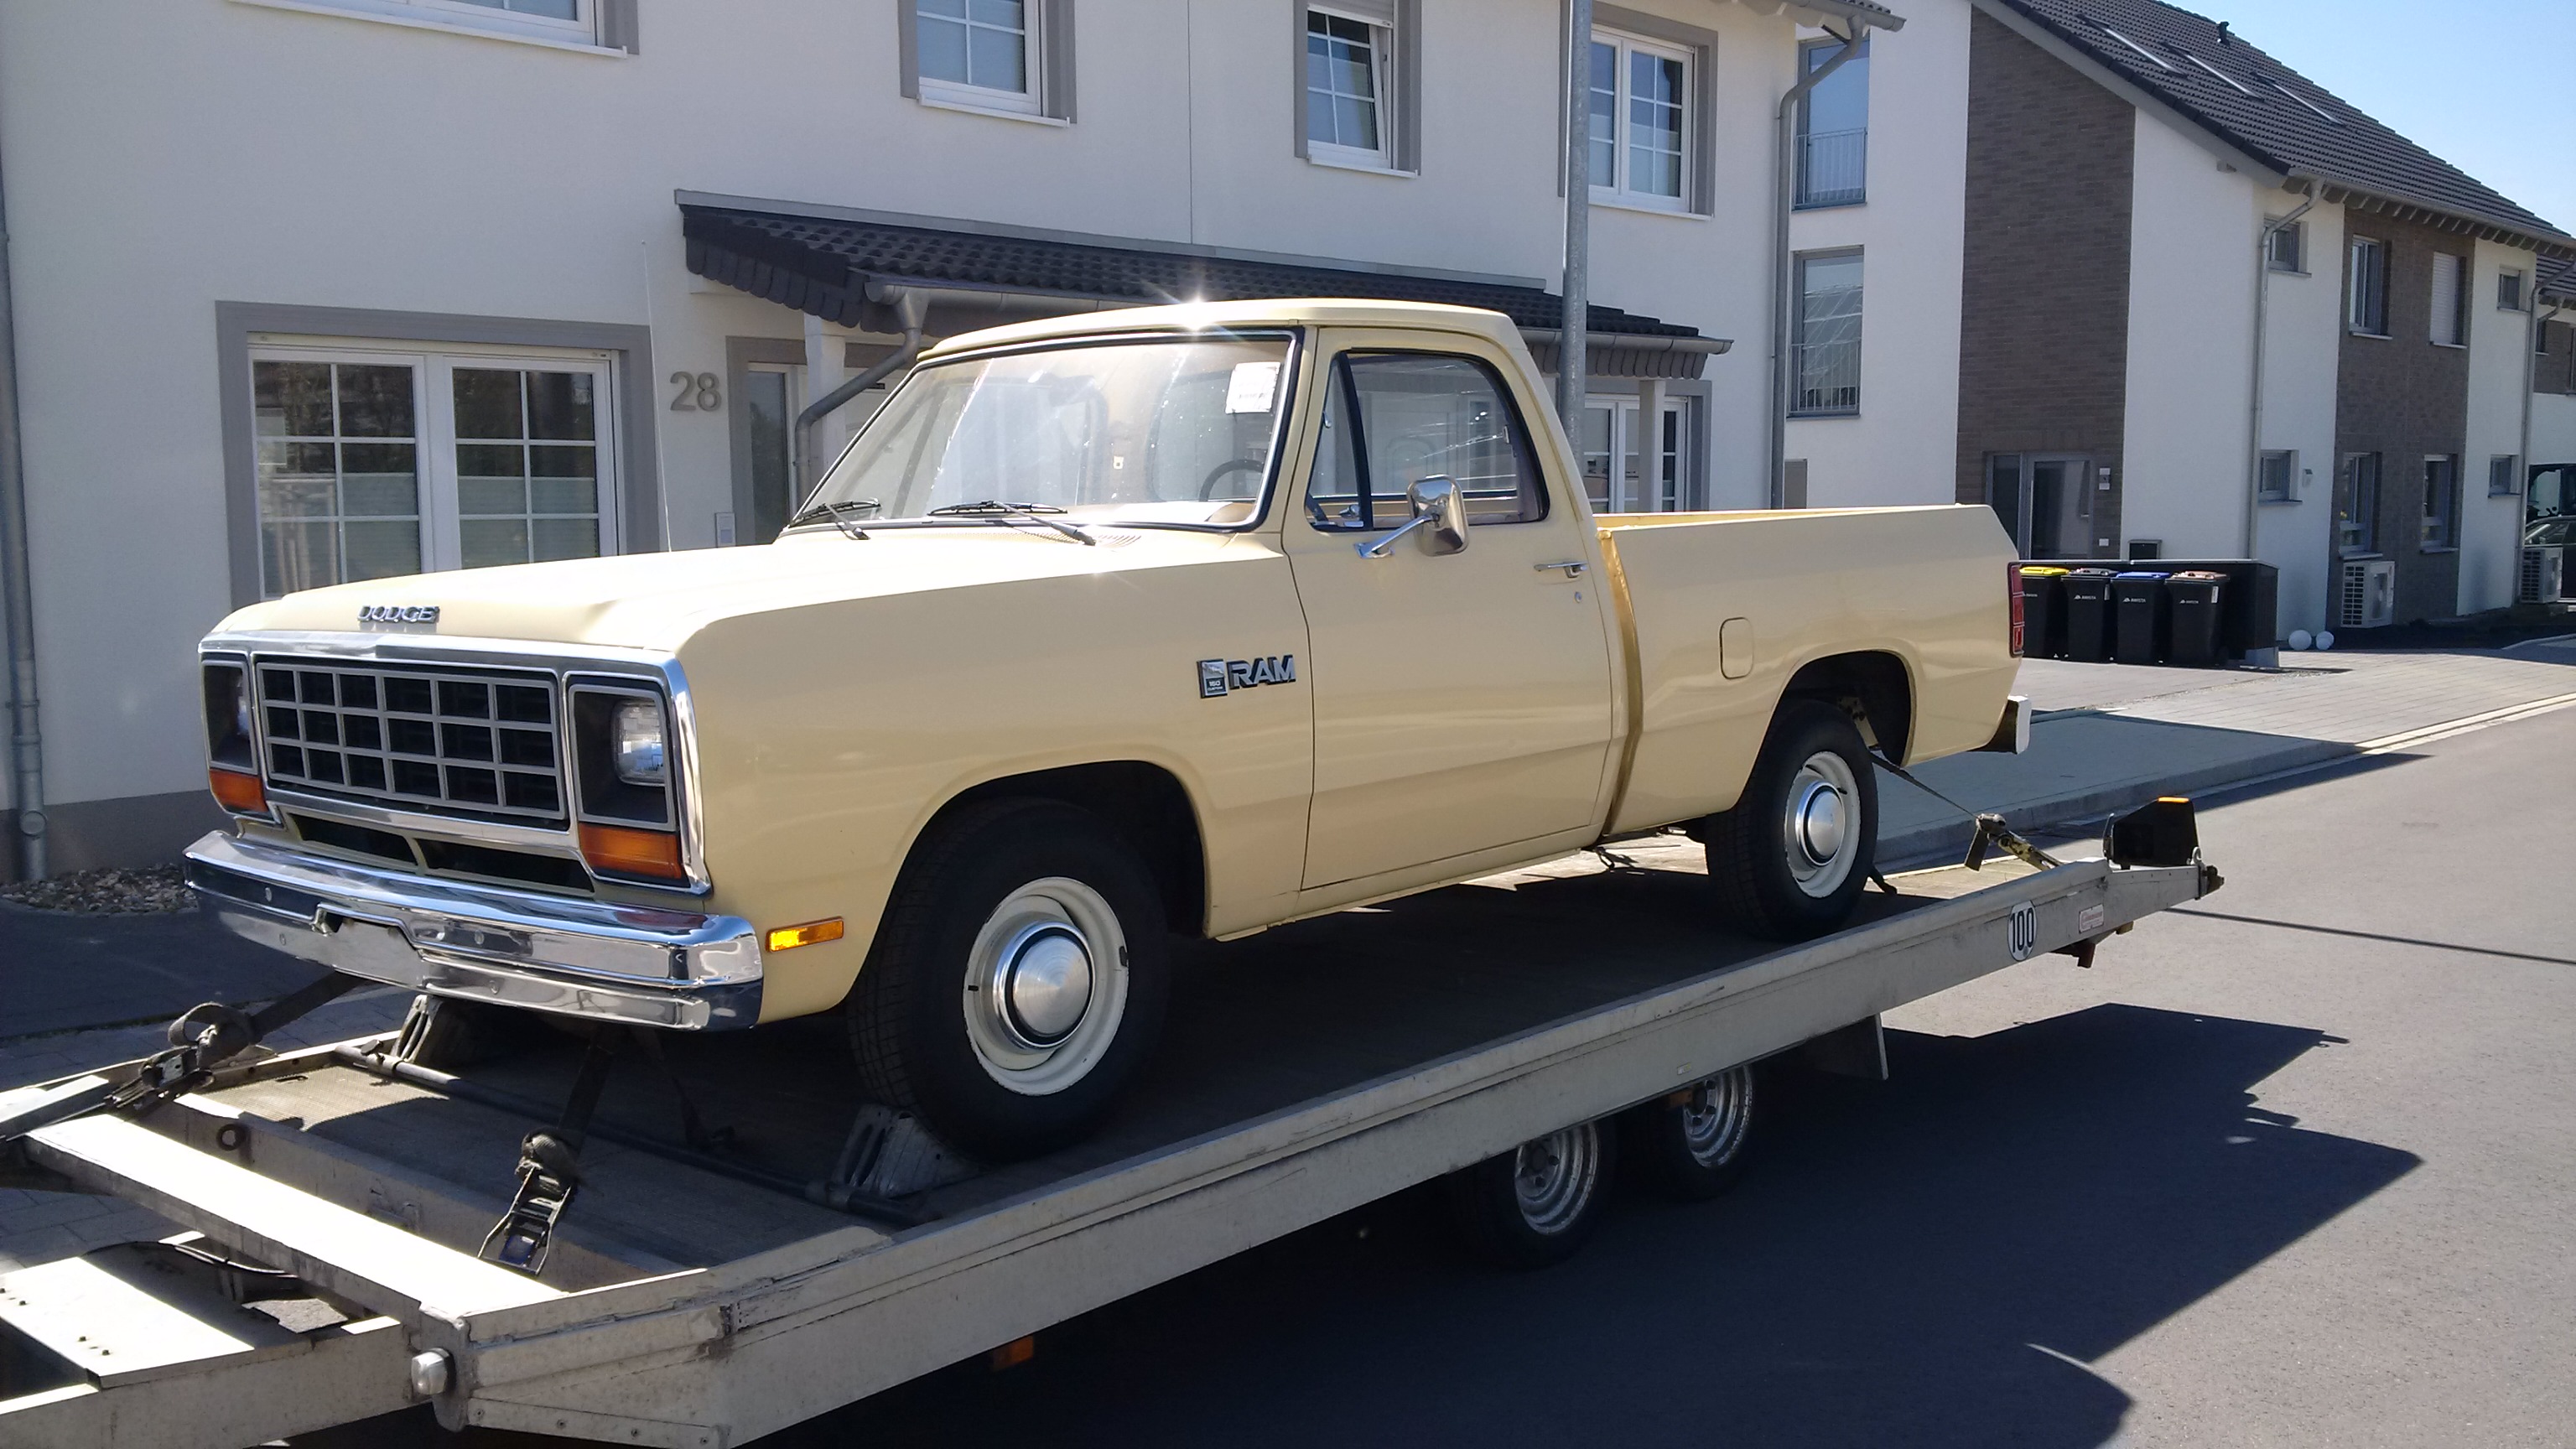
My last truck was a '76 W200, now i own a '85 W250 and a matching '85 D150.
The W250 is in the process of receiving a restoration to stock spec, the D150 on the other hand is in the process of becoming a race truck.
I am not too fond of any Dodge truck design past the 80s, which is why i didn't settle for a 04-06 SRT-10.
If i can't have anything i like from a manufacturer, i am building it myself.
This is kind of my motto.
So when i got bitten by the "race-truck"-bug, i went and bought that '85 D150.
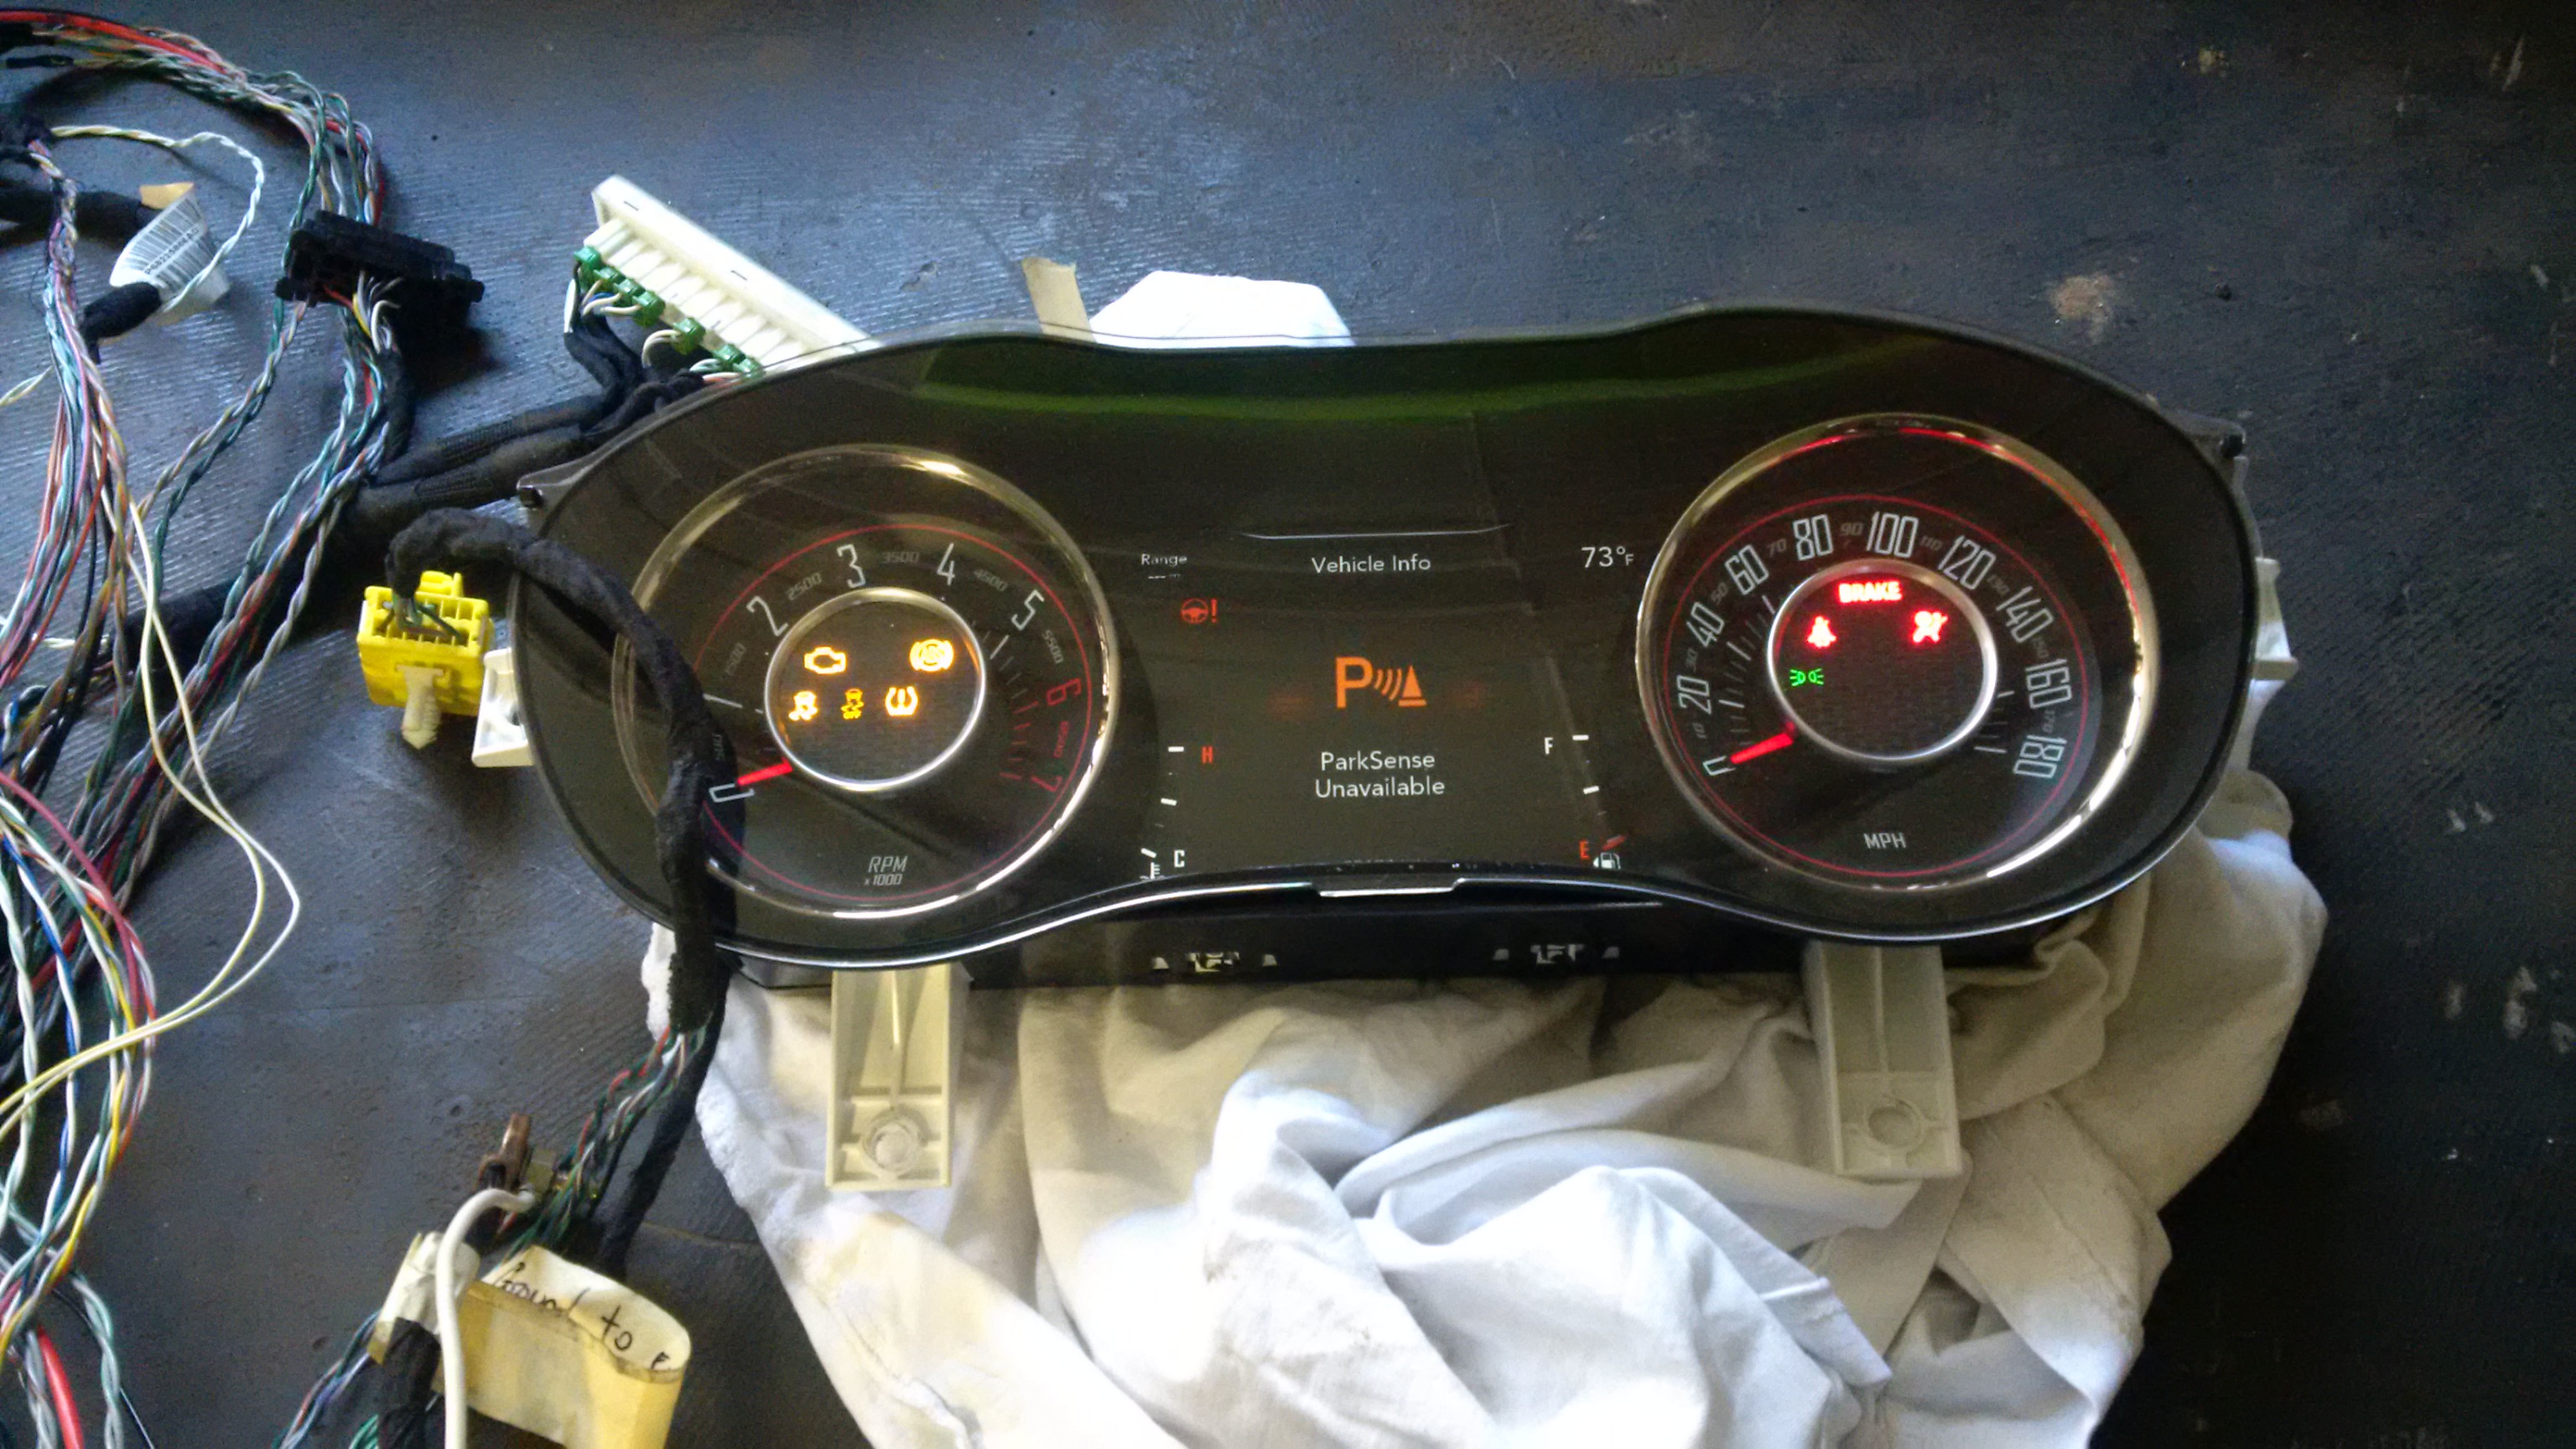
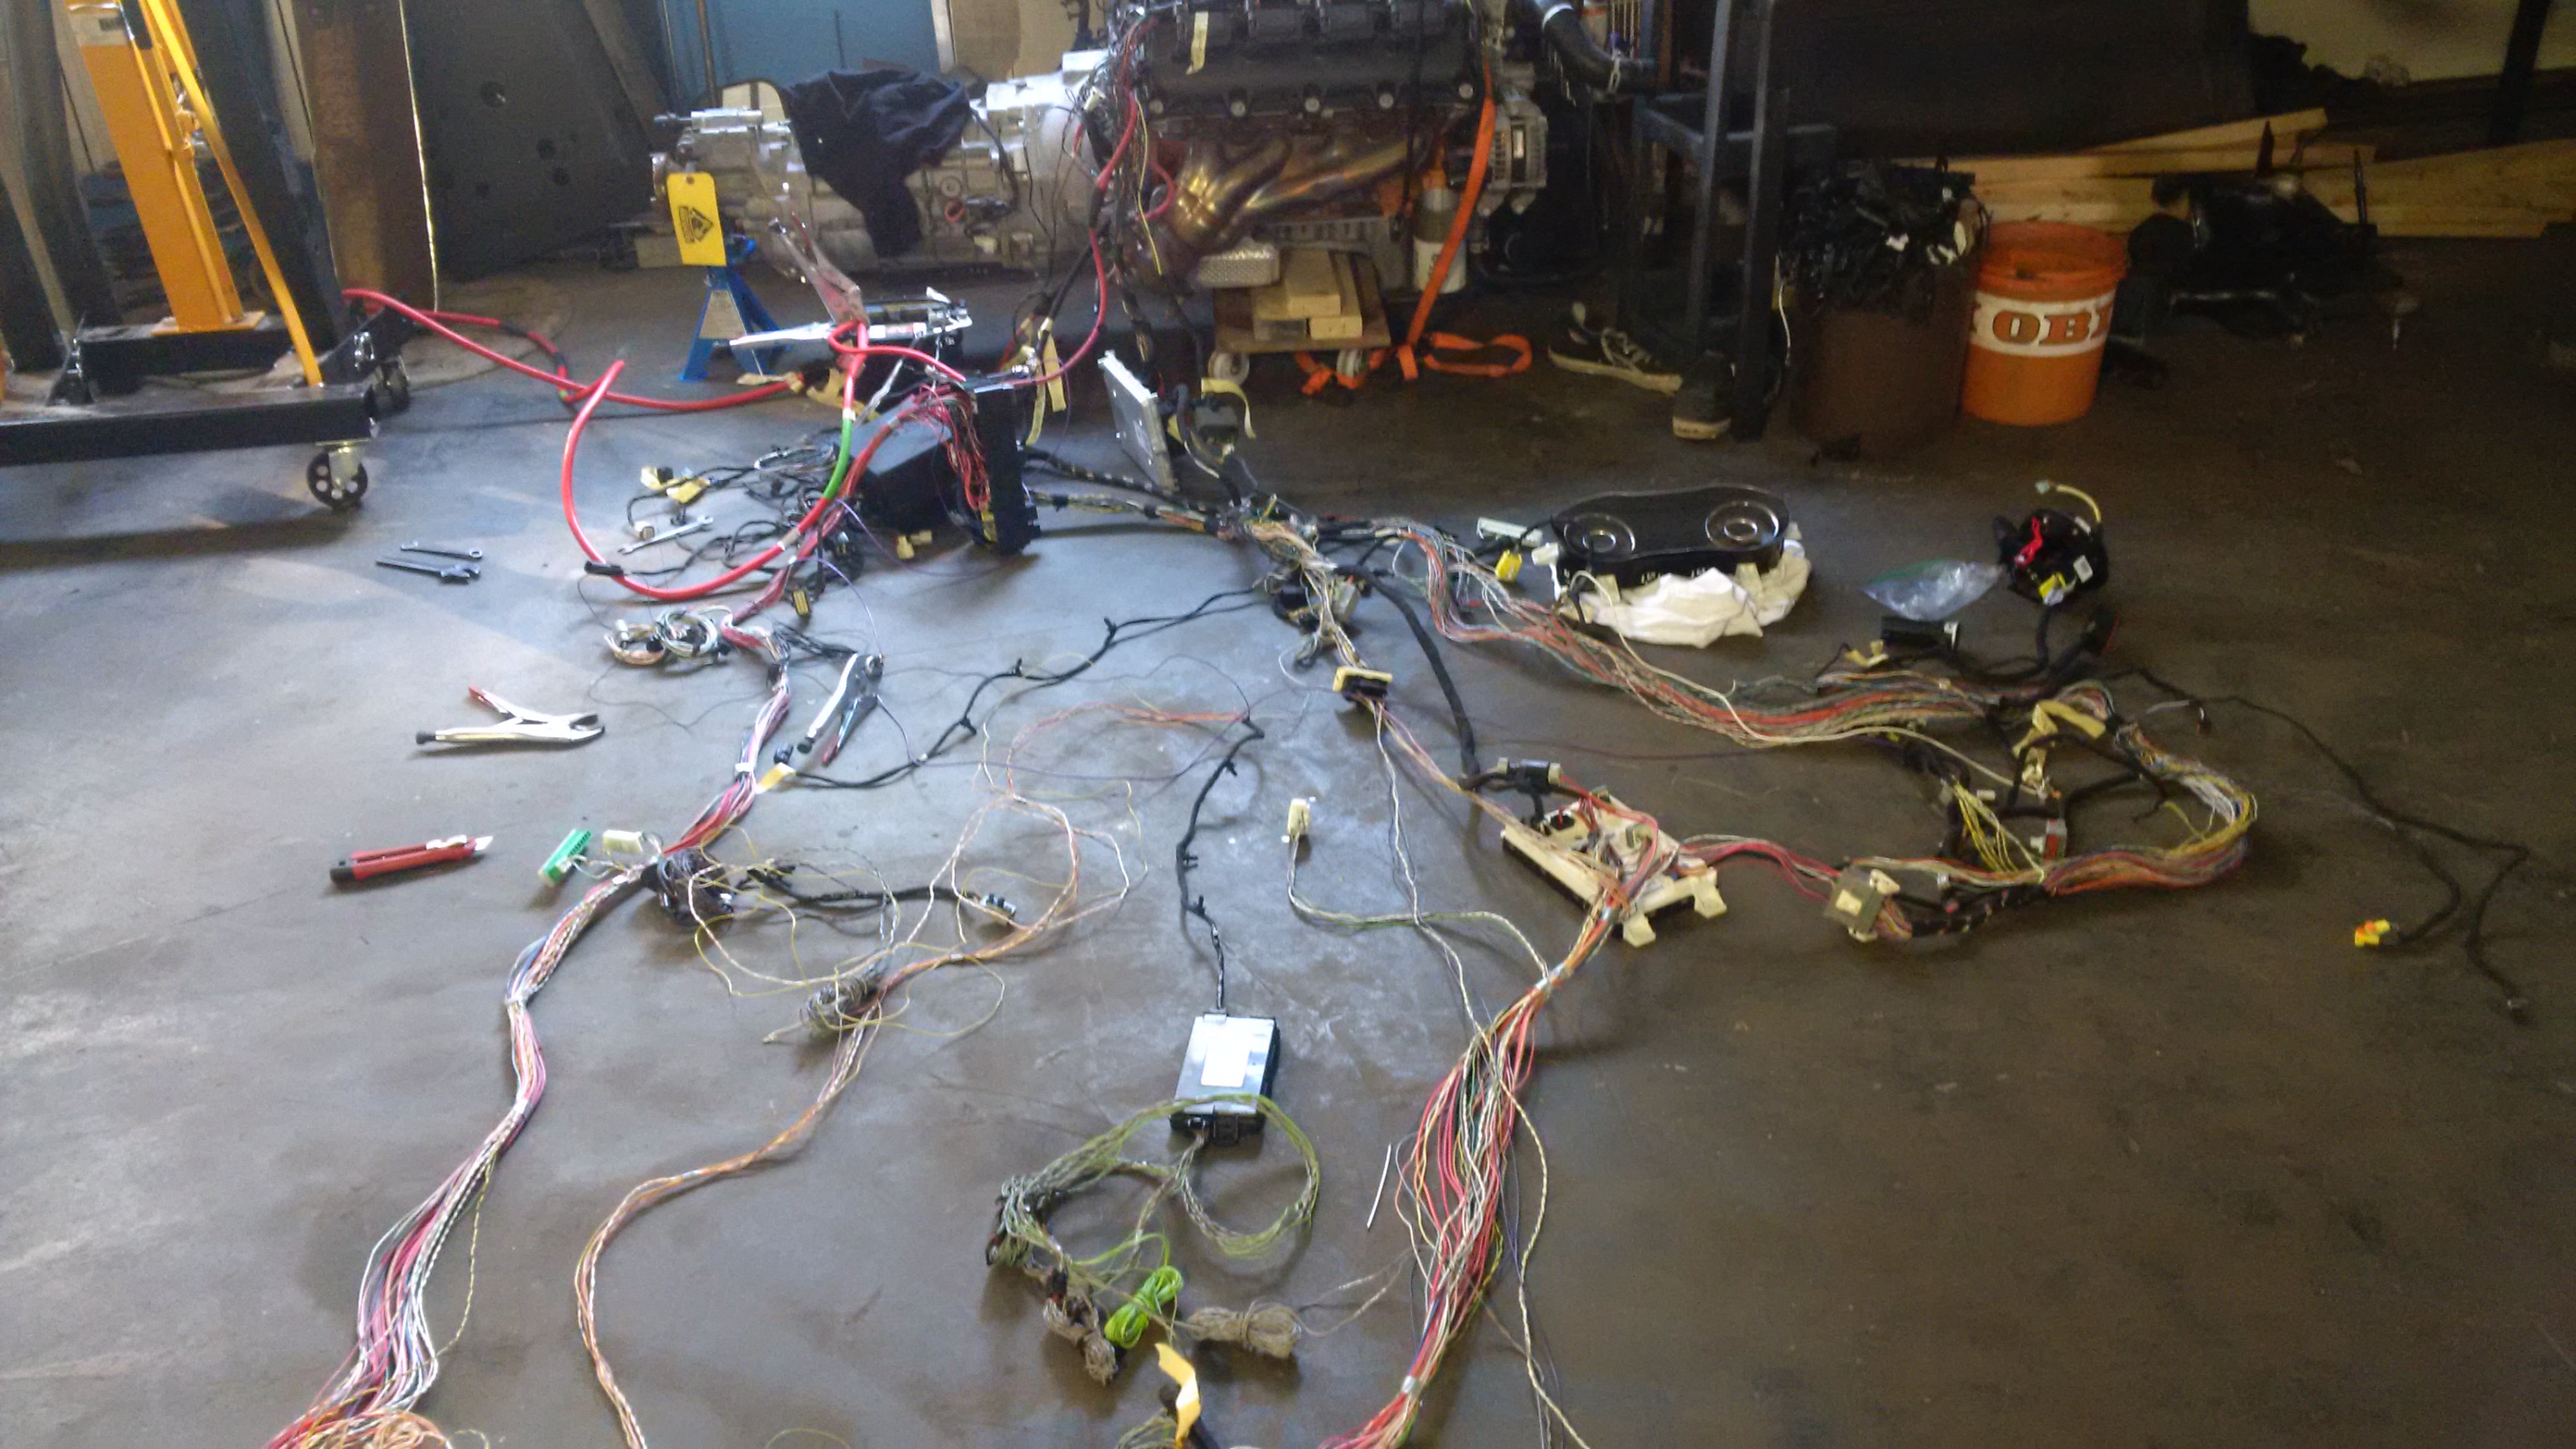
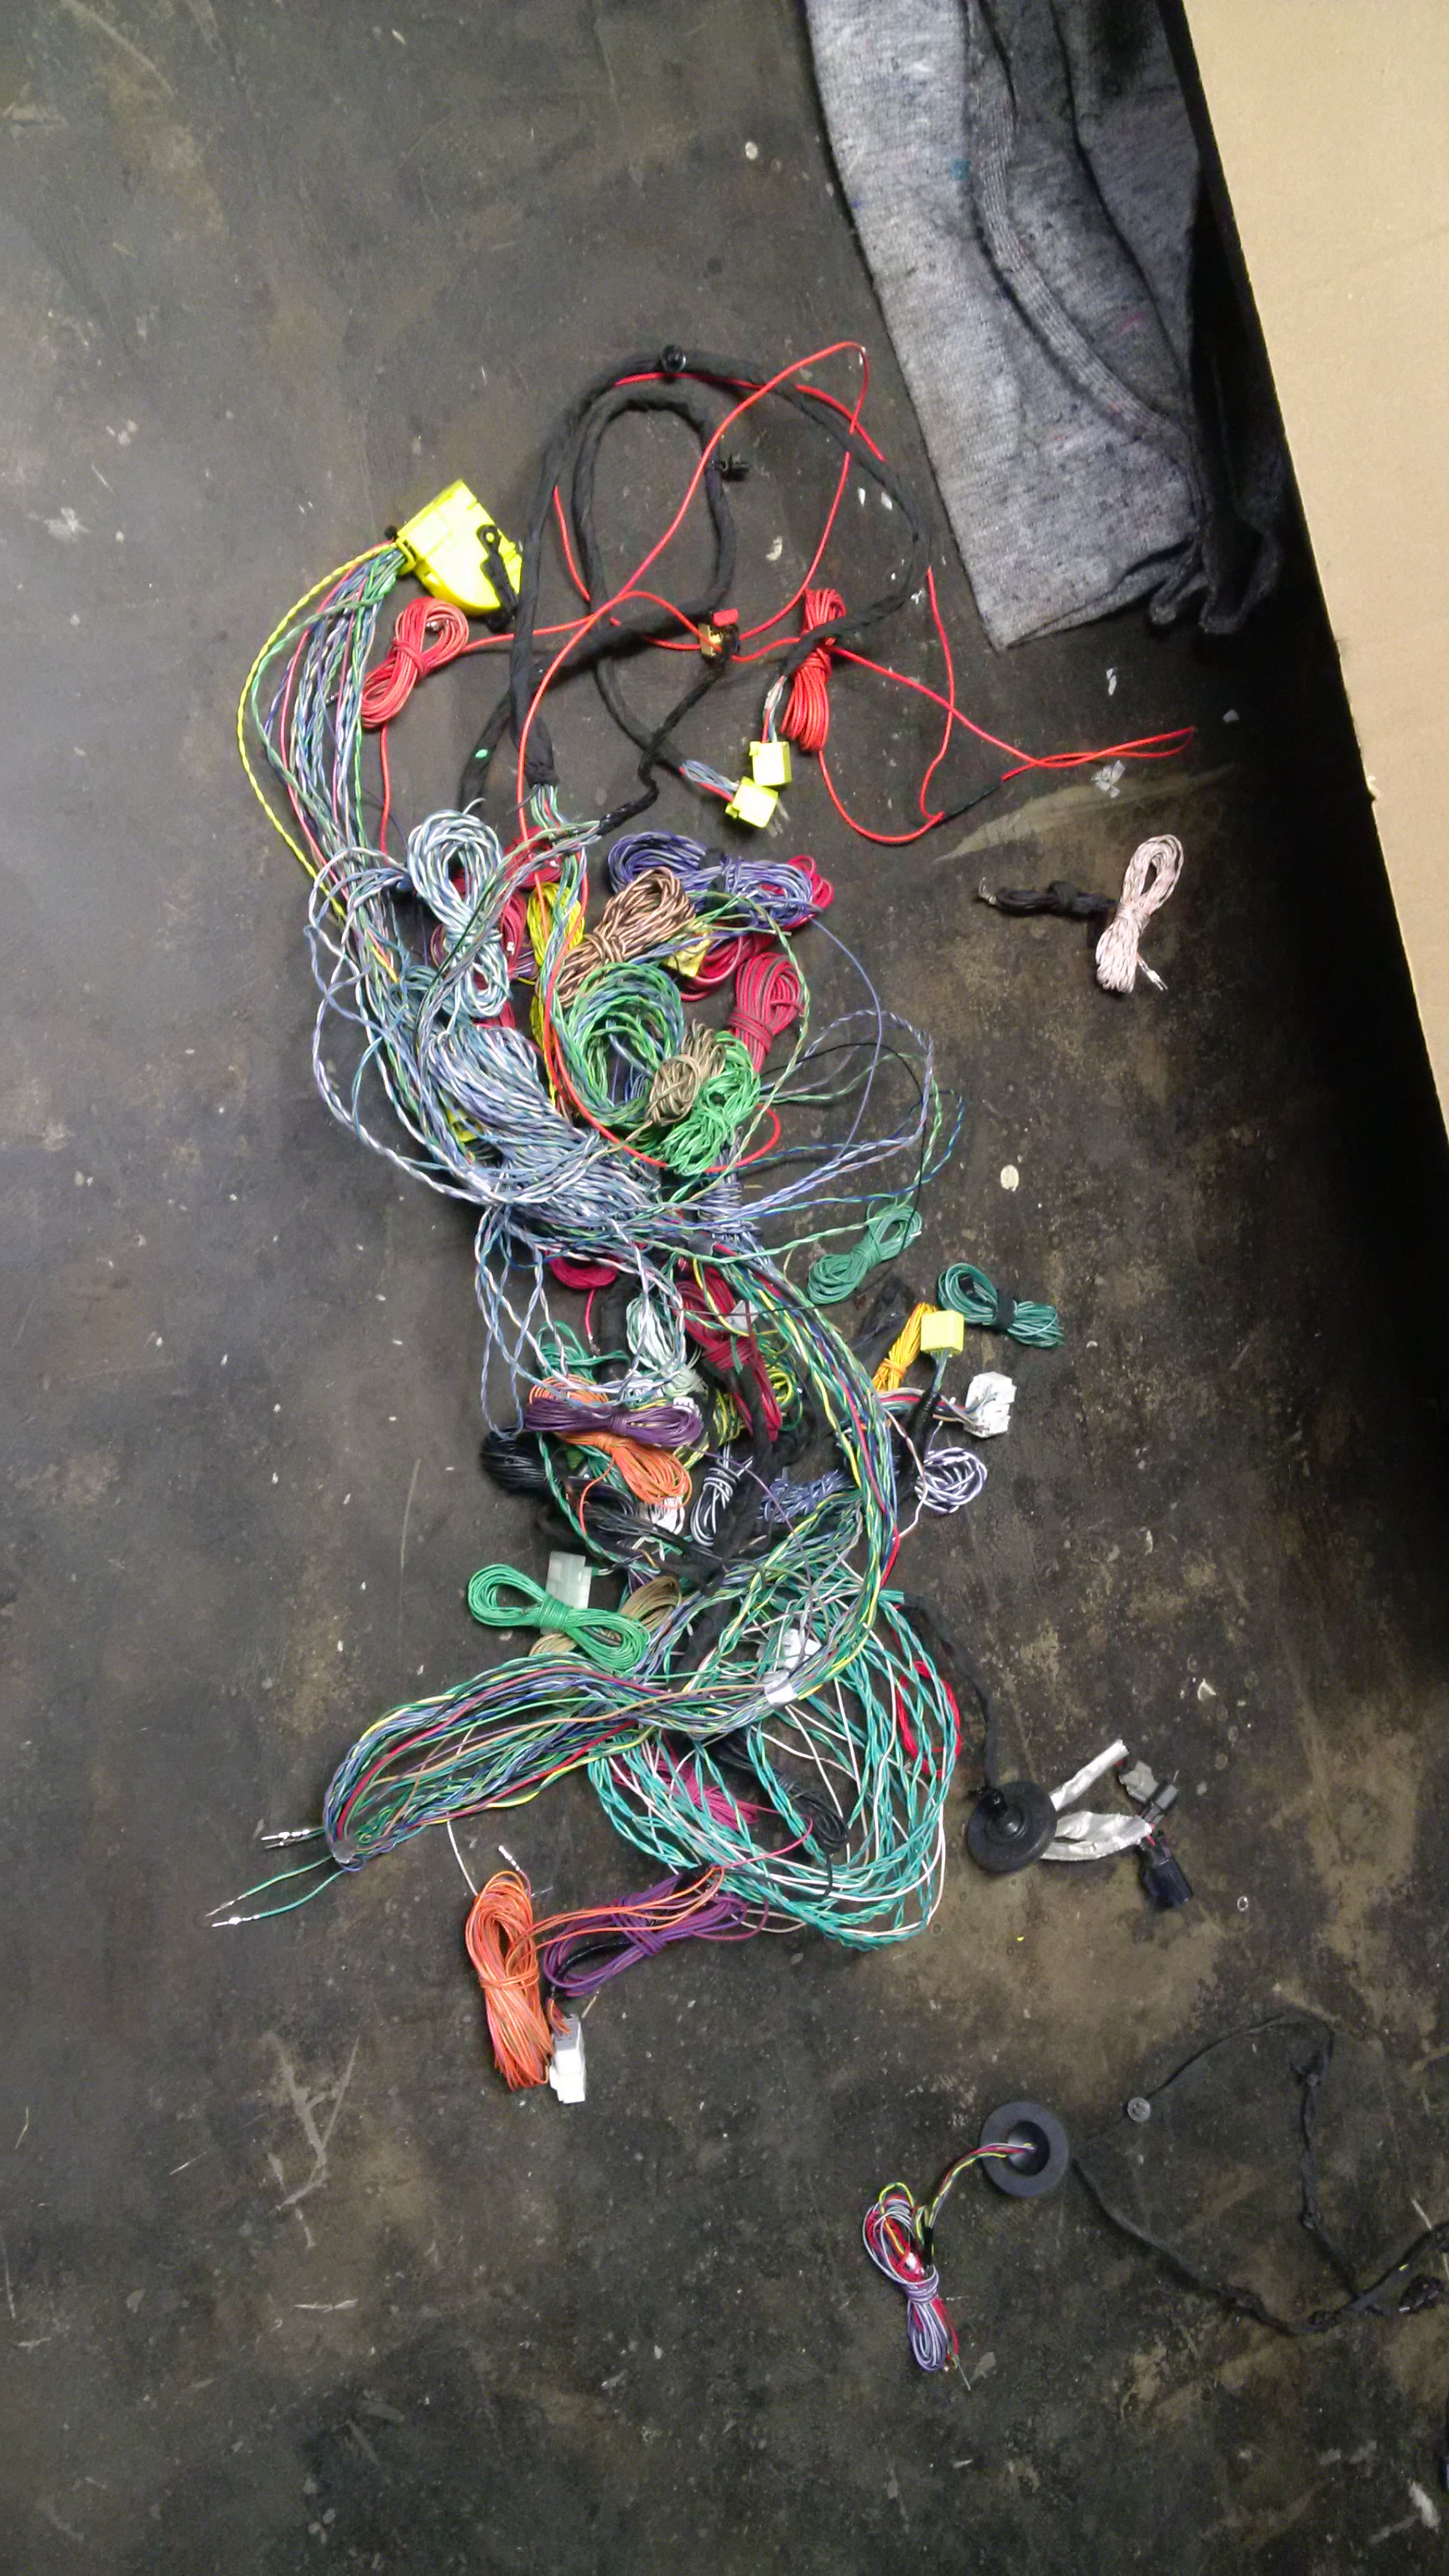
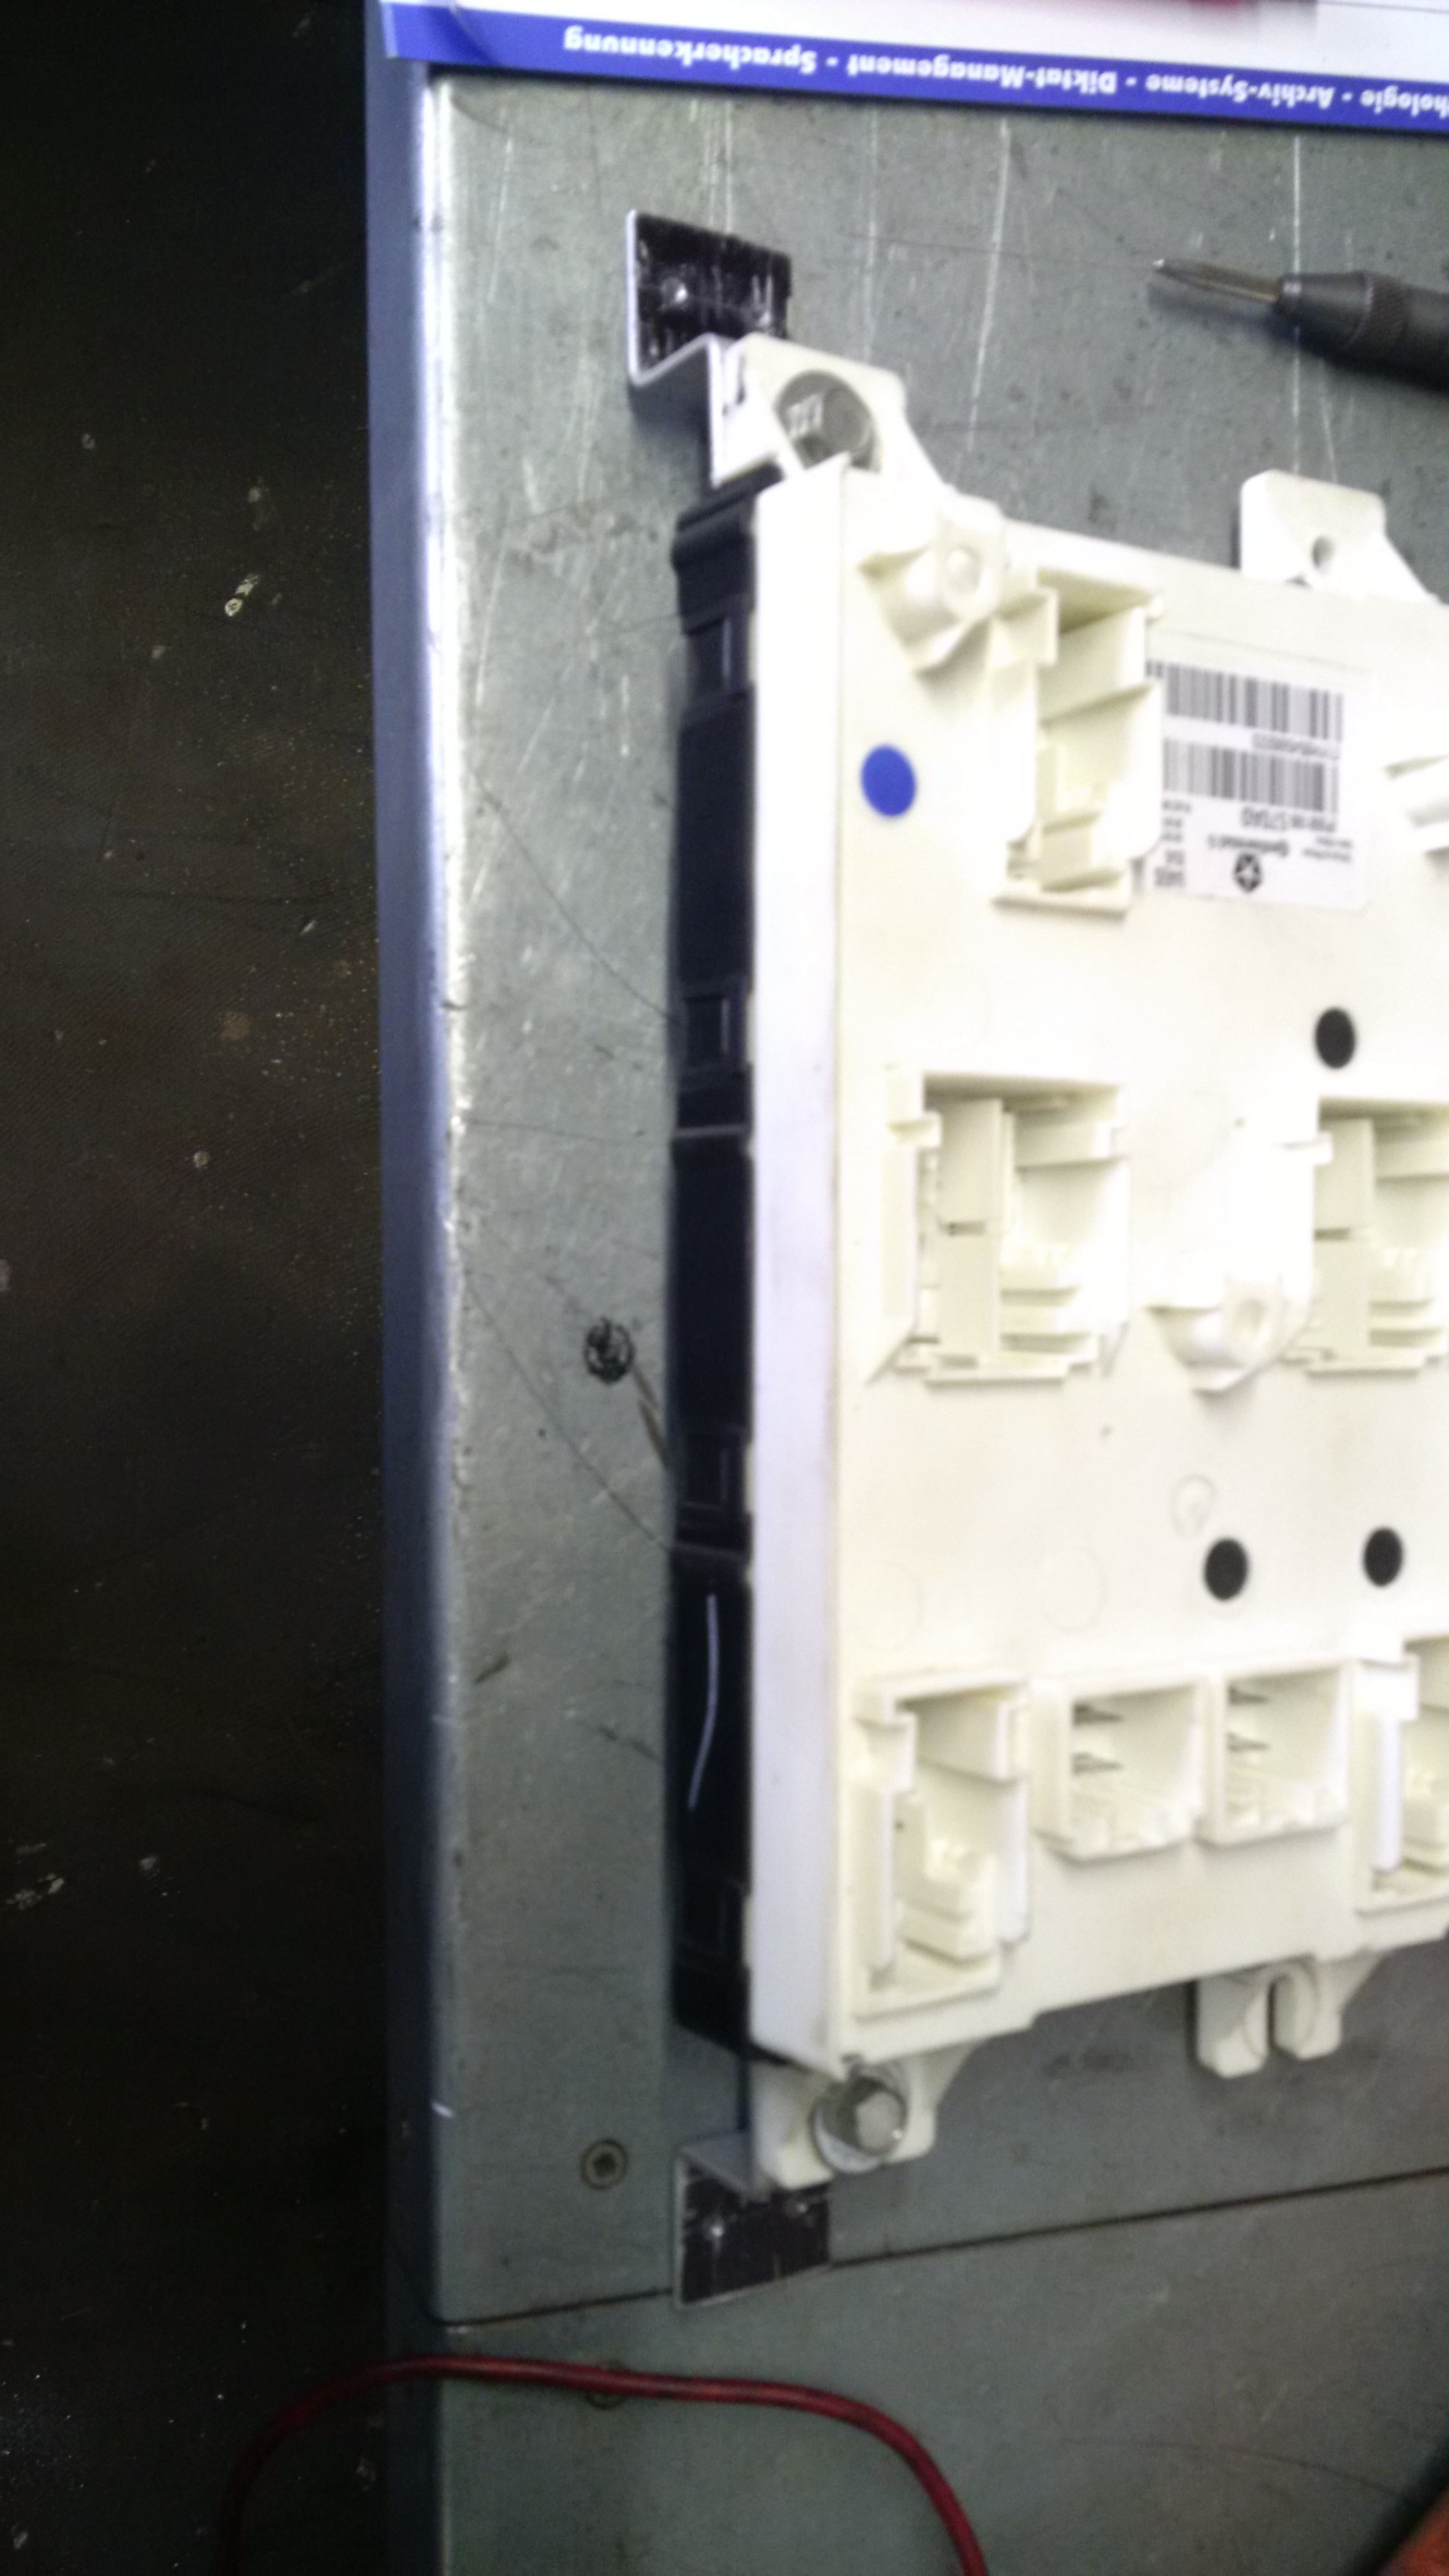
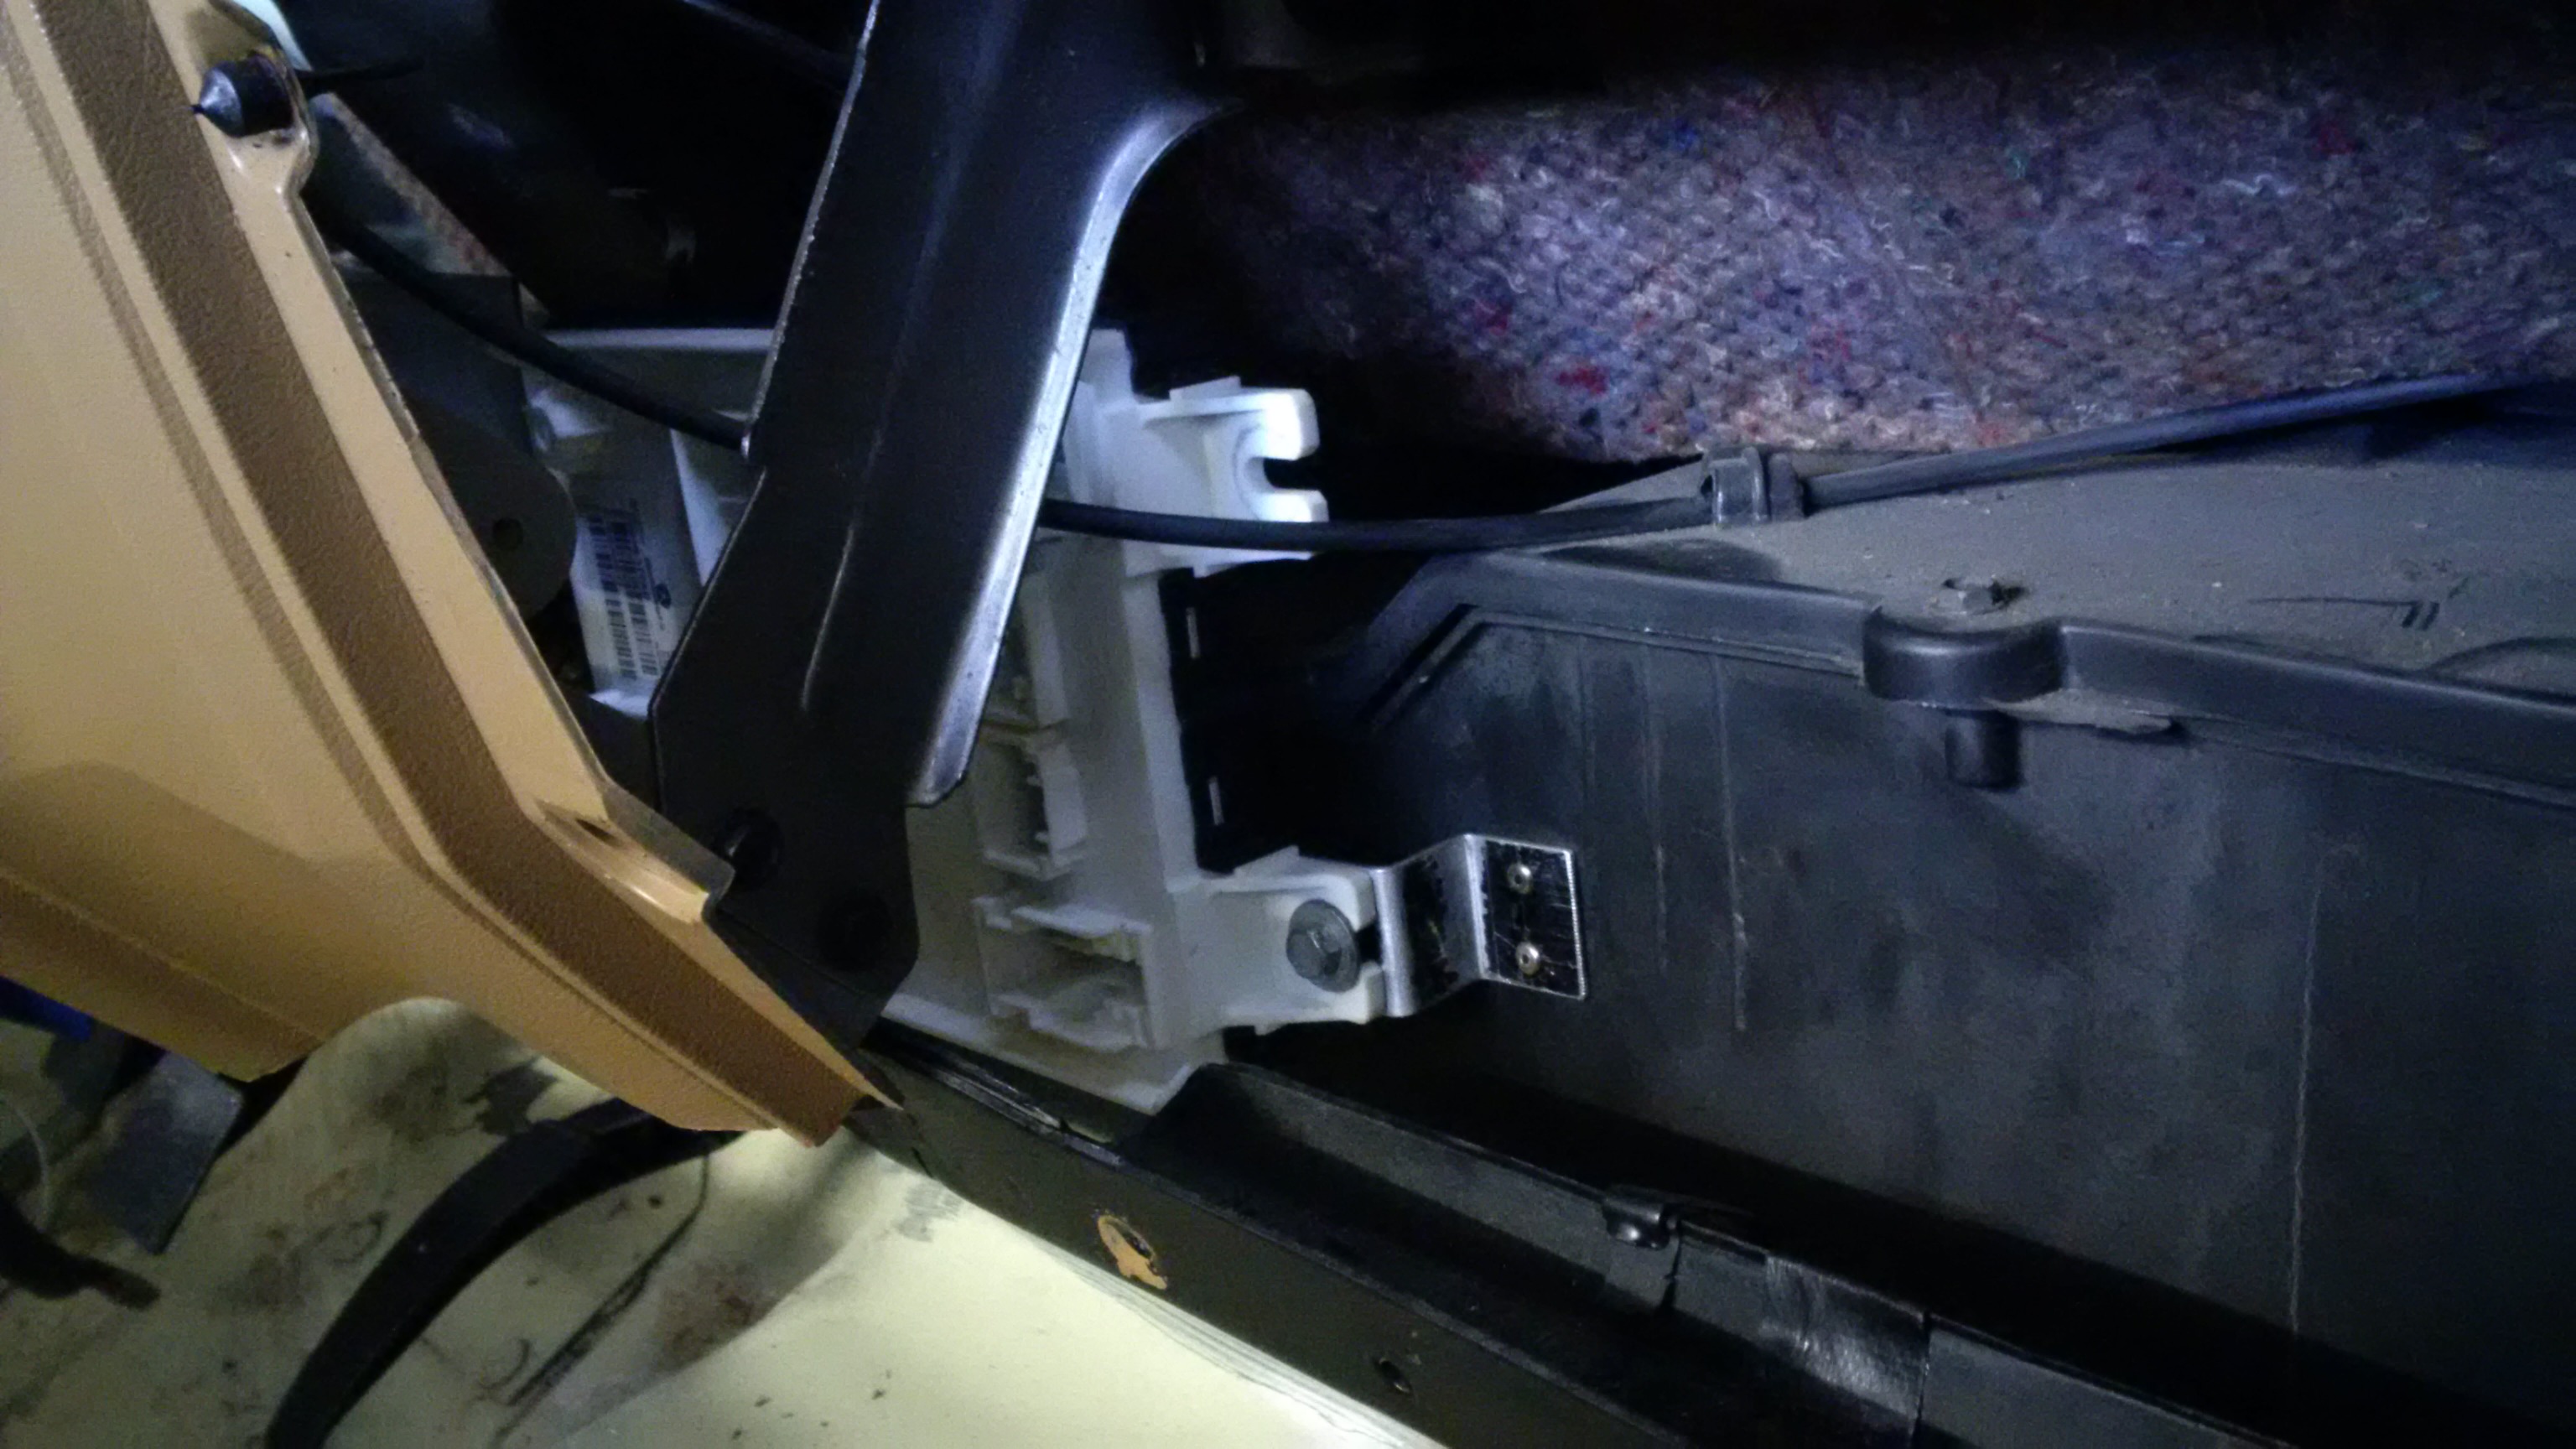
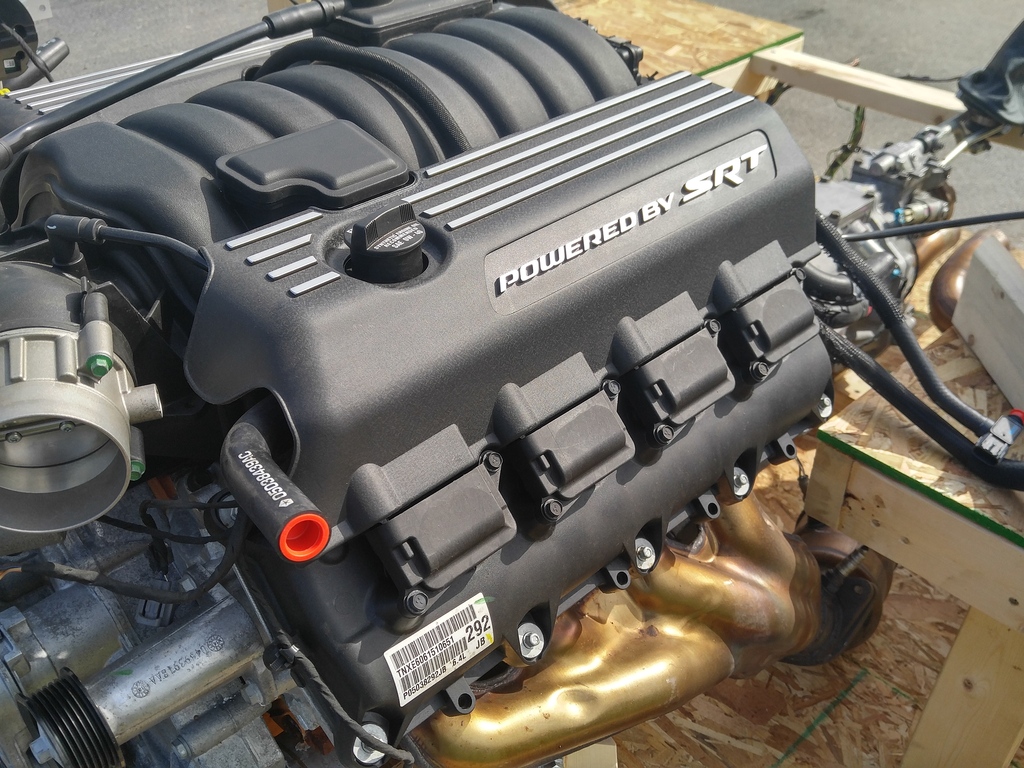
And a 2015 6.4 Hemi and TR6060 six speed transmission out of a wrecked 2015 Challenger SRT (including all the wiring, ECUs and such).
This was the easy part...
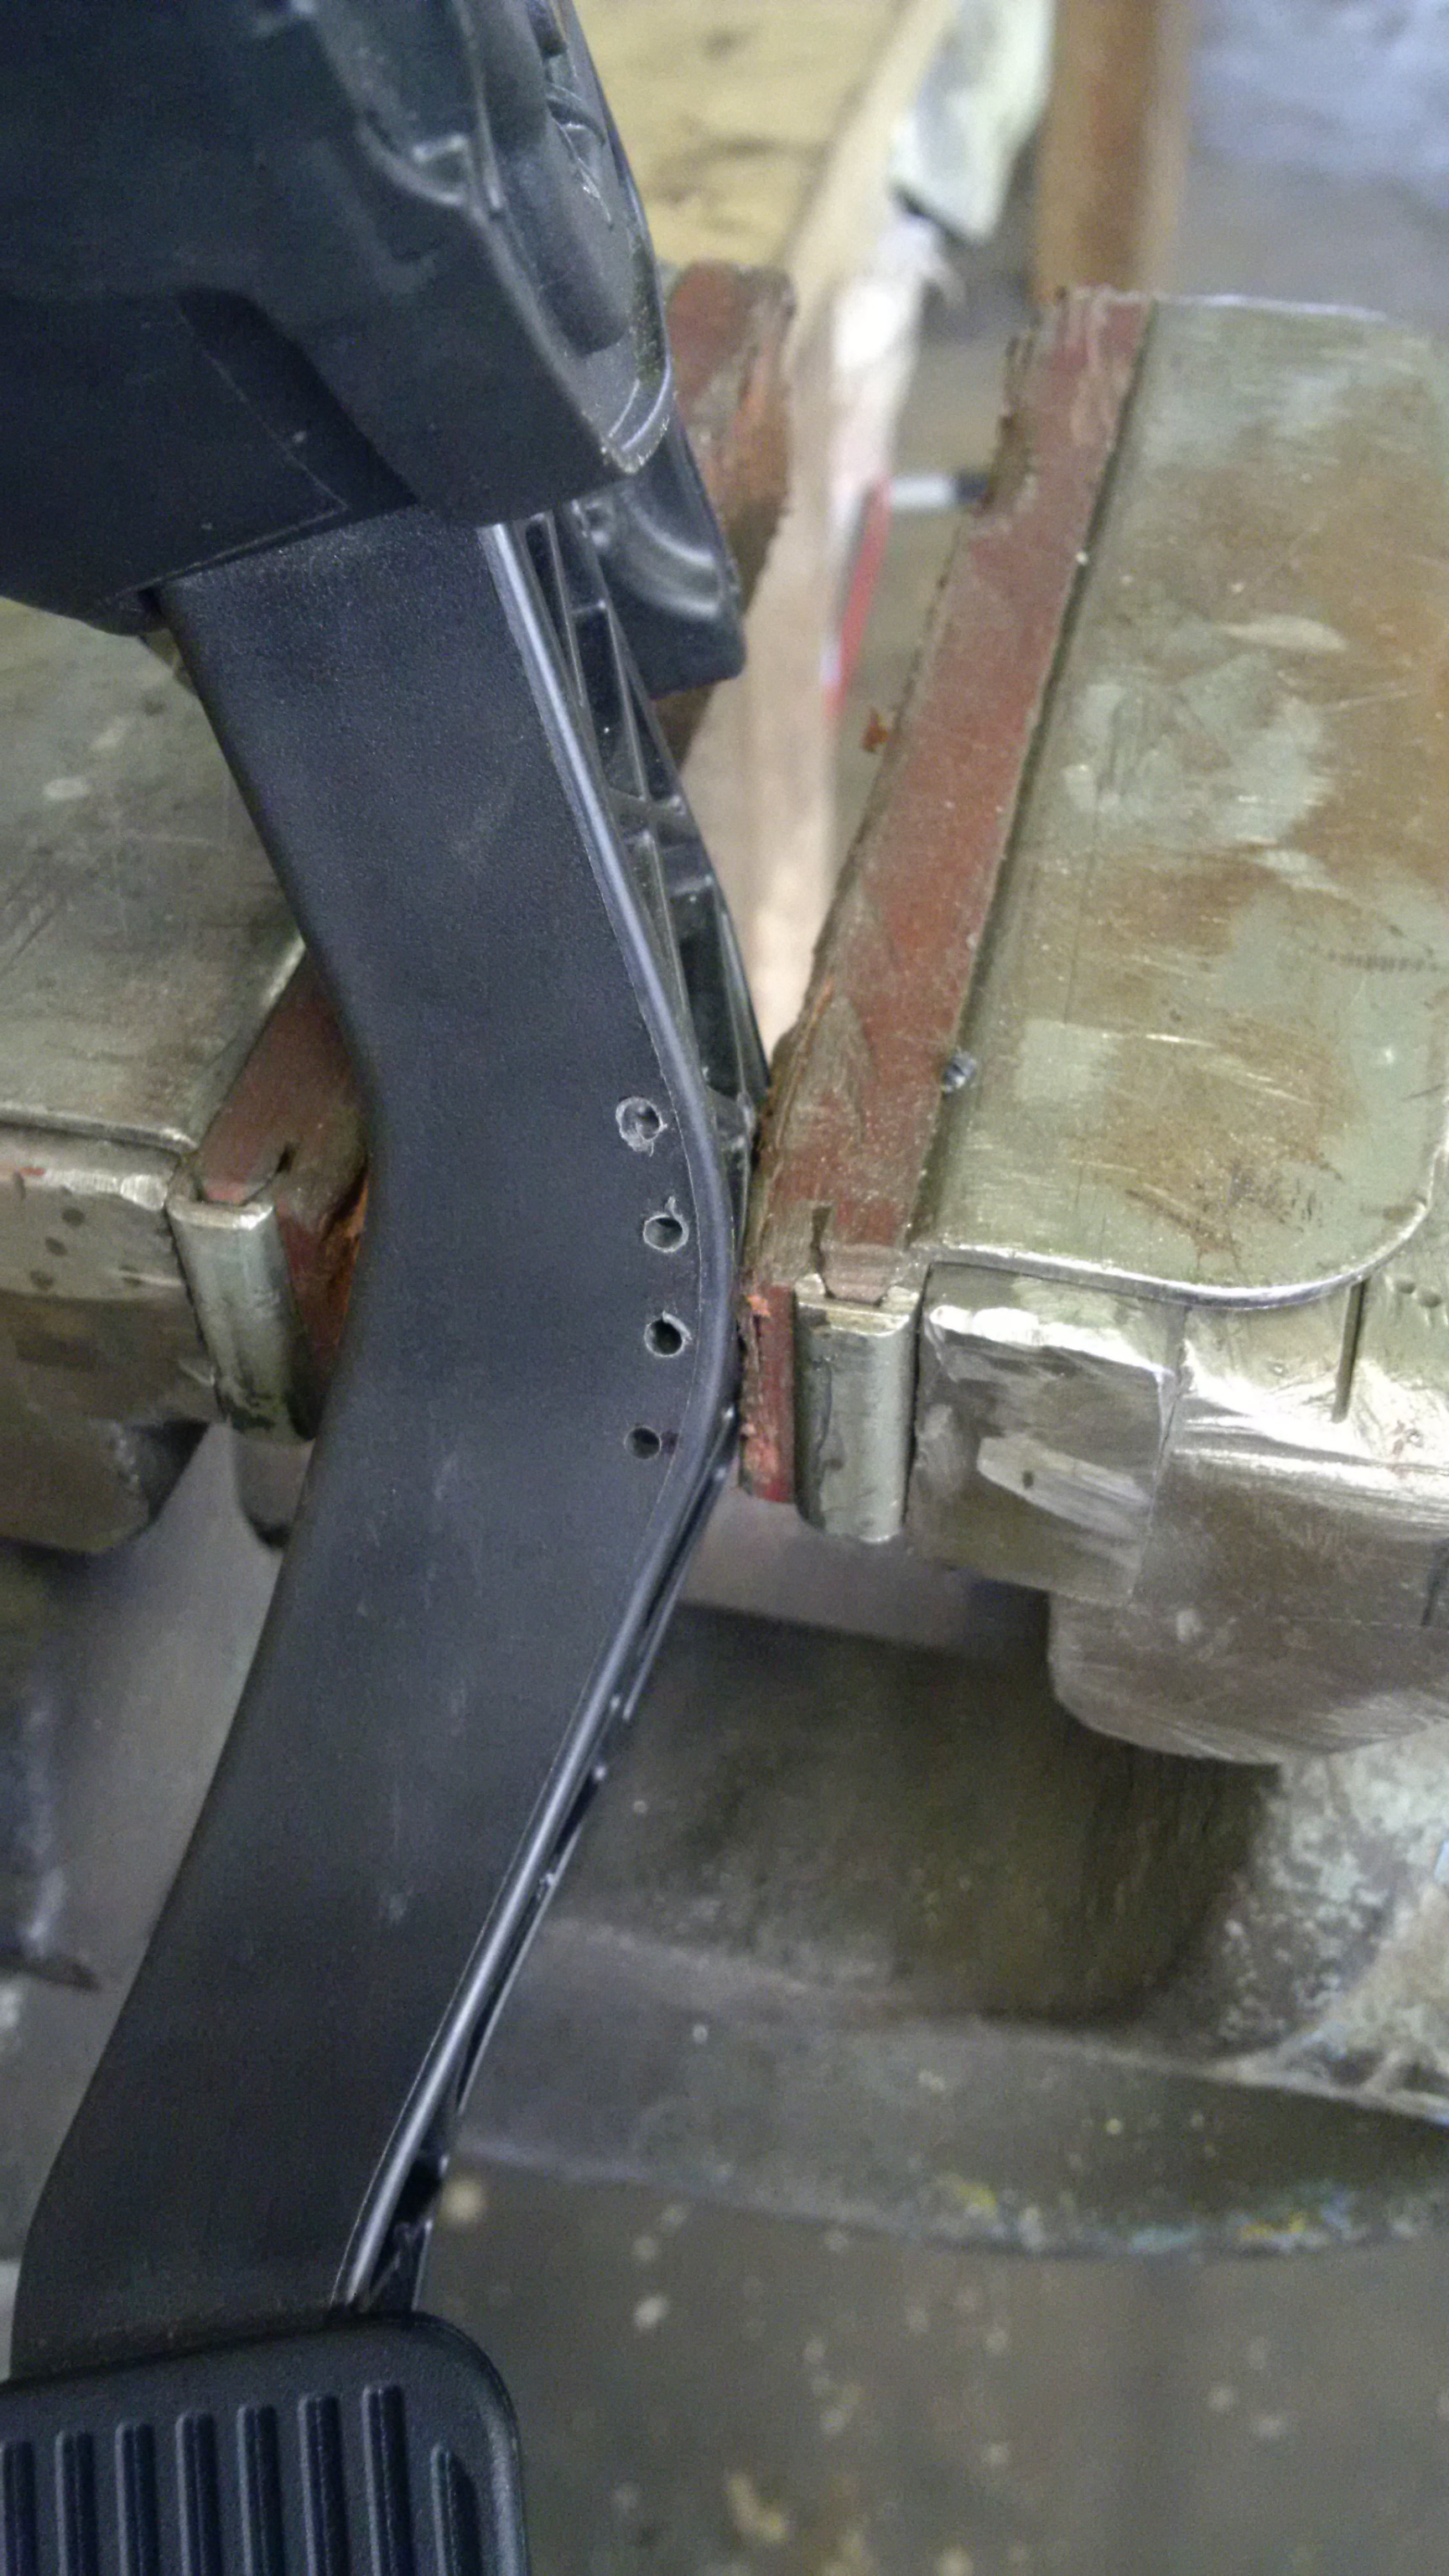
From that point, extensive hunt for suitable parts for brakes, suspension and steering began.
To spare you the gruel details:
I have now settled for a Chevy C10 trailing arm rear suspension, with 6" drop springs.
The rear axle is the first link between this project and a SRT-10.
It's the rearend out of a 2005 RC, 4.56:1 with the limited slip differential.
For the projects requirements i need (or want) huge brakes, what better than 14" discs on the rear end?
Finding matching stuff for the front axle and suspension looked incomparably more complicated.
Until i decided to see what that SRT-10 has for a front suspension and brakes. Second link.
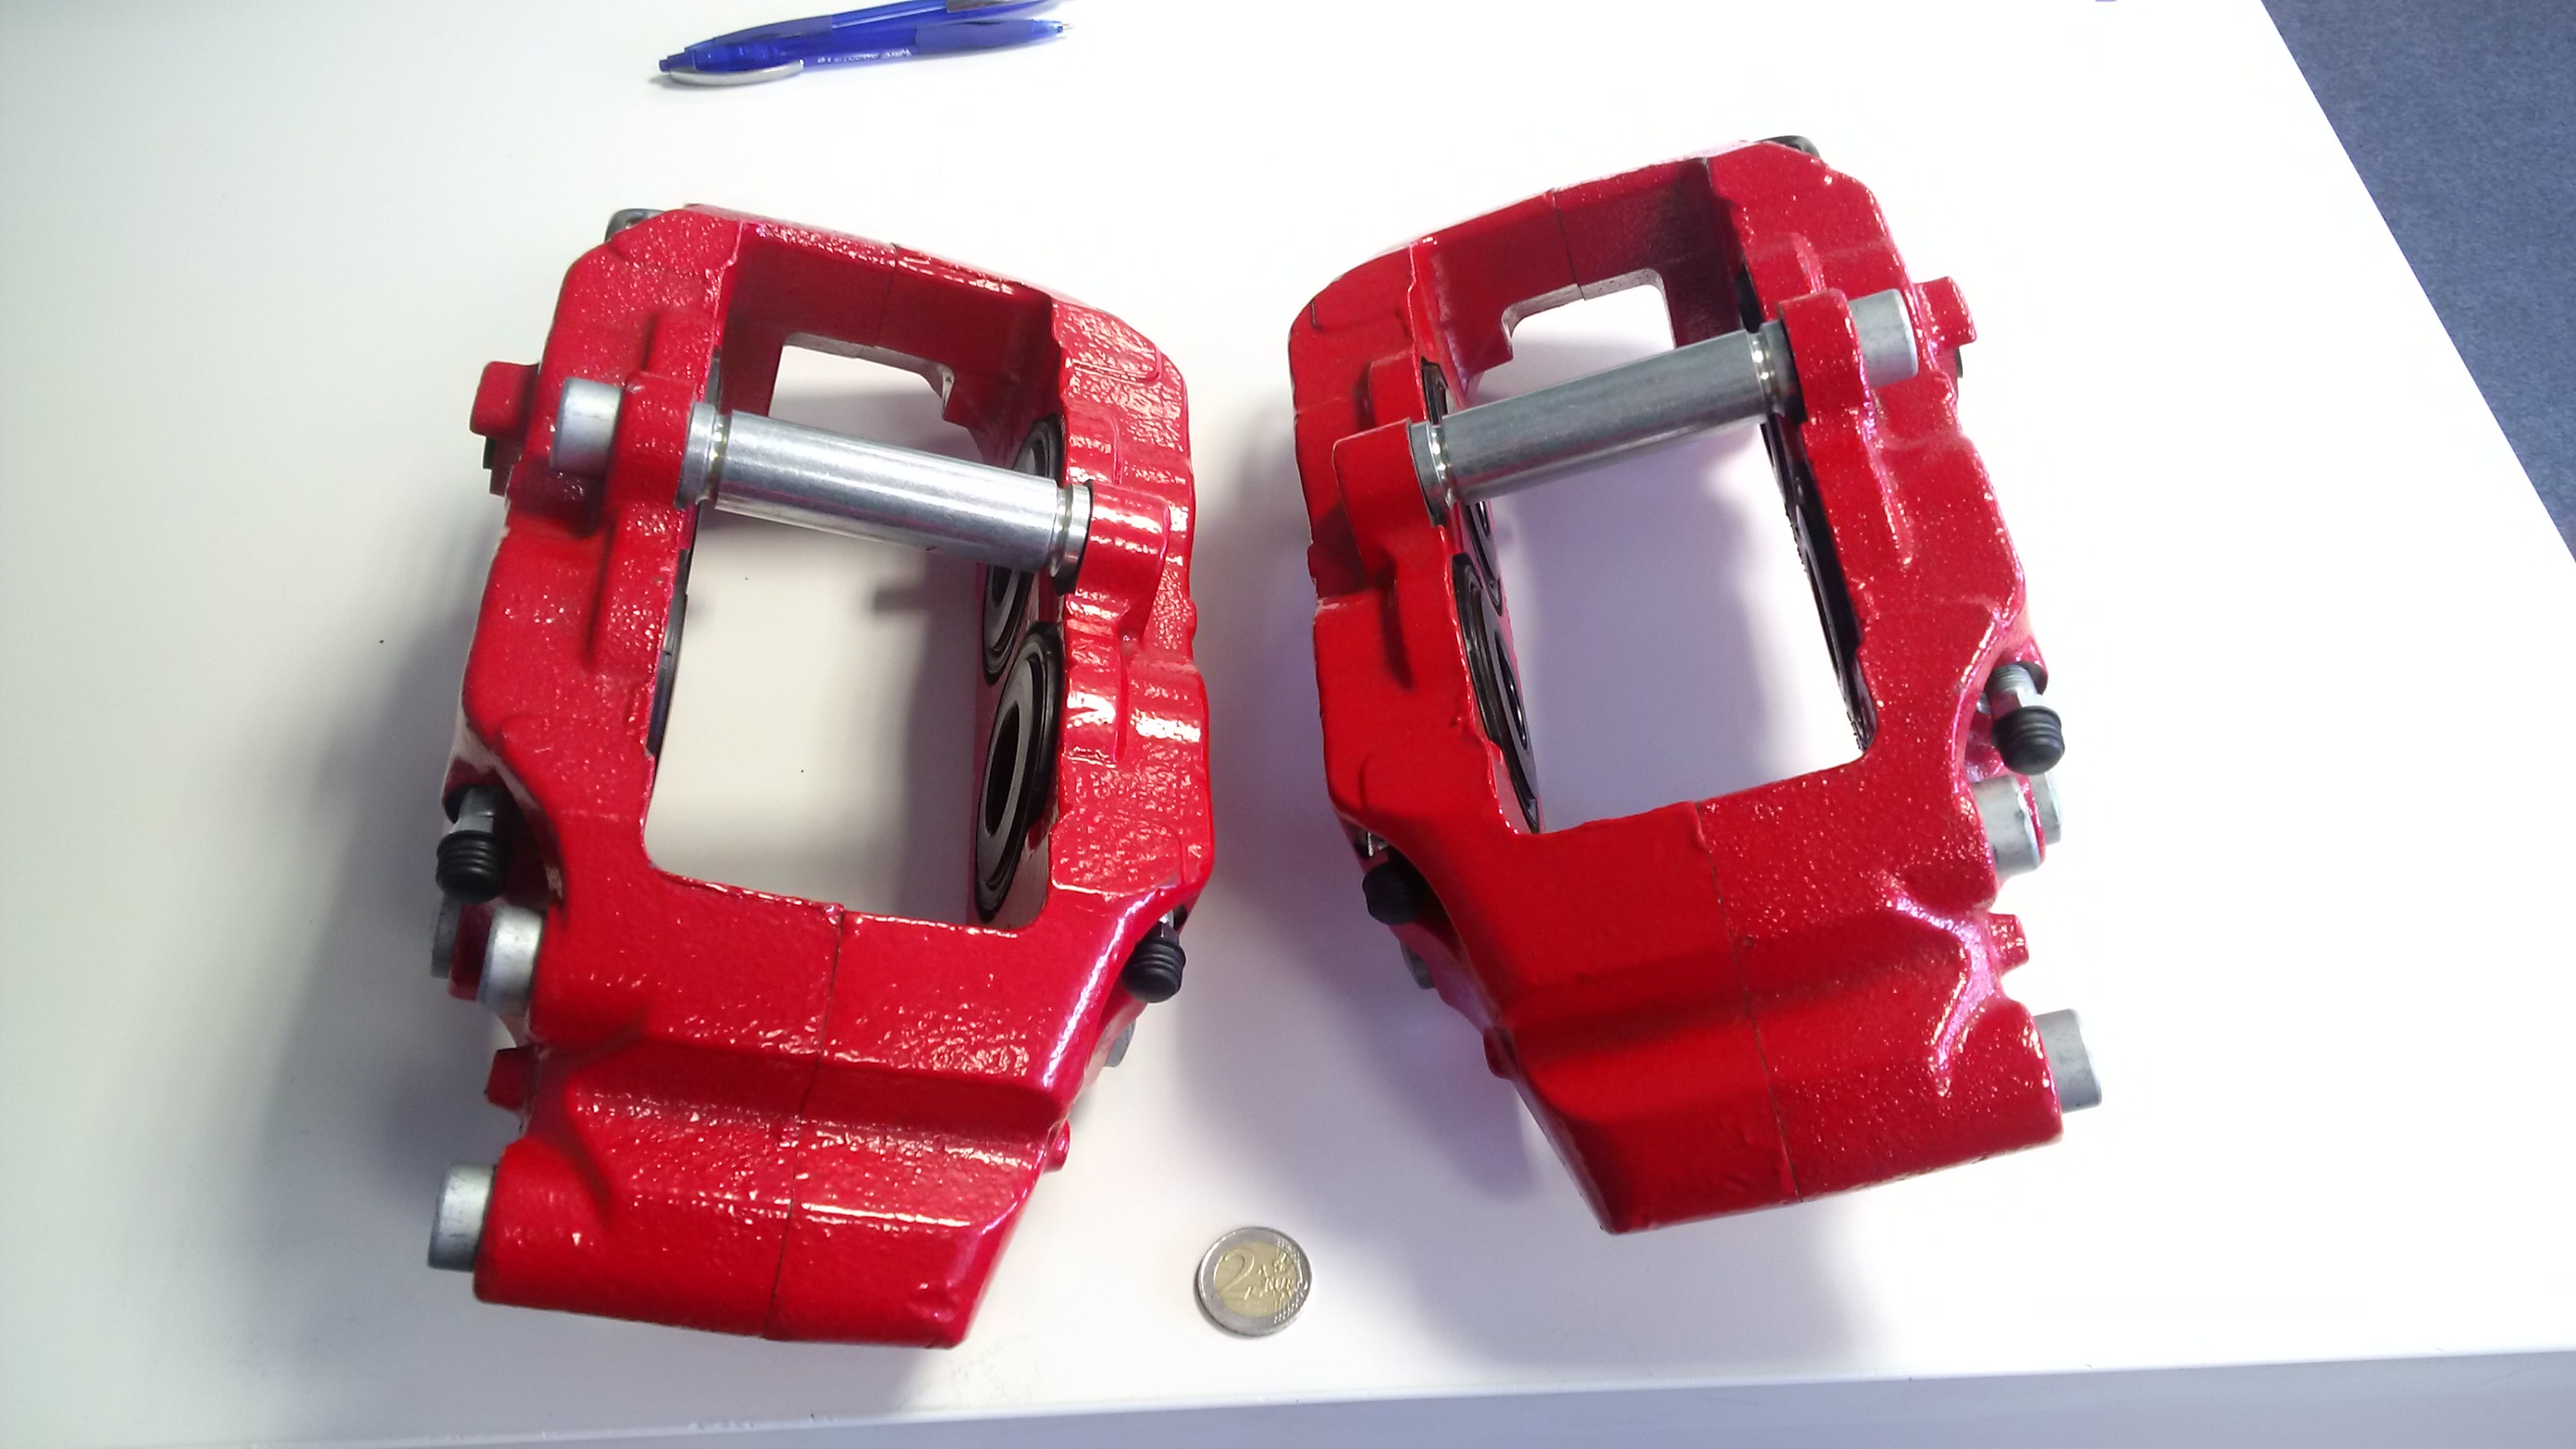
Now i have a set of '05/'06 four piston calipers in my parts collection:
I also bought a spindle and regular 1500s lower control arms for mockup purposes, just to learn that there is a QC and a RC spindle and they apparently are different from eachother.
This is pretty much the third link.
I will have to ask a few more questions about that lateron.
I also plan to use the brake booster and master cylinder from a '05 or '06 to power the brakes.
I am now at the point where i am almost sure the 1500s/SRT-10 control arms can be adopted to my trucks frame and give a good front track width.
The suspension geometry will be double checked with a piece of software i aquired for this task.
To sum everything up and make it legal for track days, a complete racing roll cage with front and rear outriggers is in the plan aswell.
The exterior will receive subtle modifications with an air dam and a bumper made from carbon fiber and also a hood with large vents, made from carbon fiber.
Why?
Because i want that thing to run 170 (i know that 6.4 will have to make a little more power than the stock 485hp to reach that goal, but eventually we'll get there).
I also want it to handle good and while it might now be a vehicle able to compete, it'll be a ton of fun to build and drive.
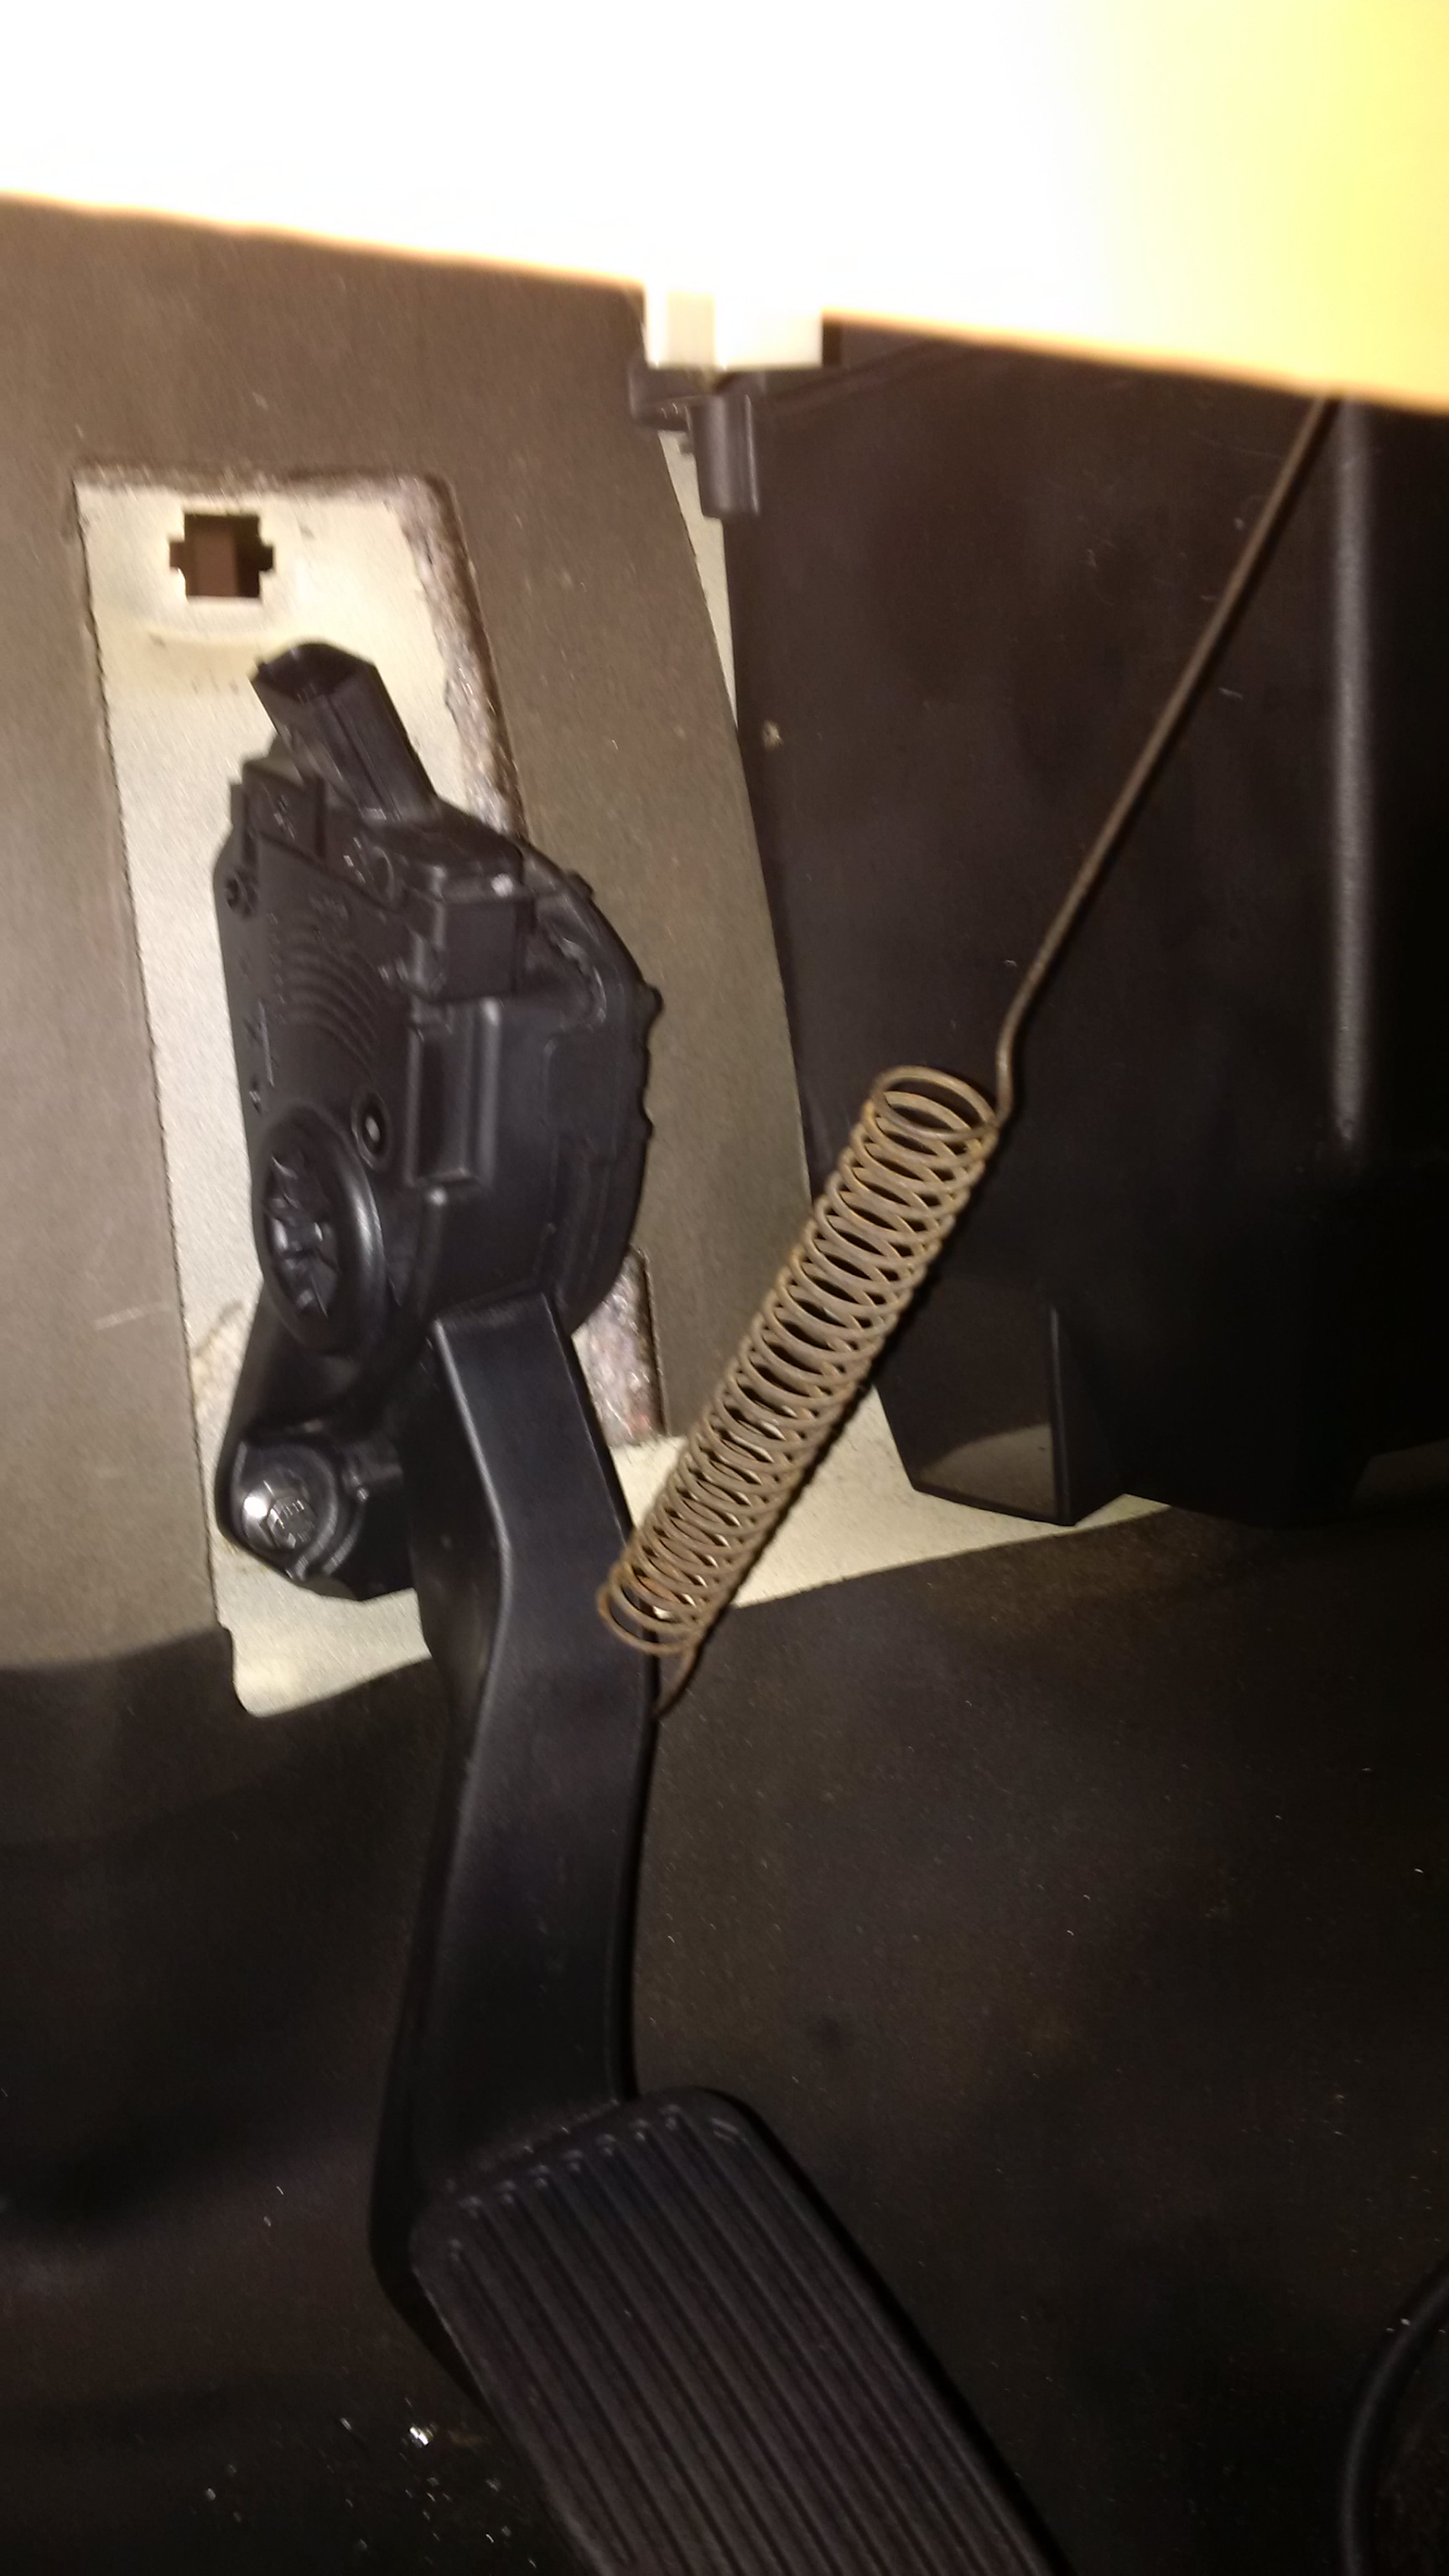
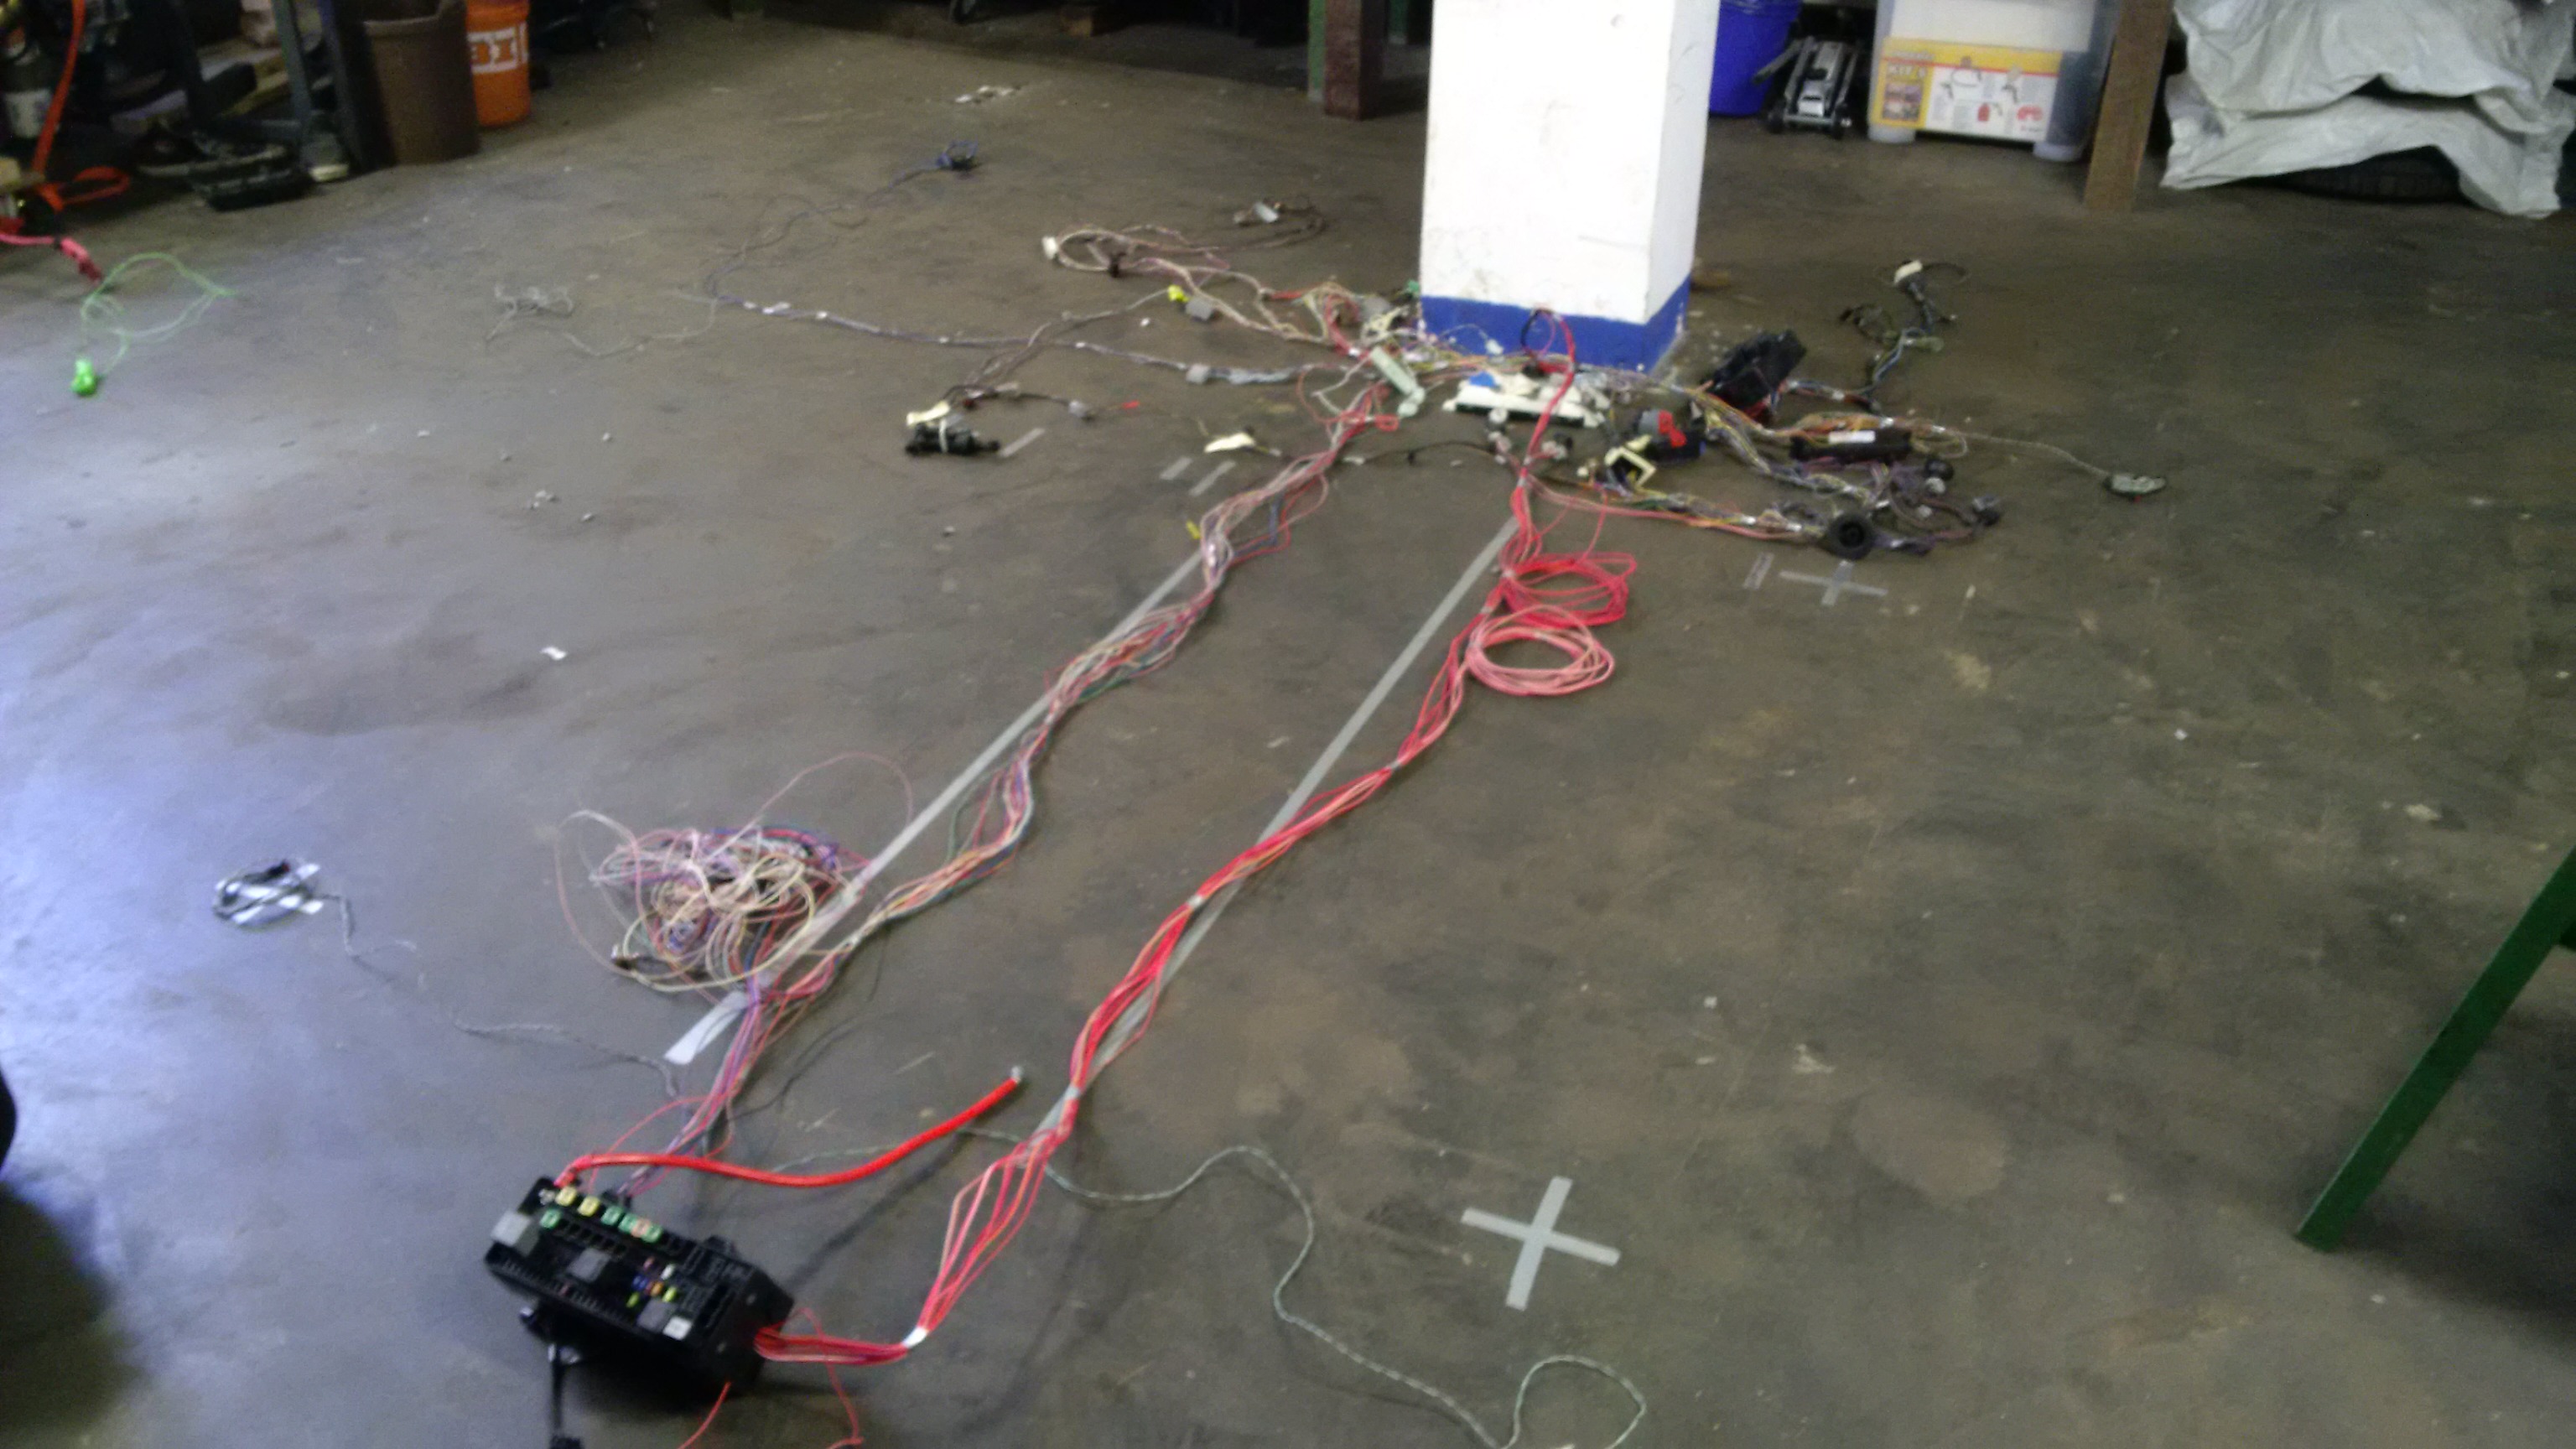
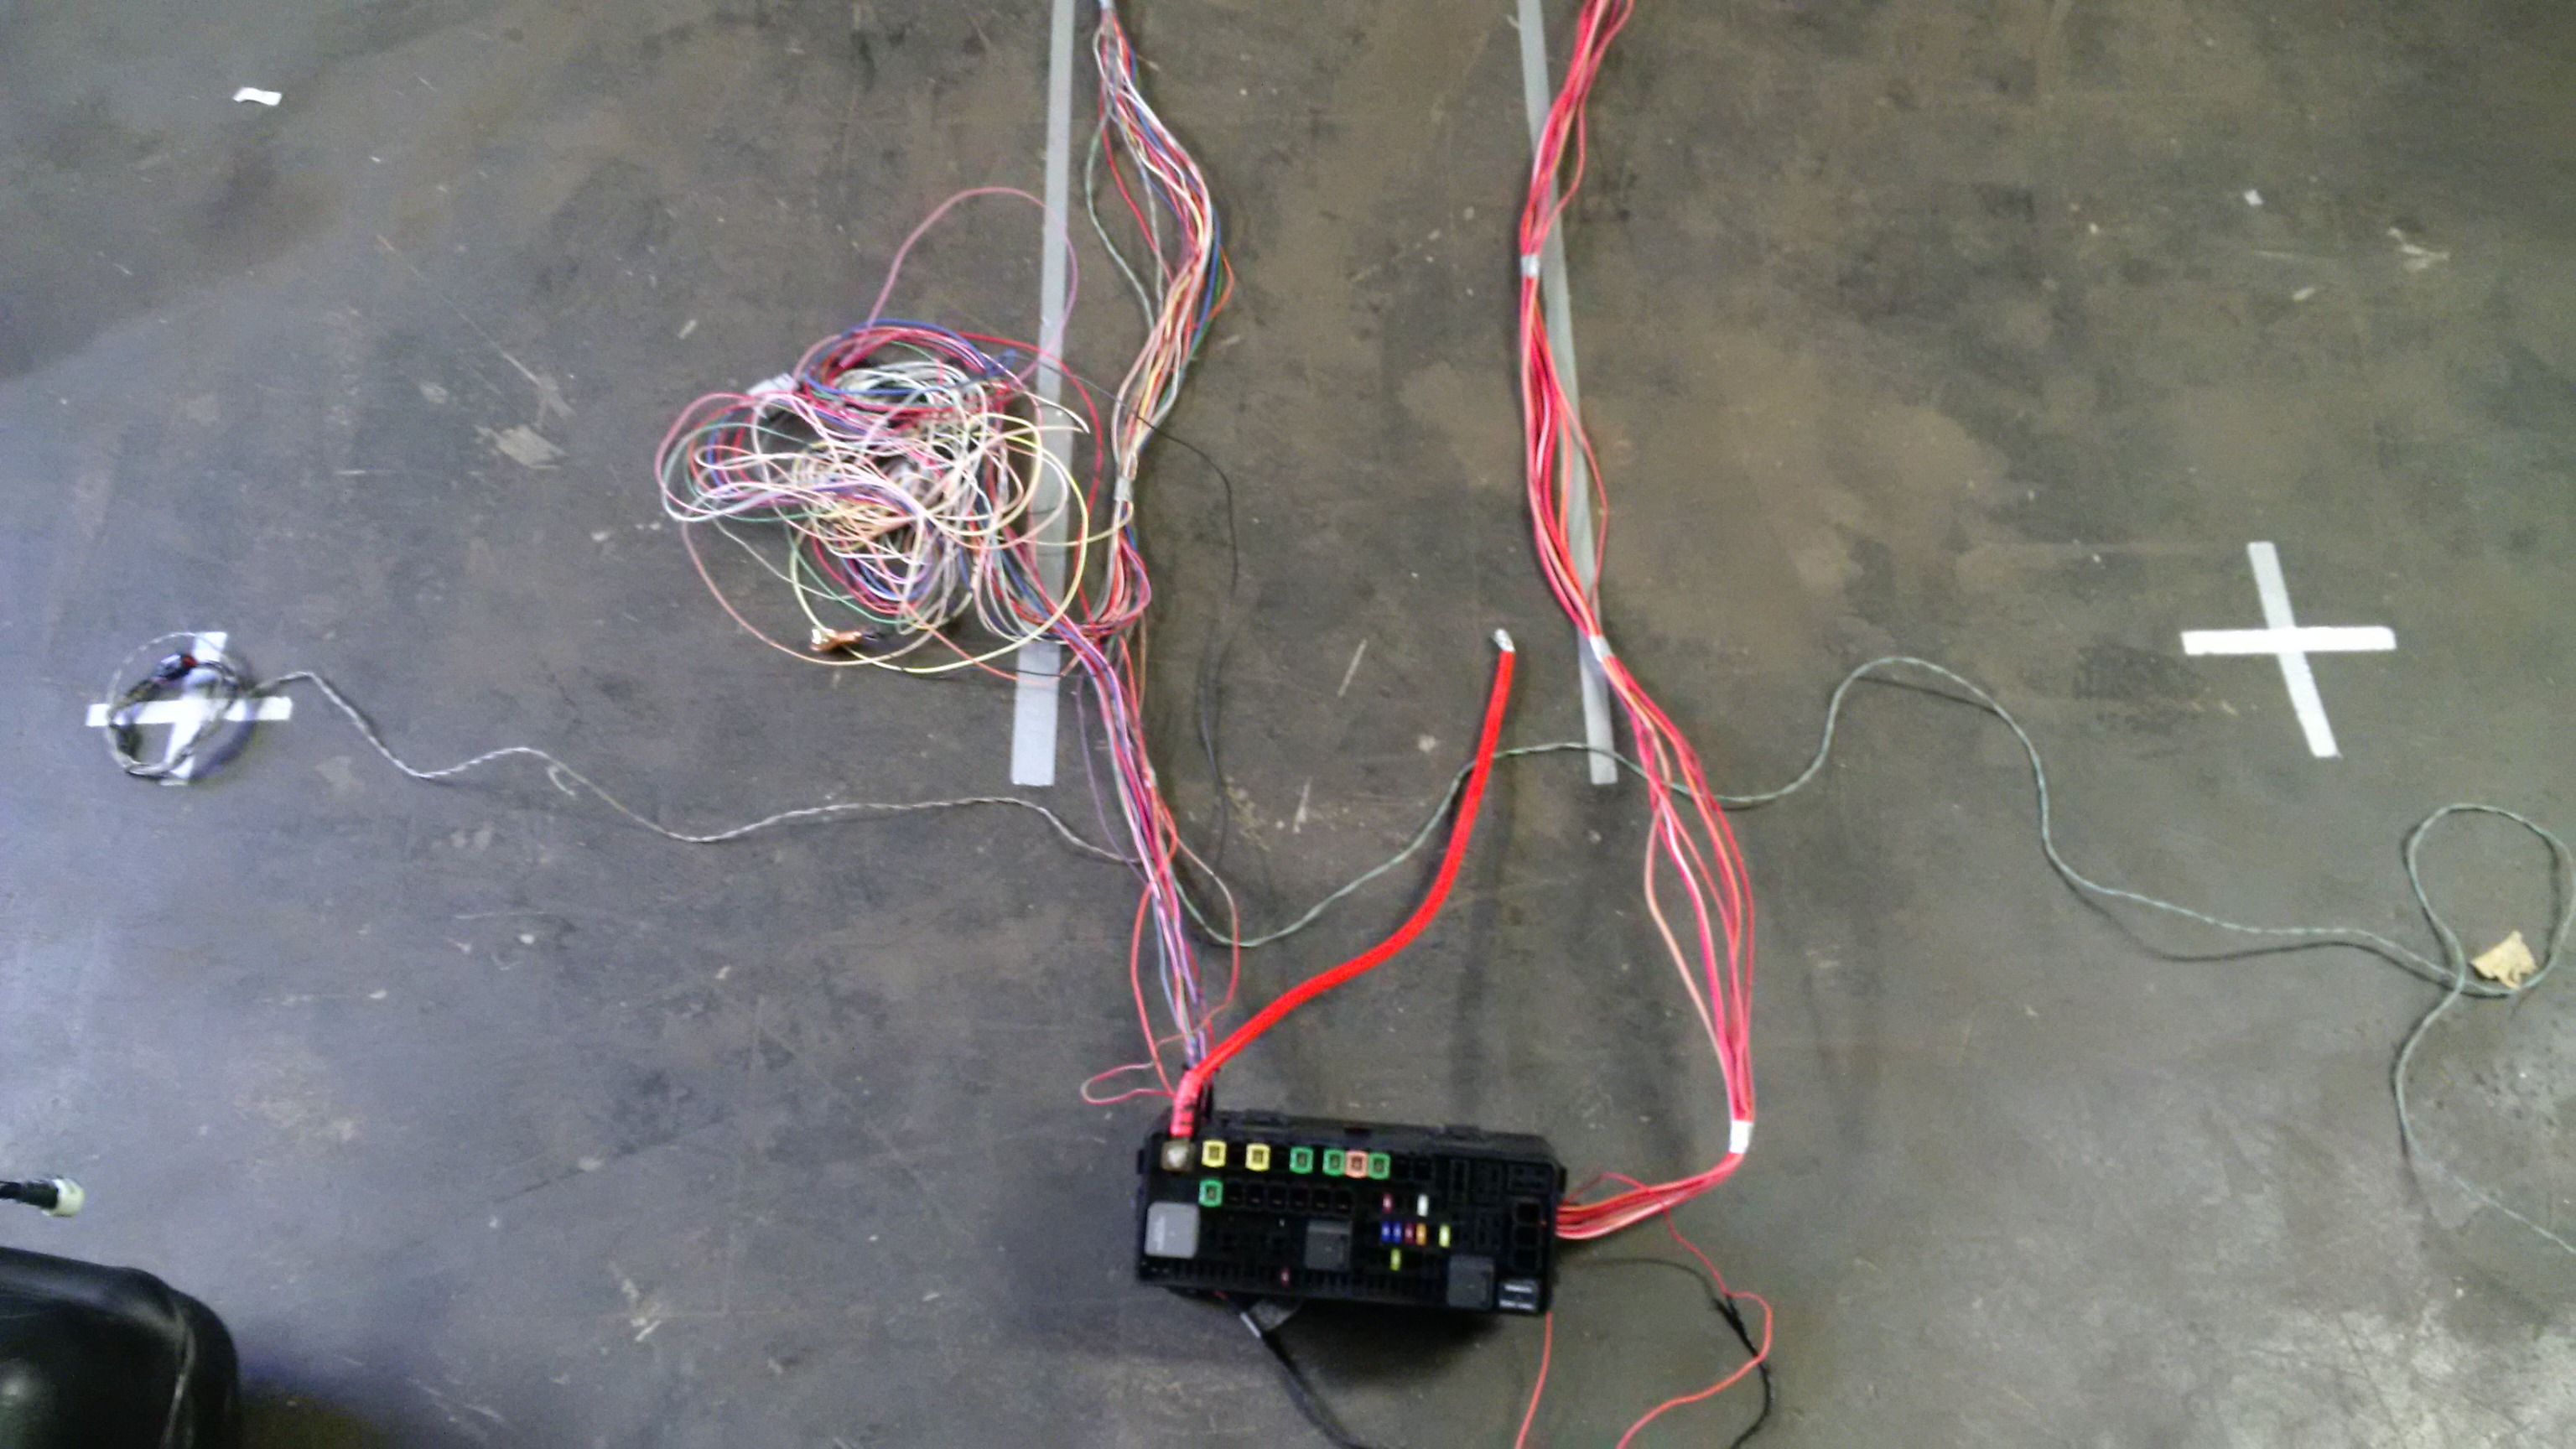
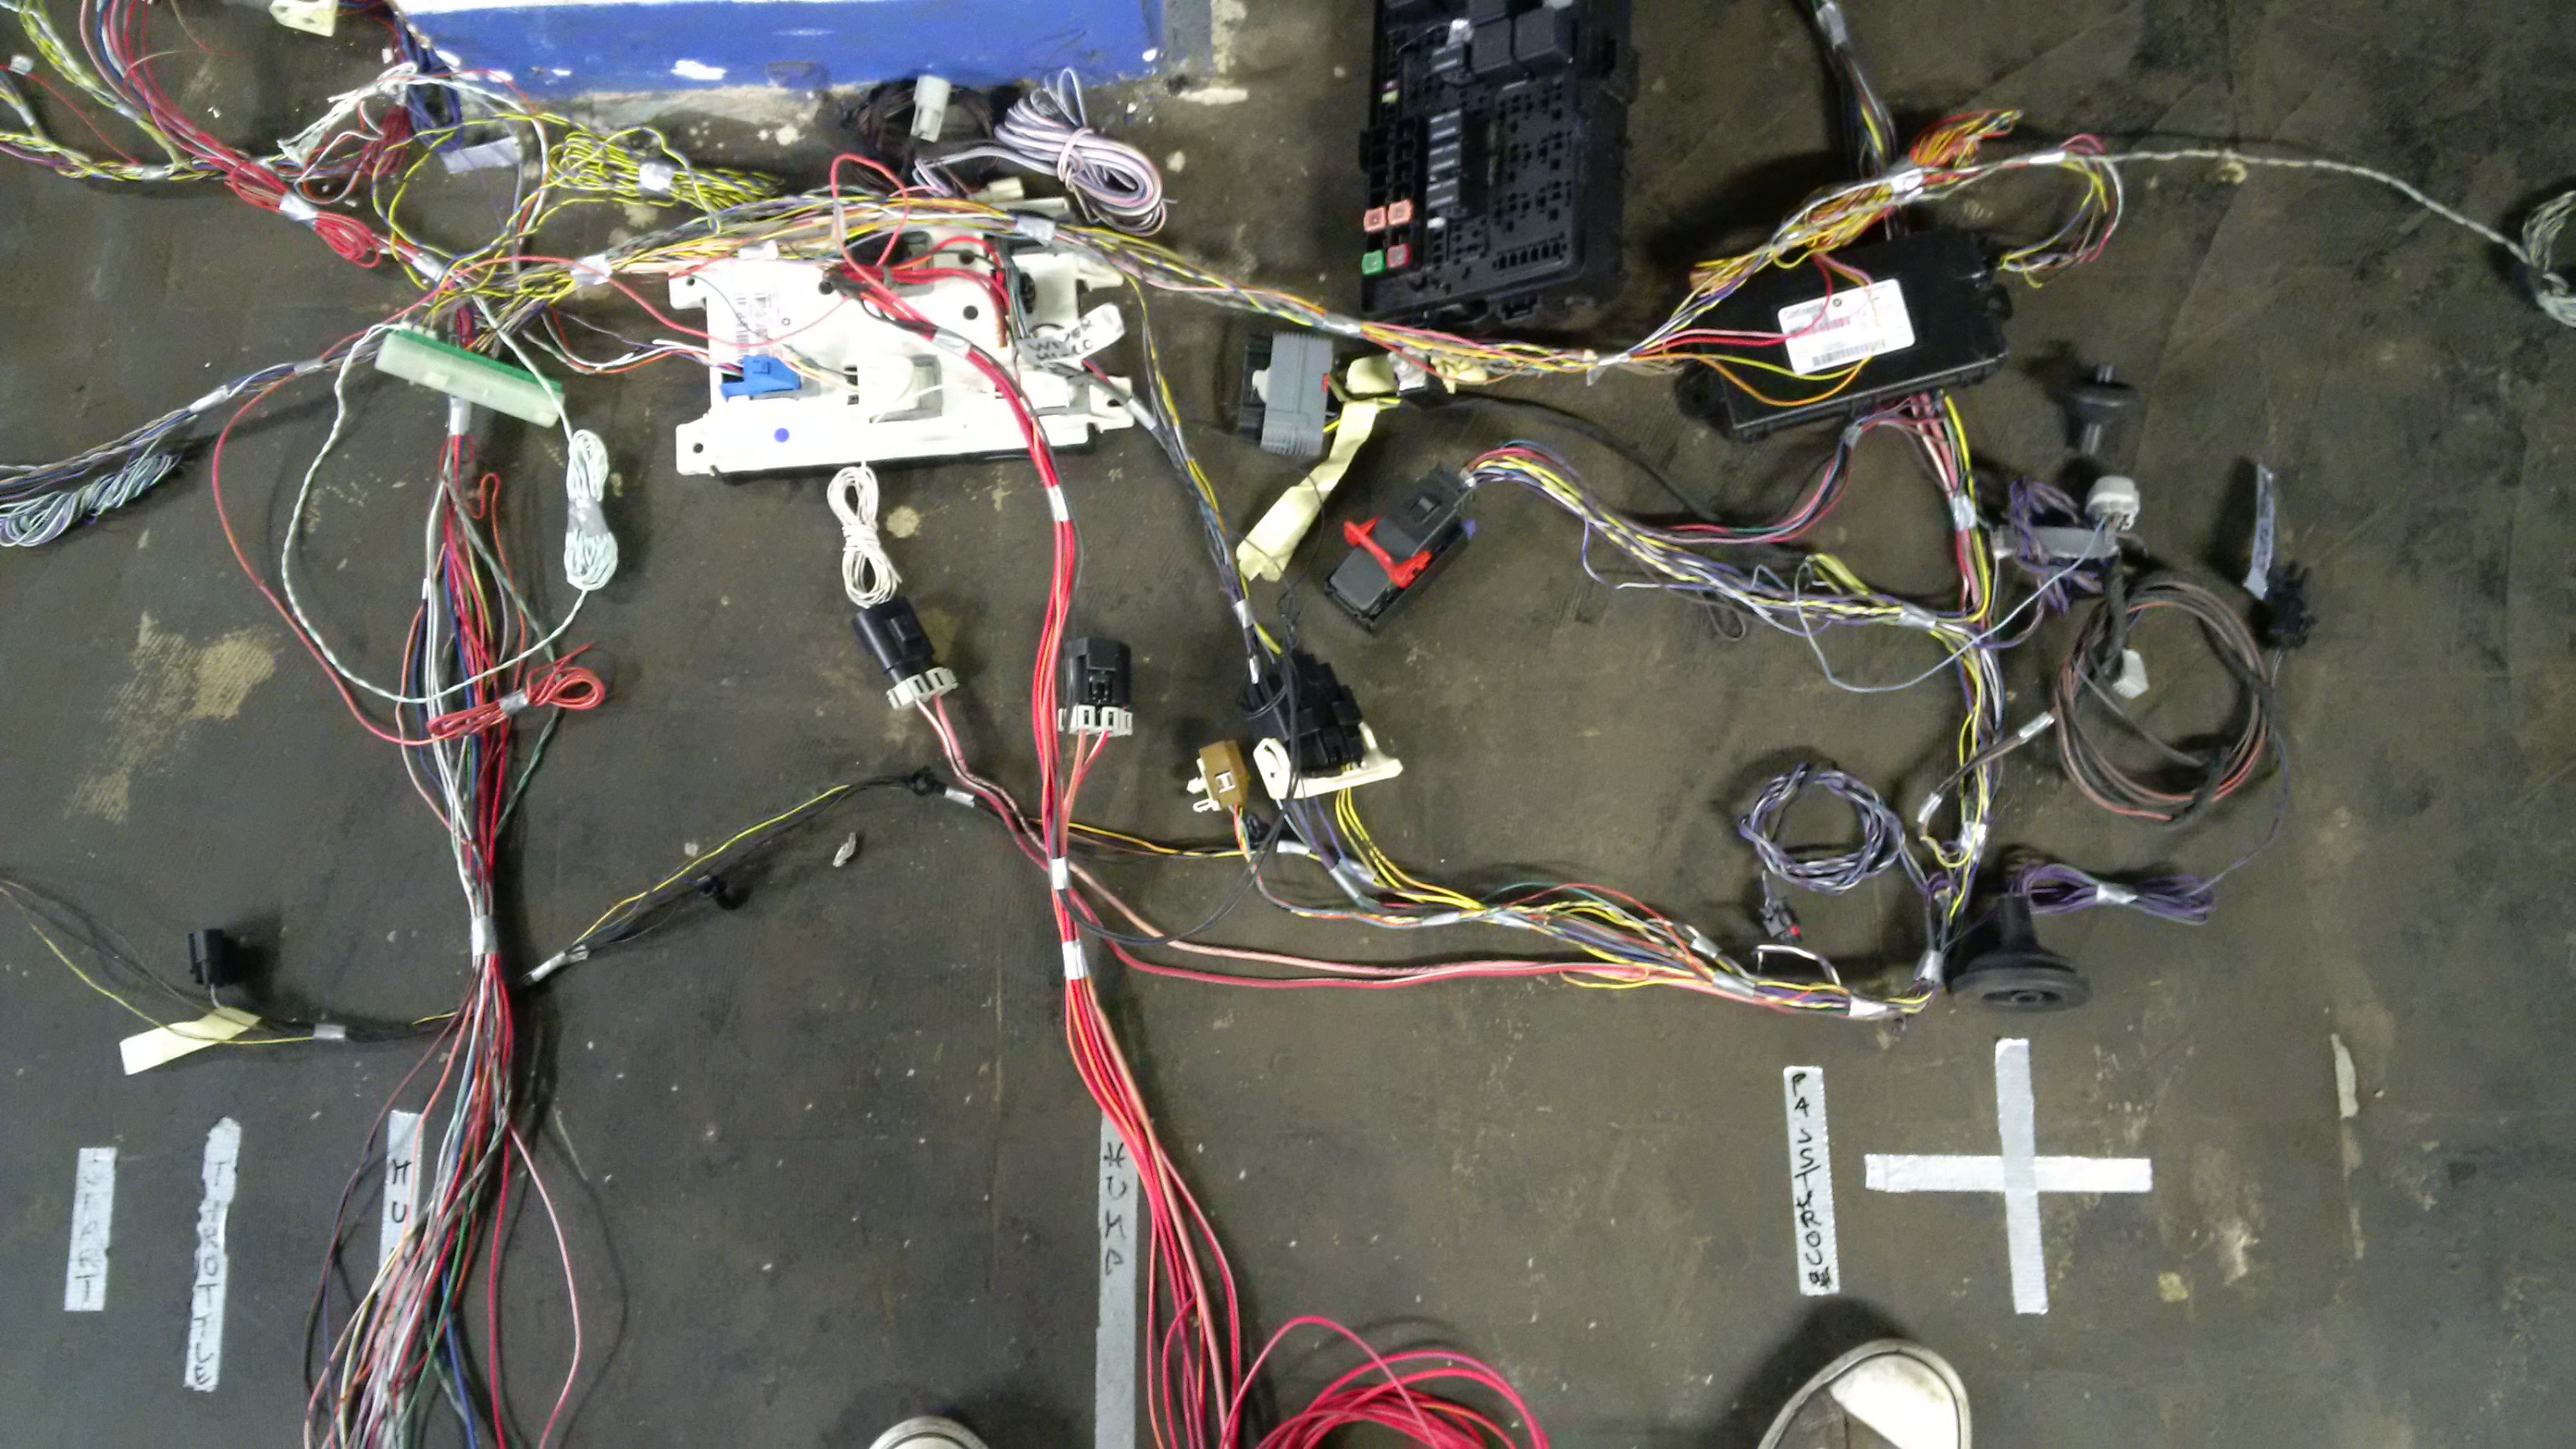
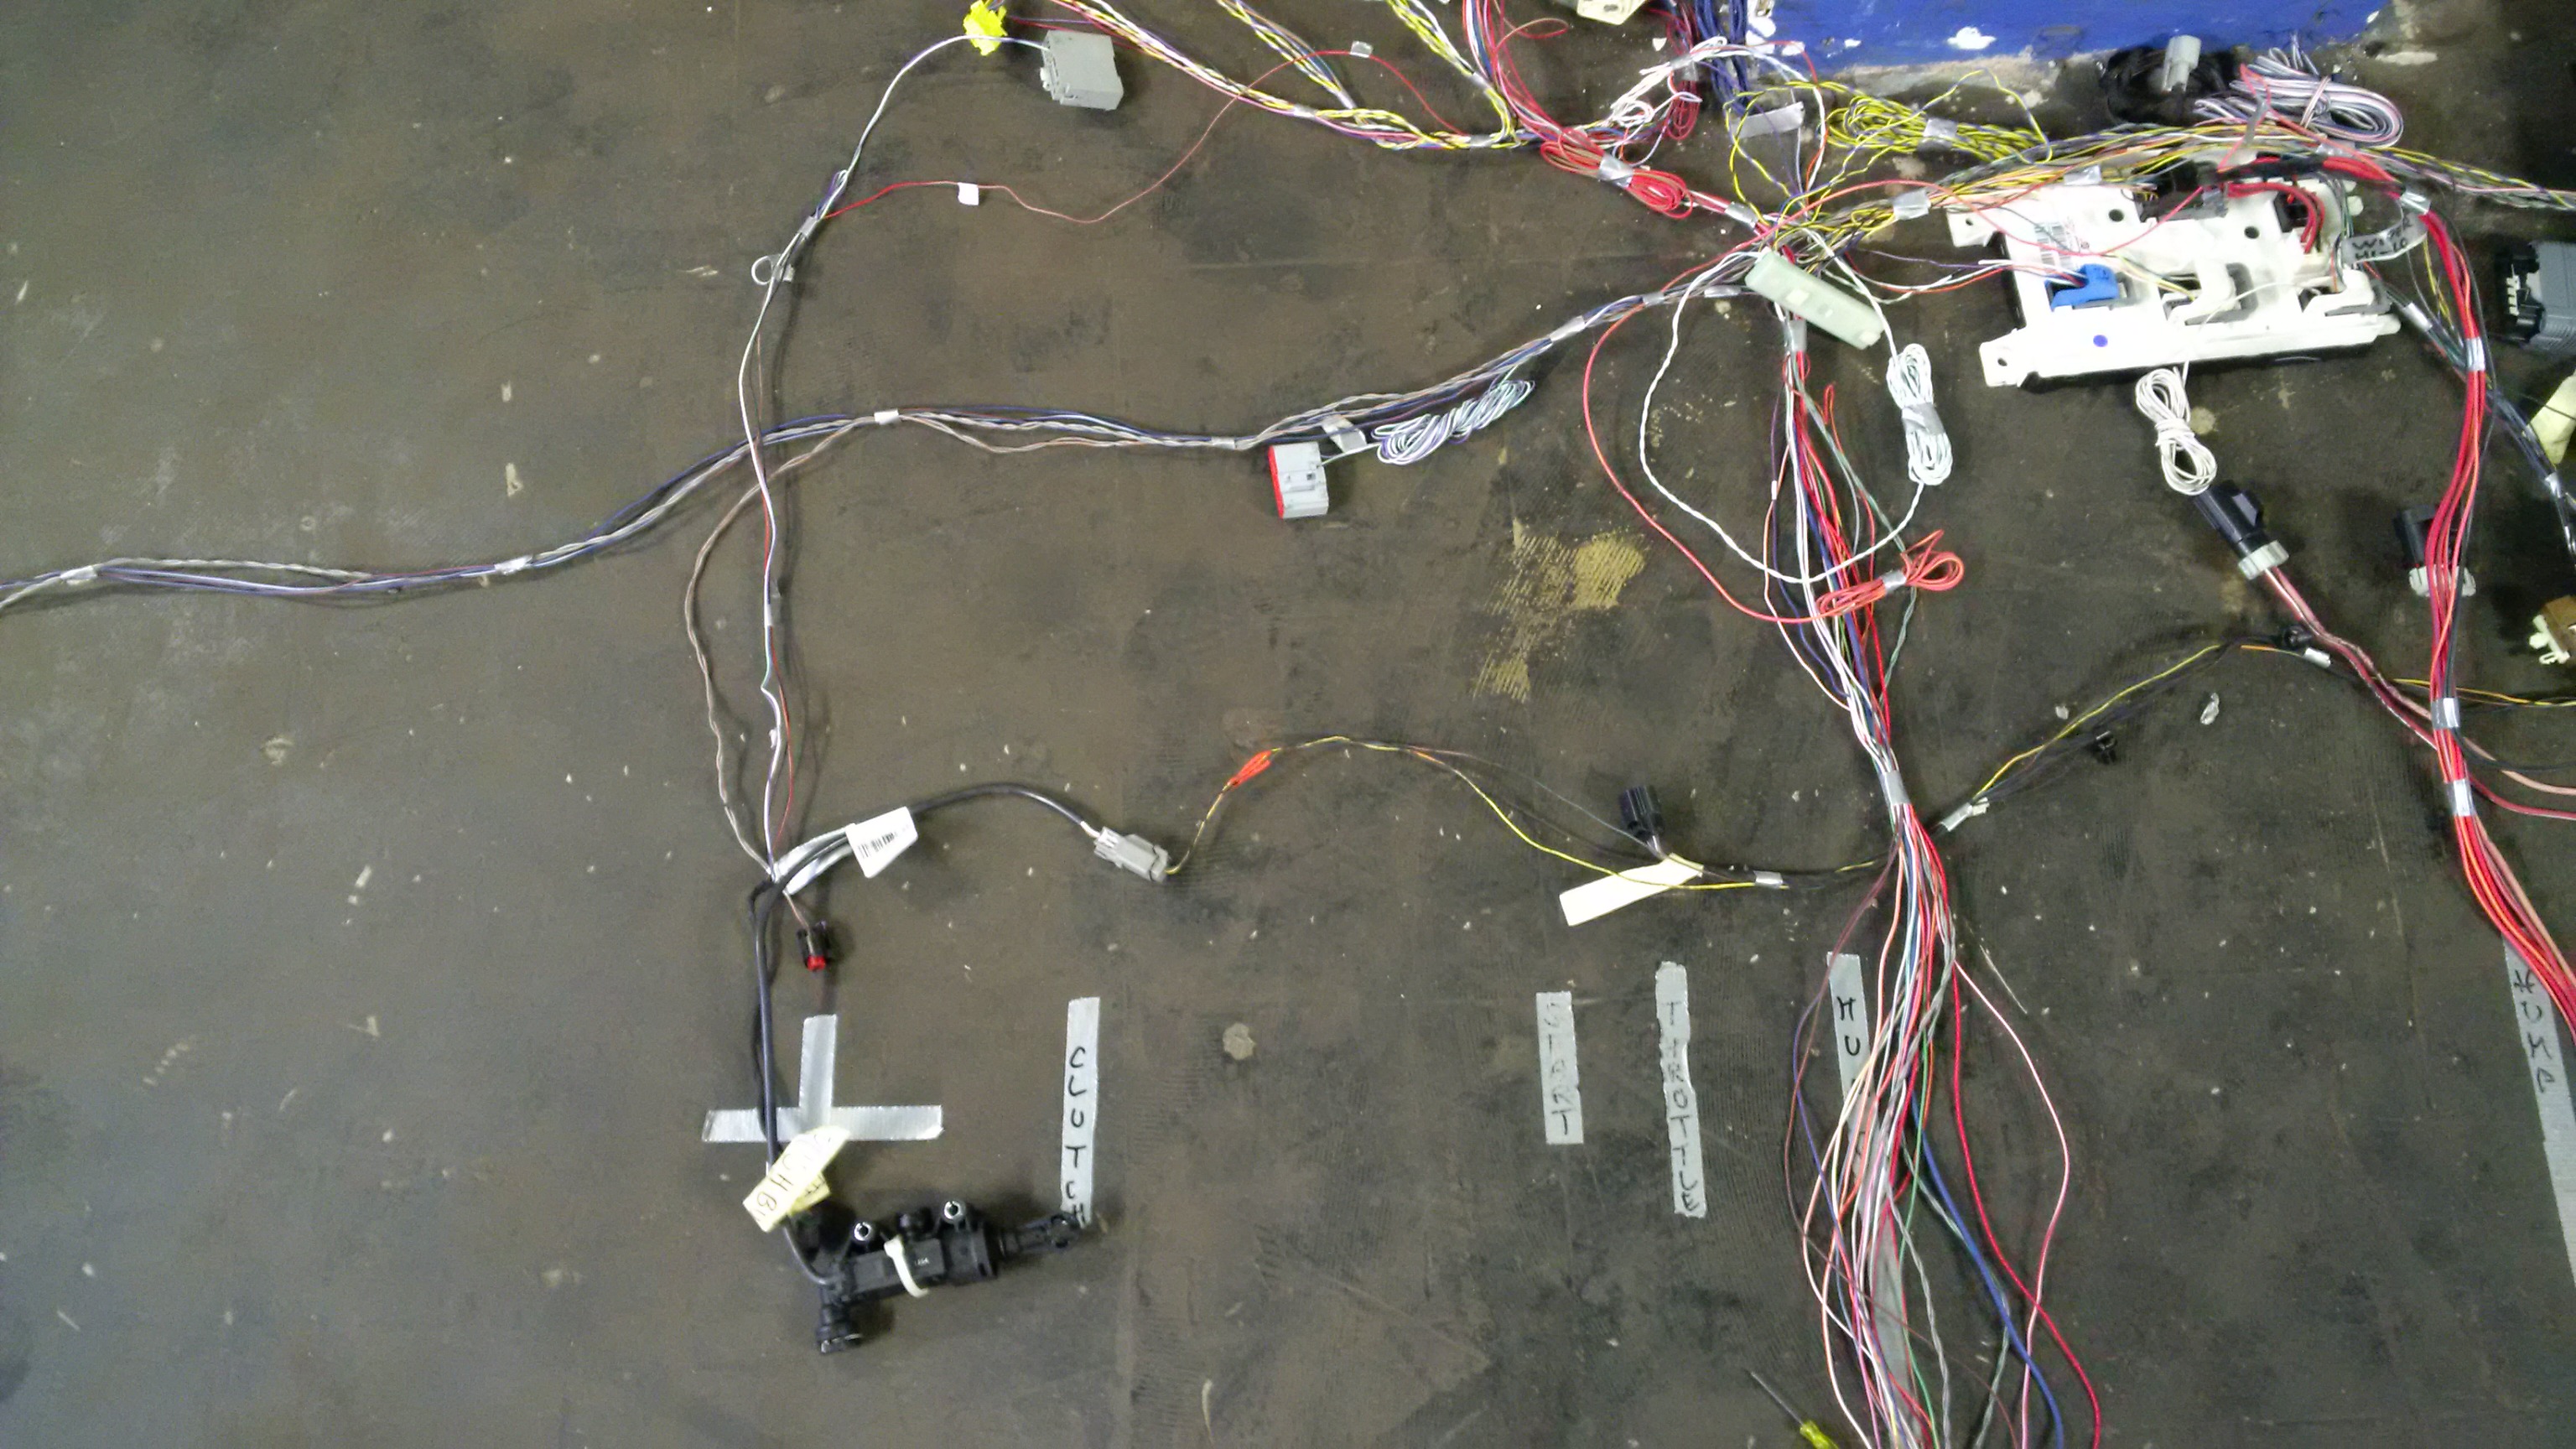
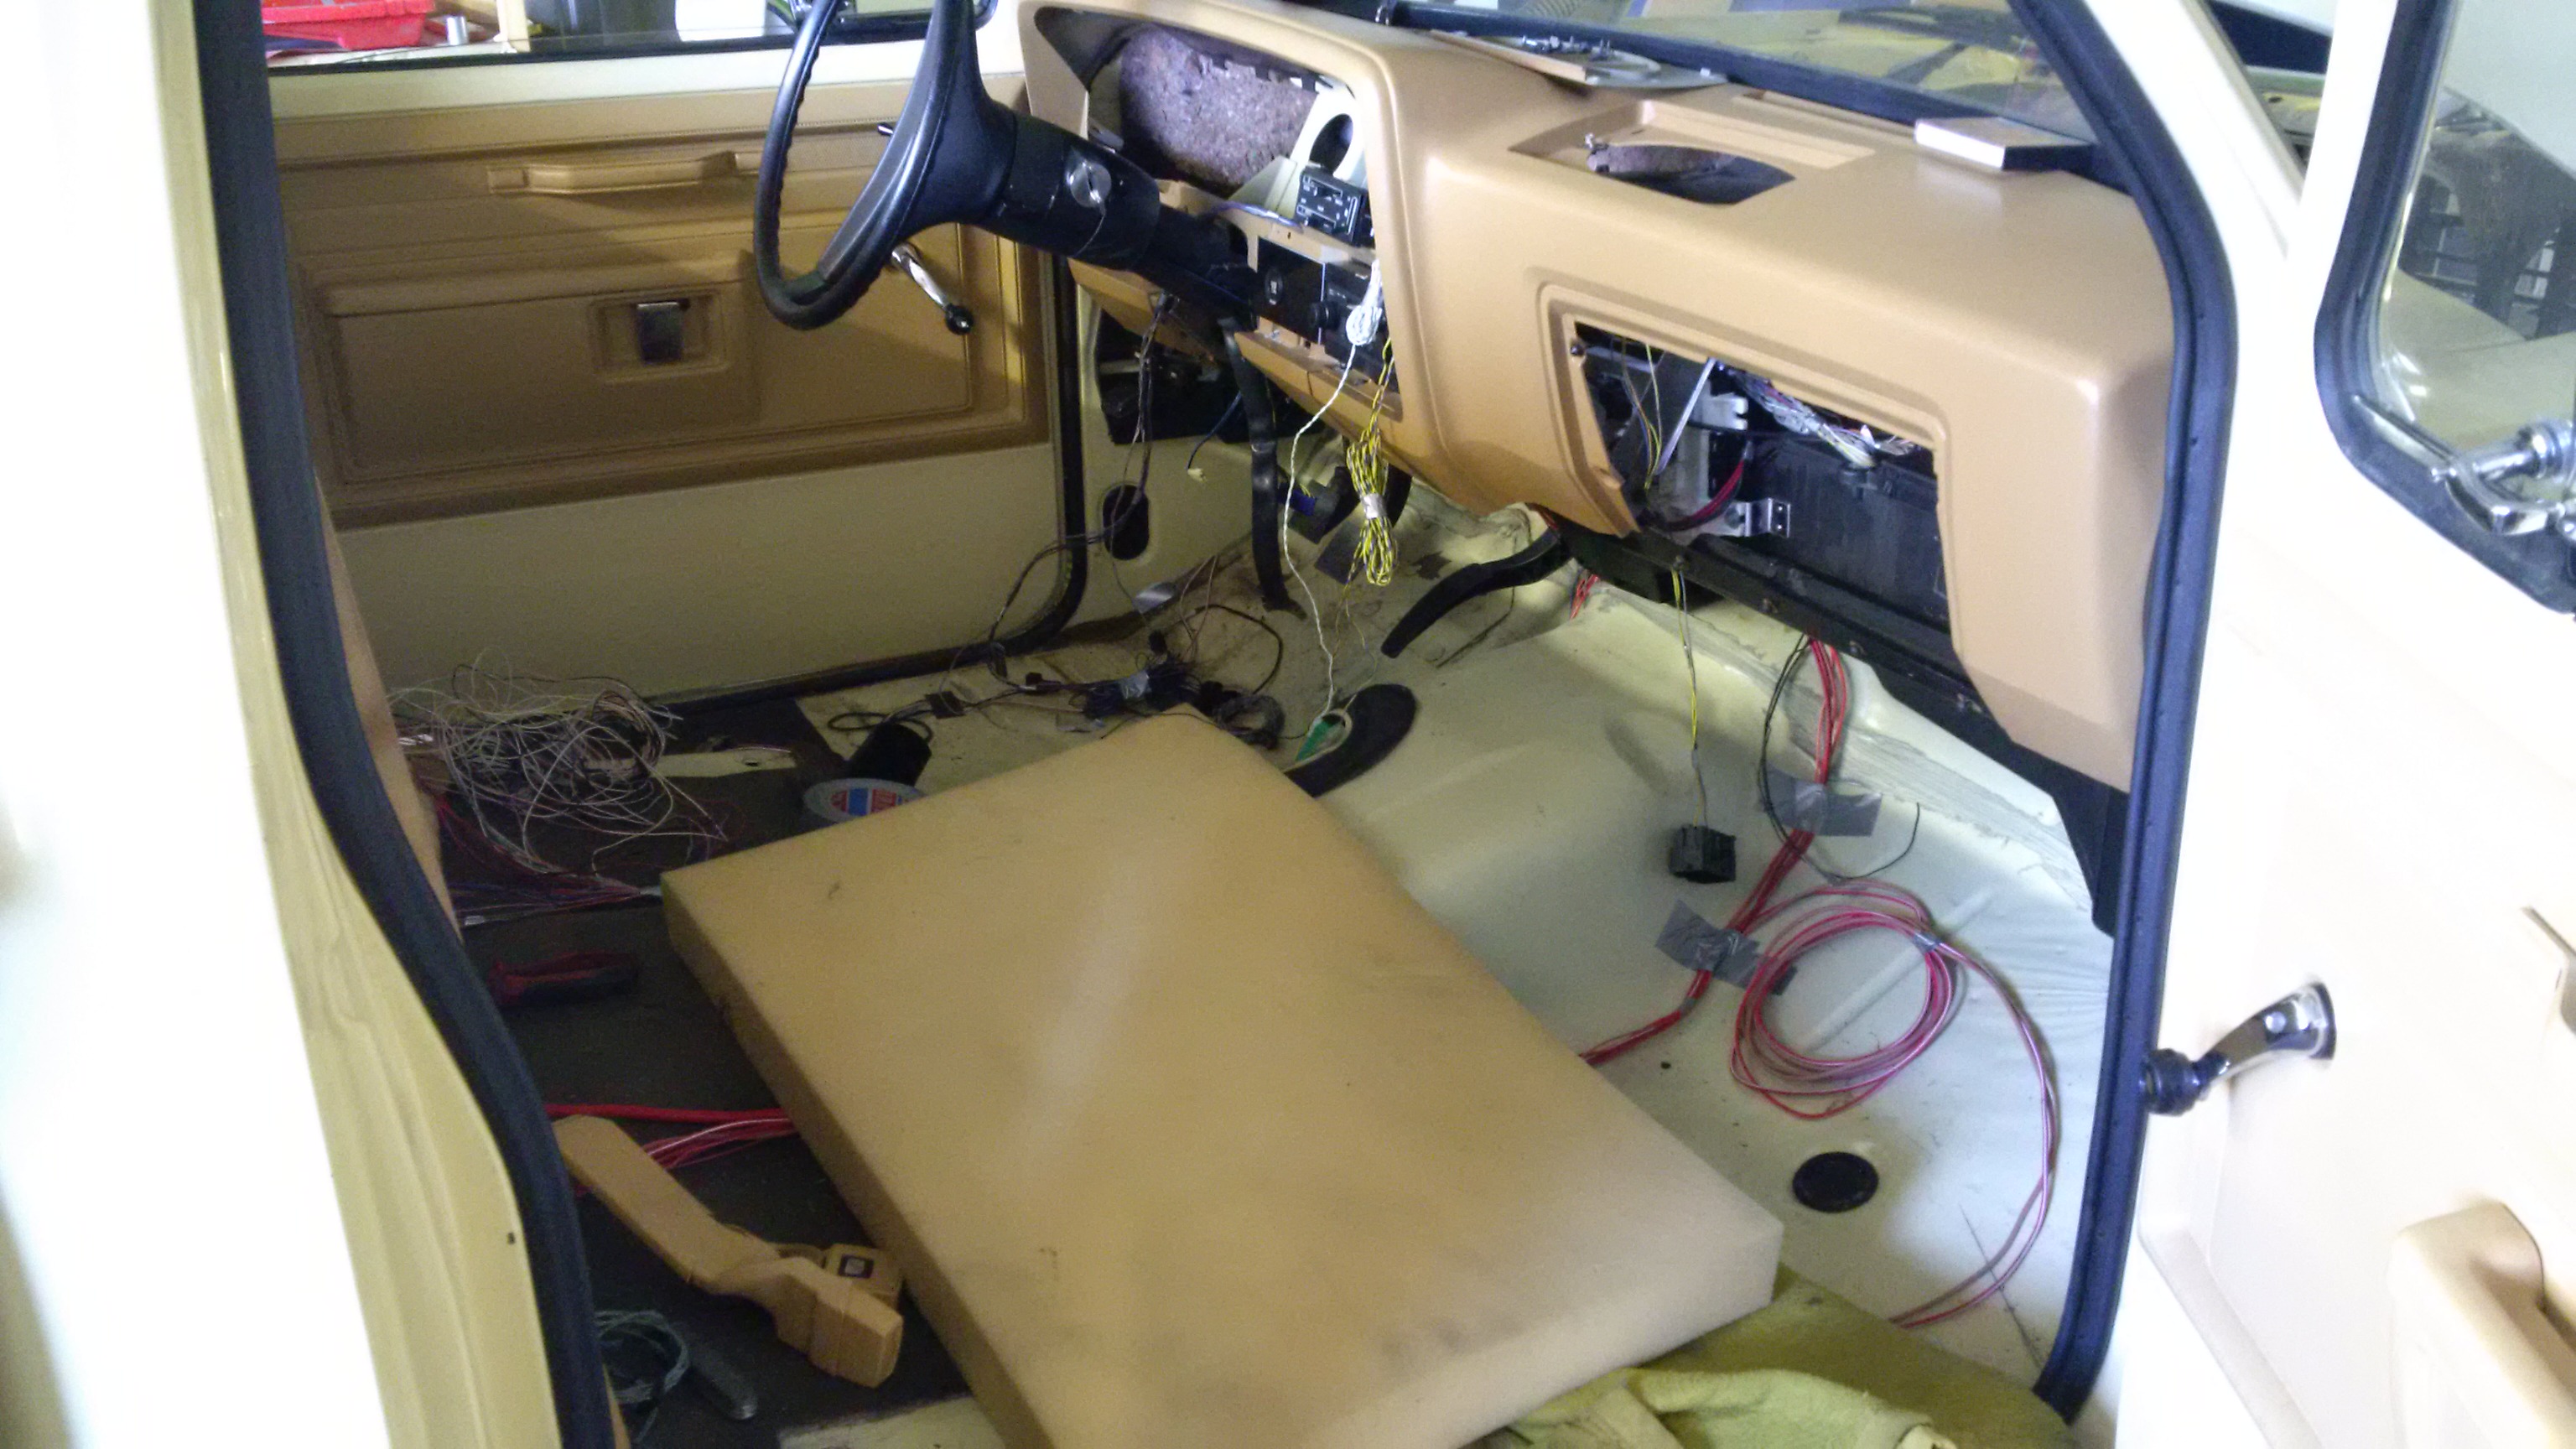
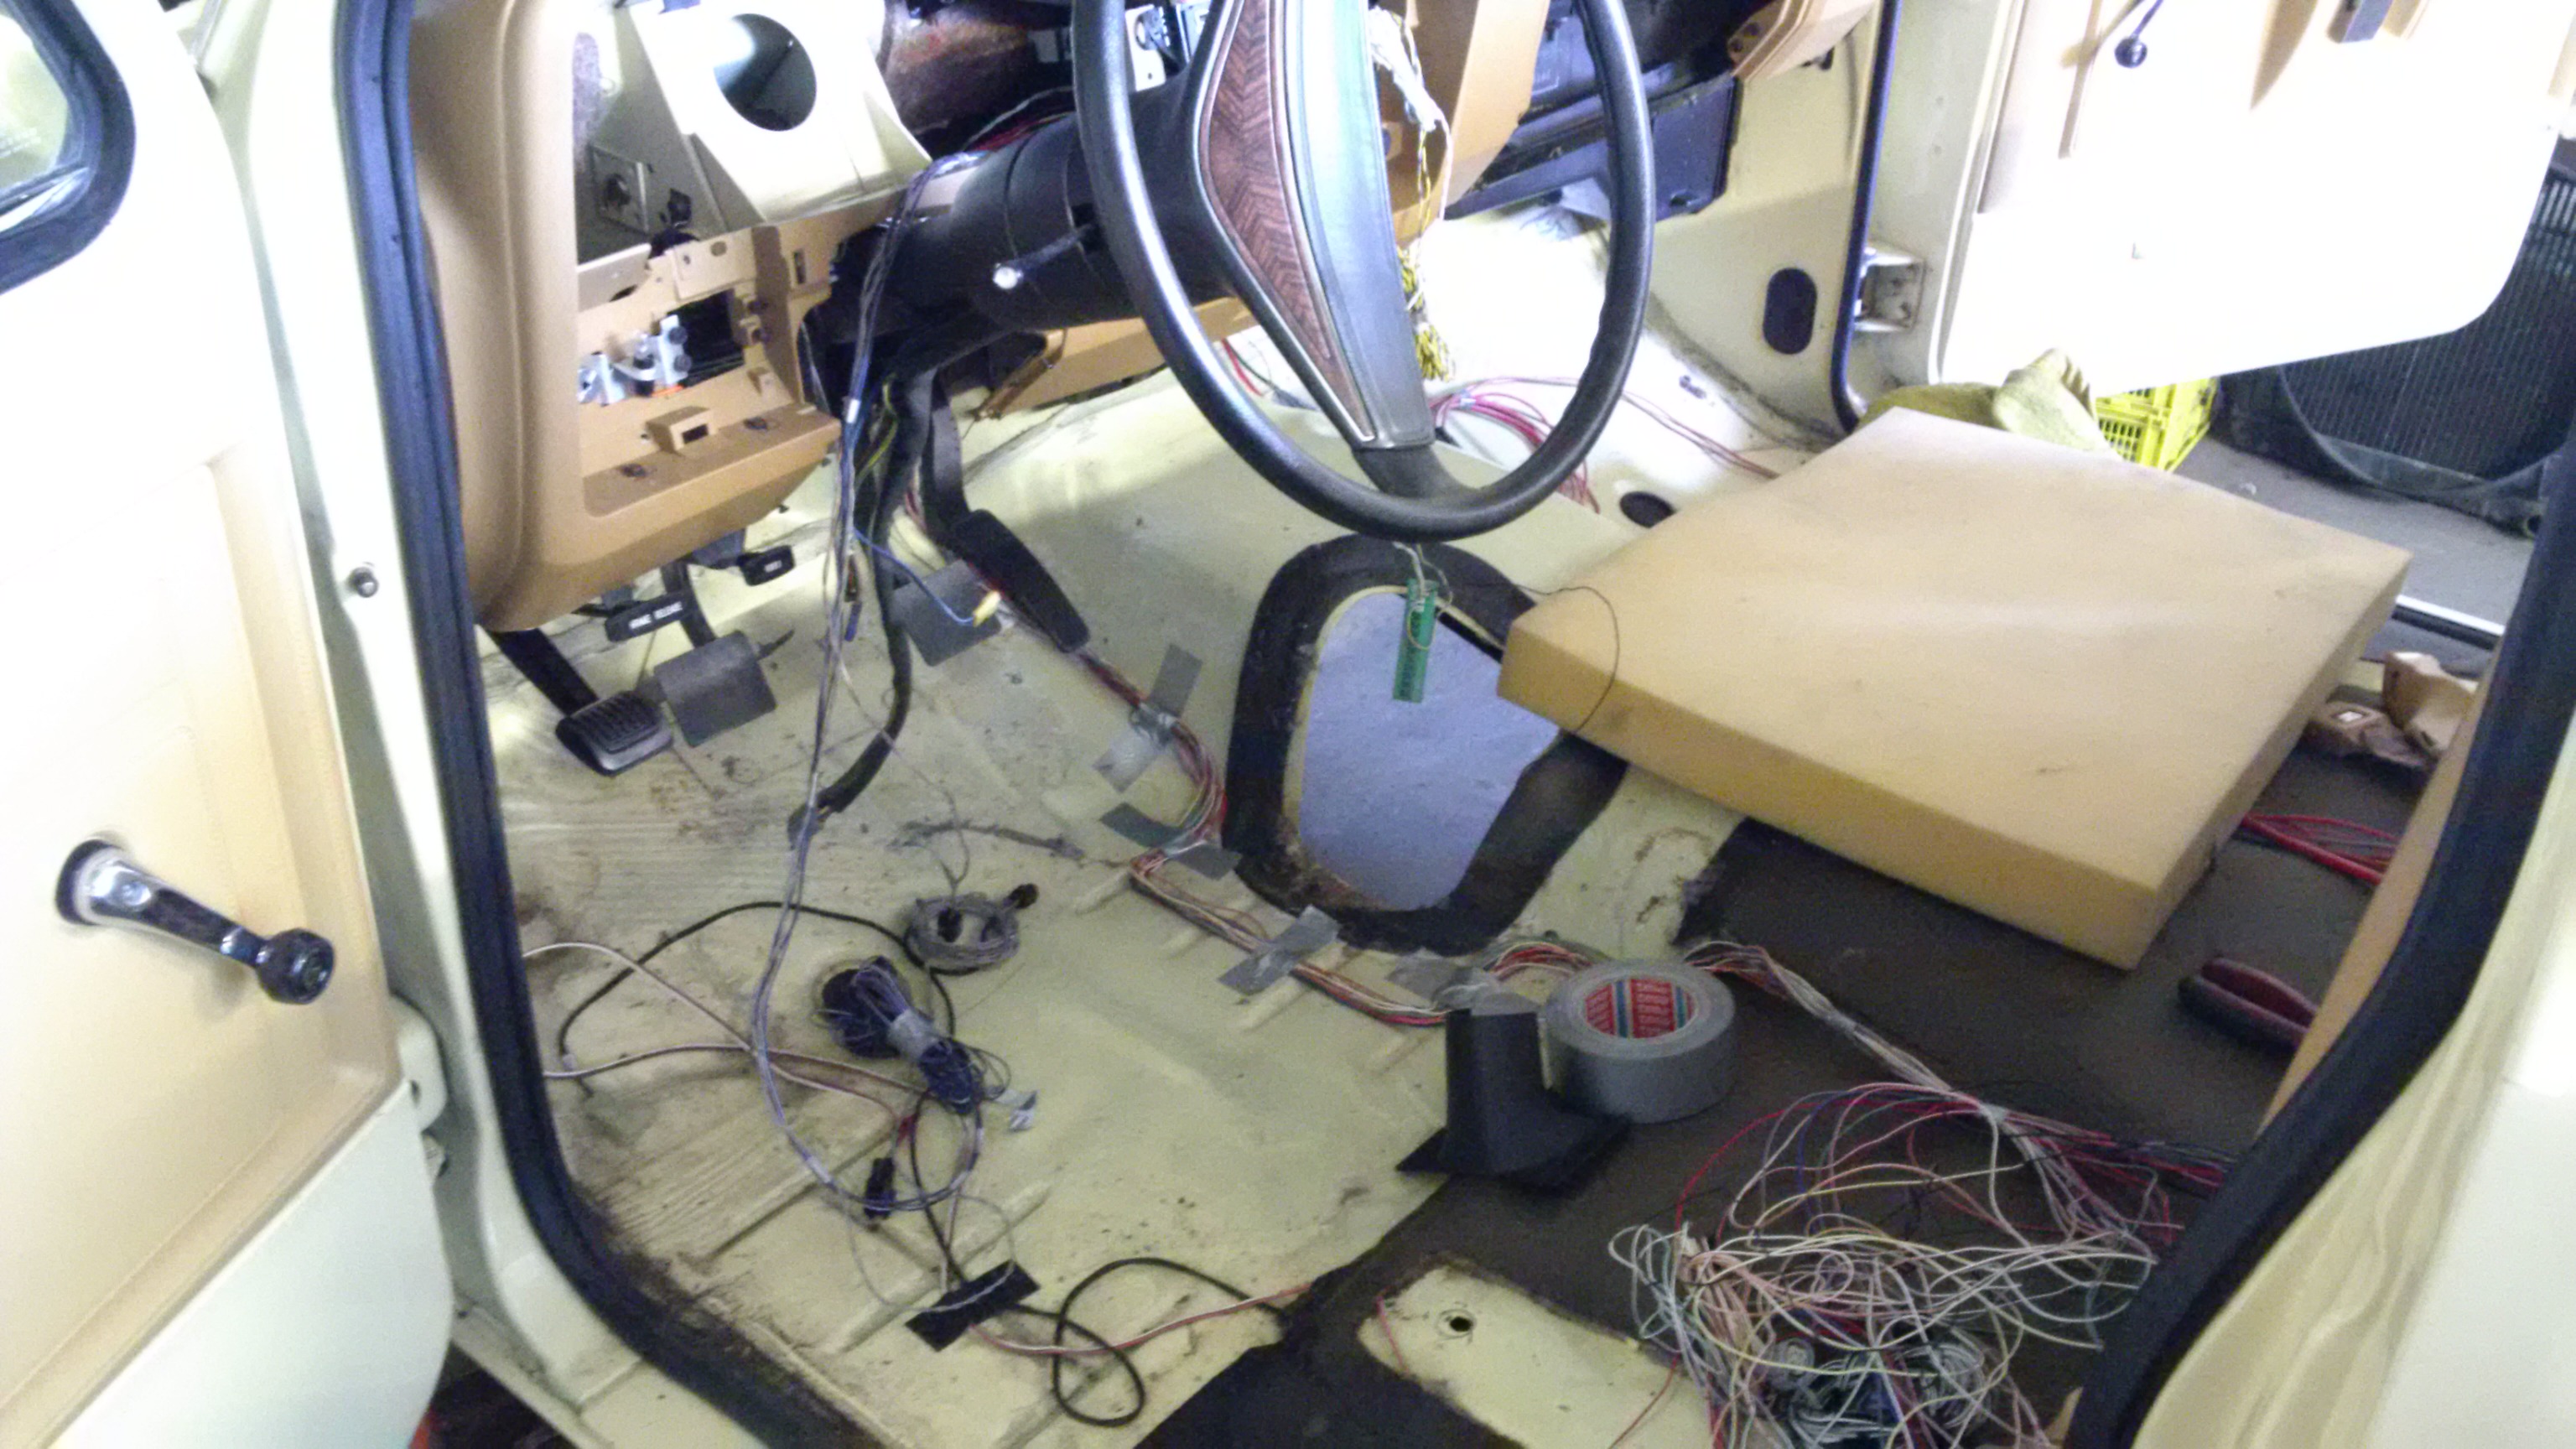
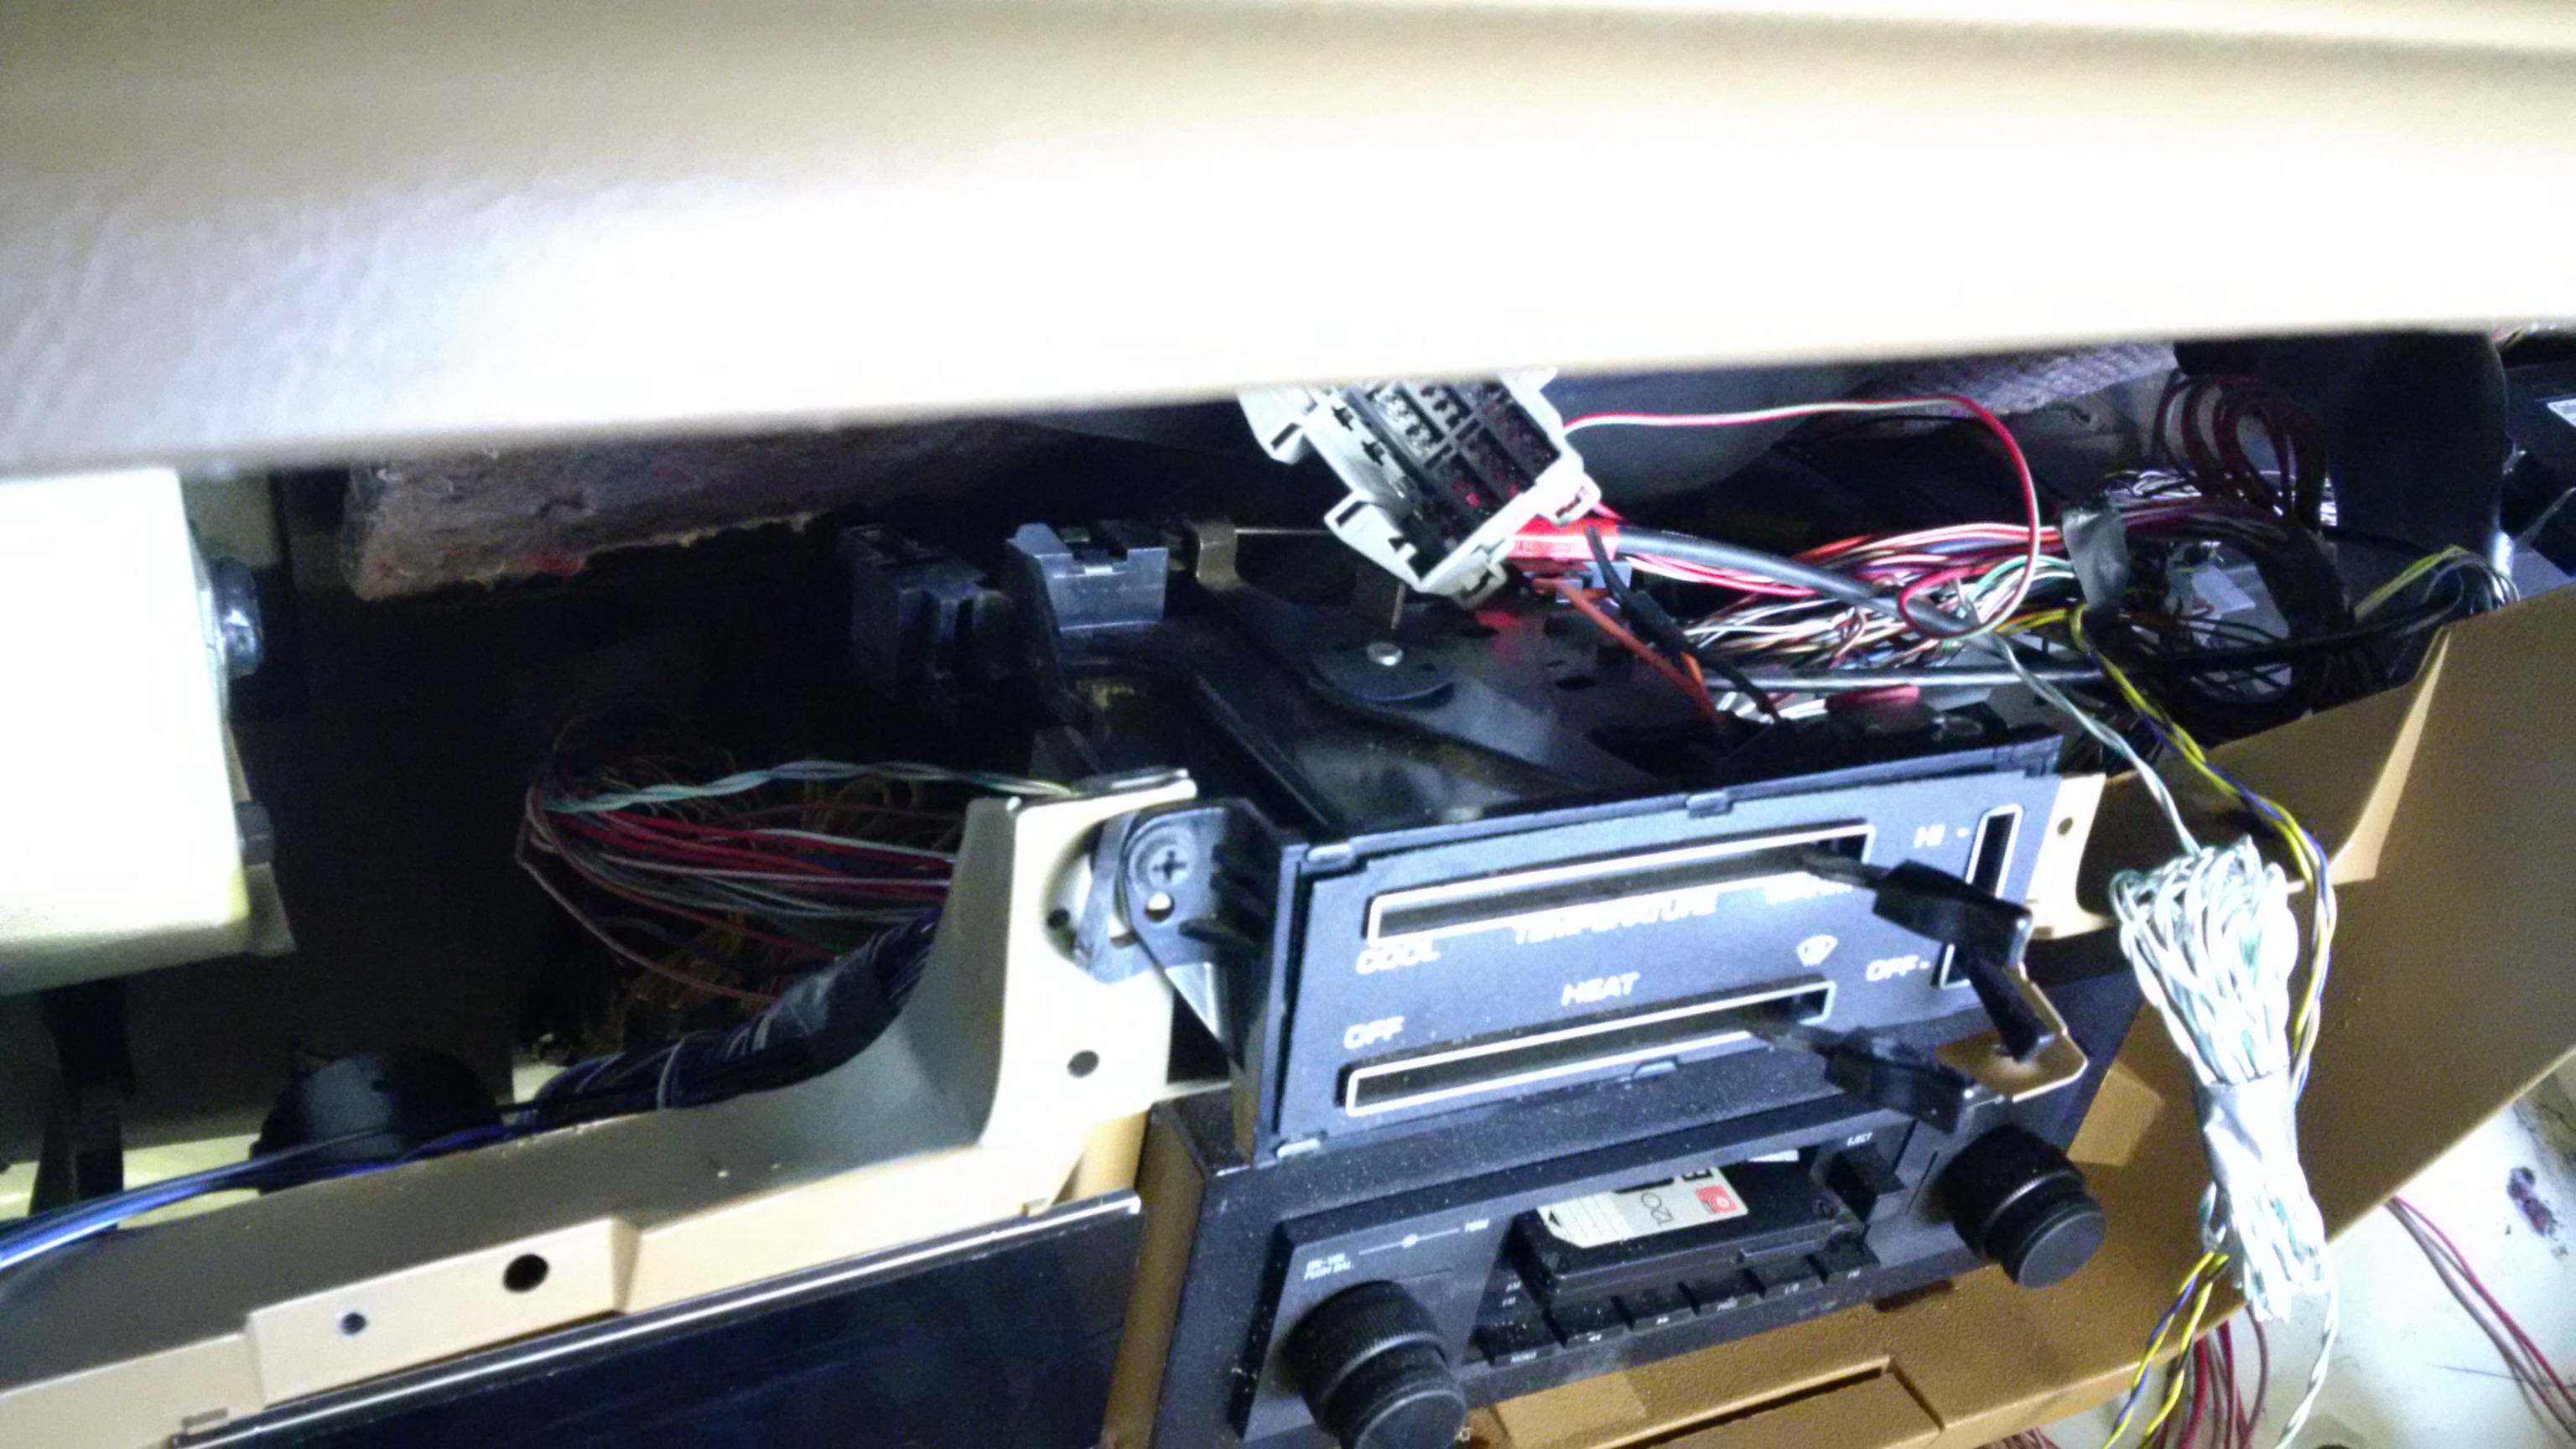
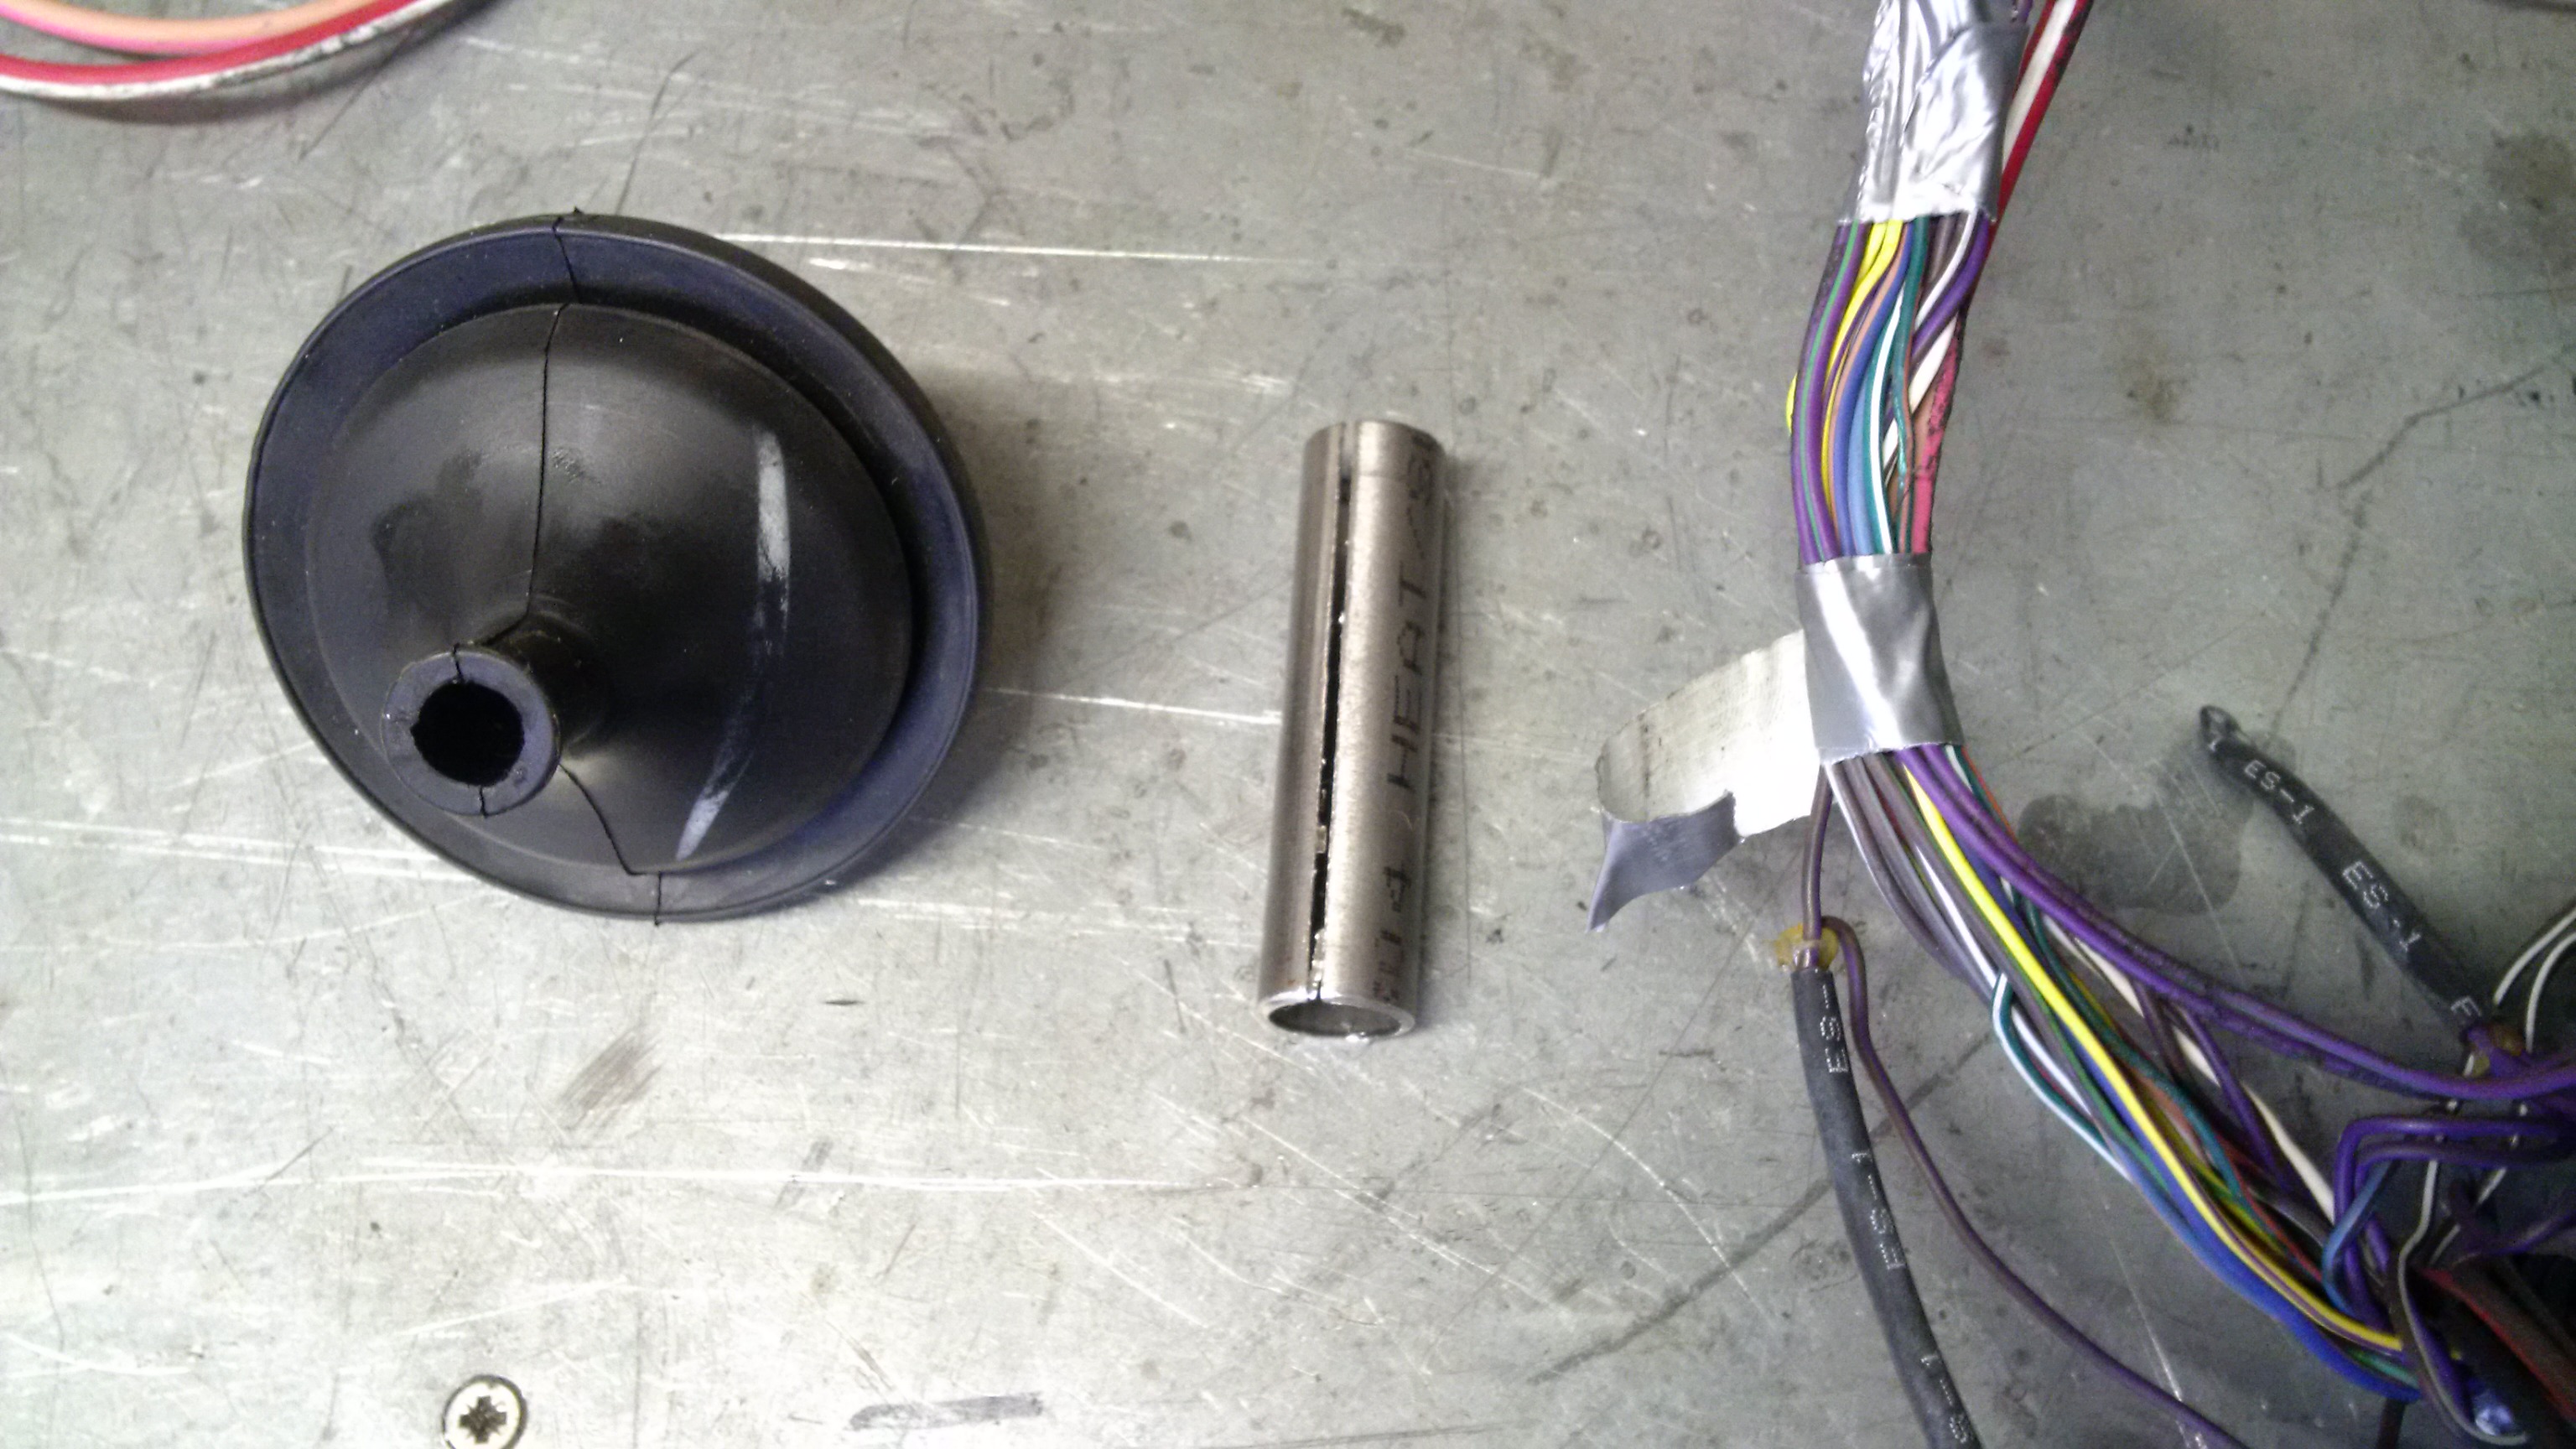
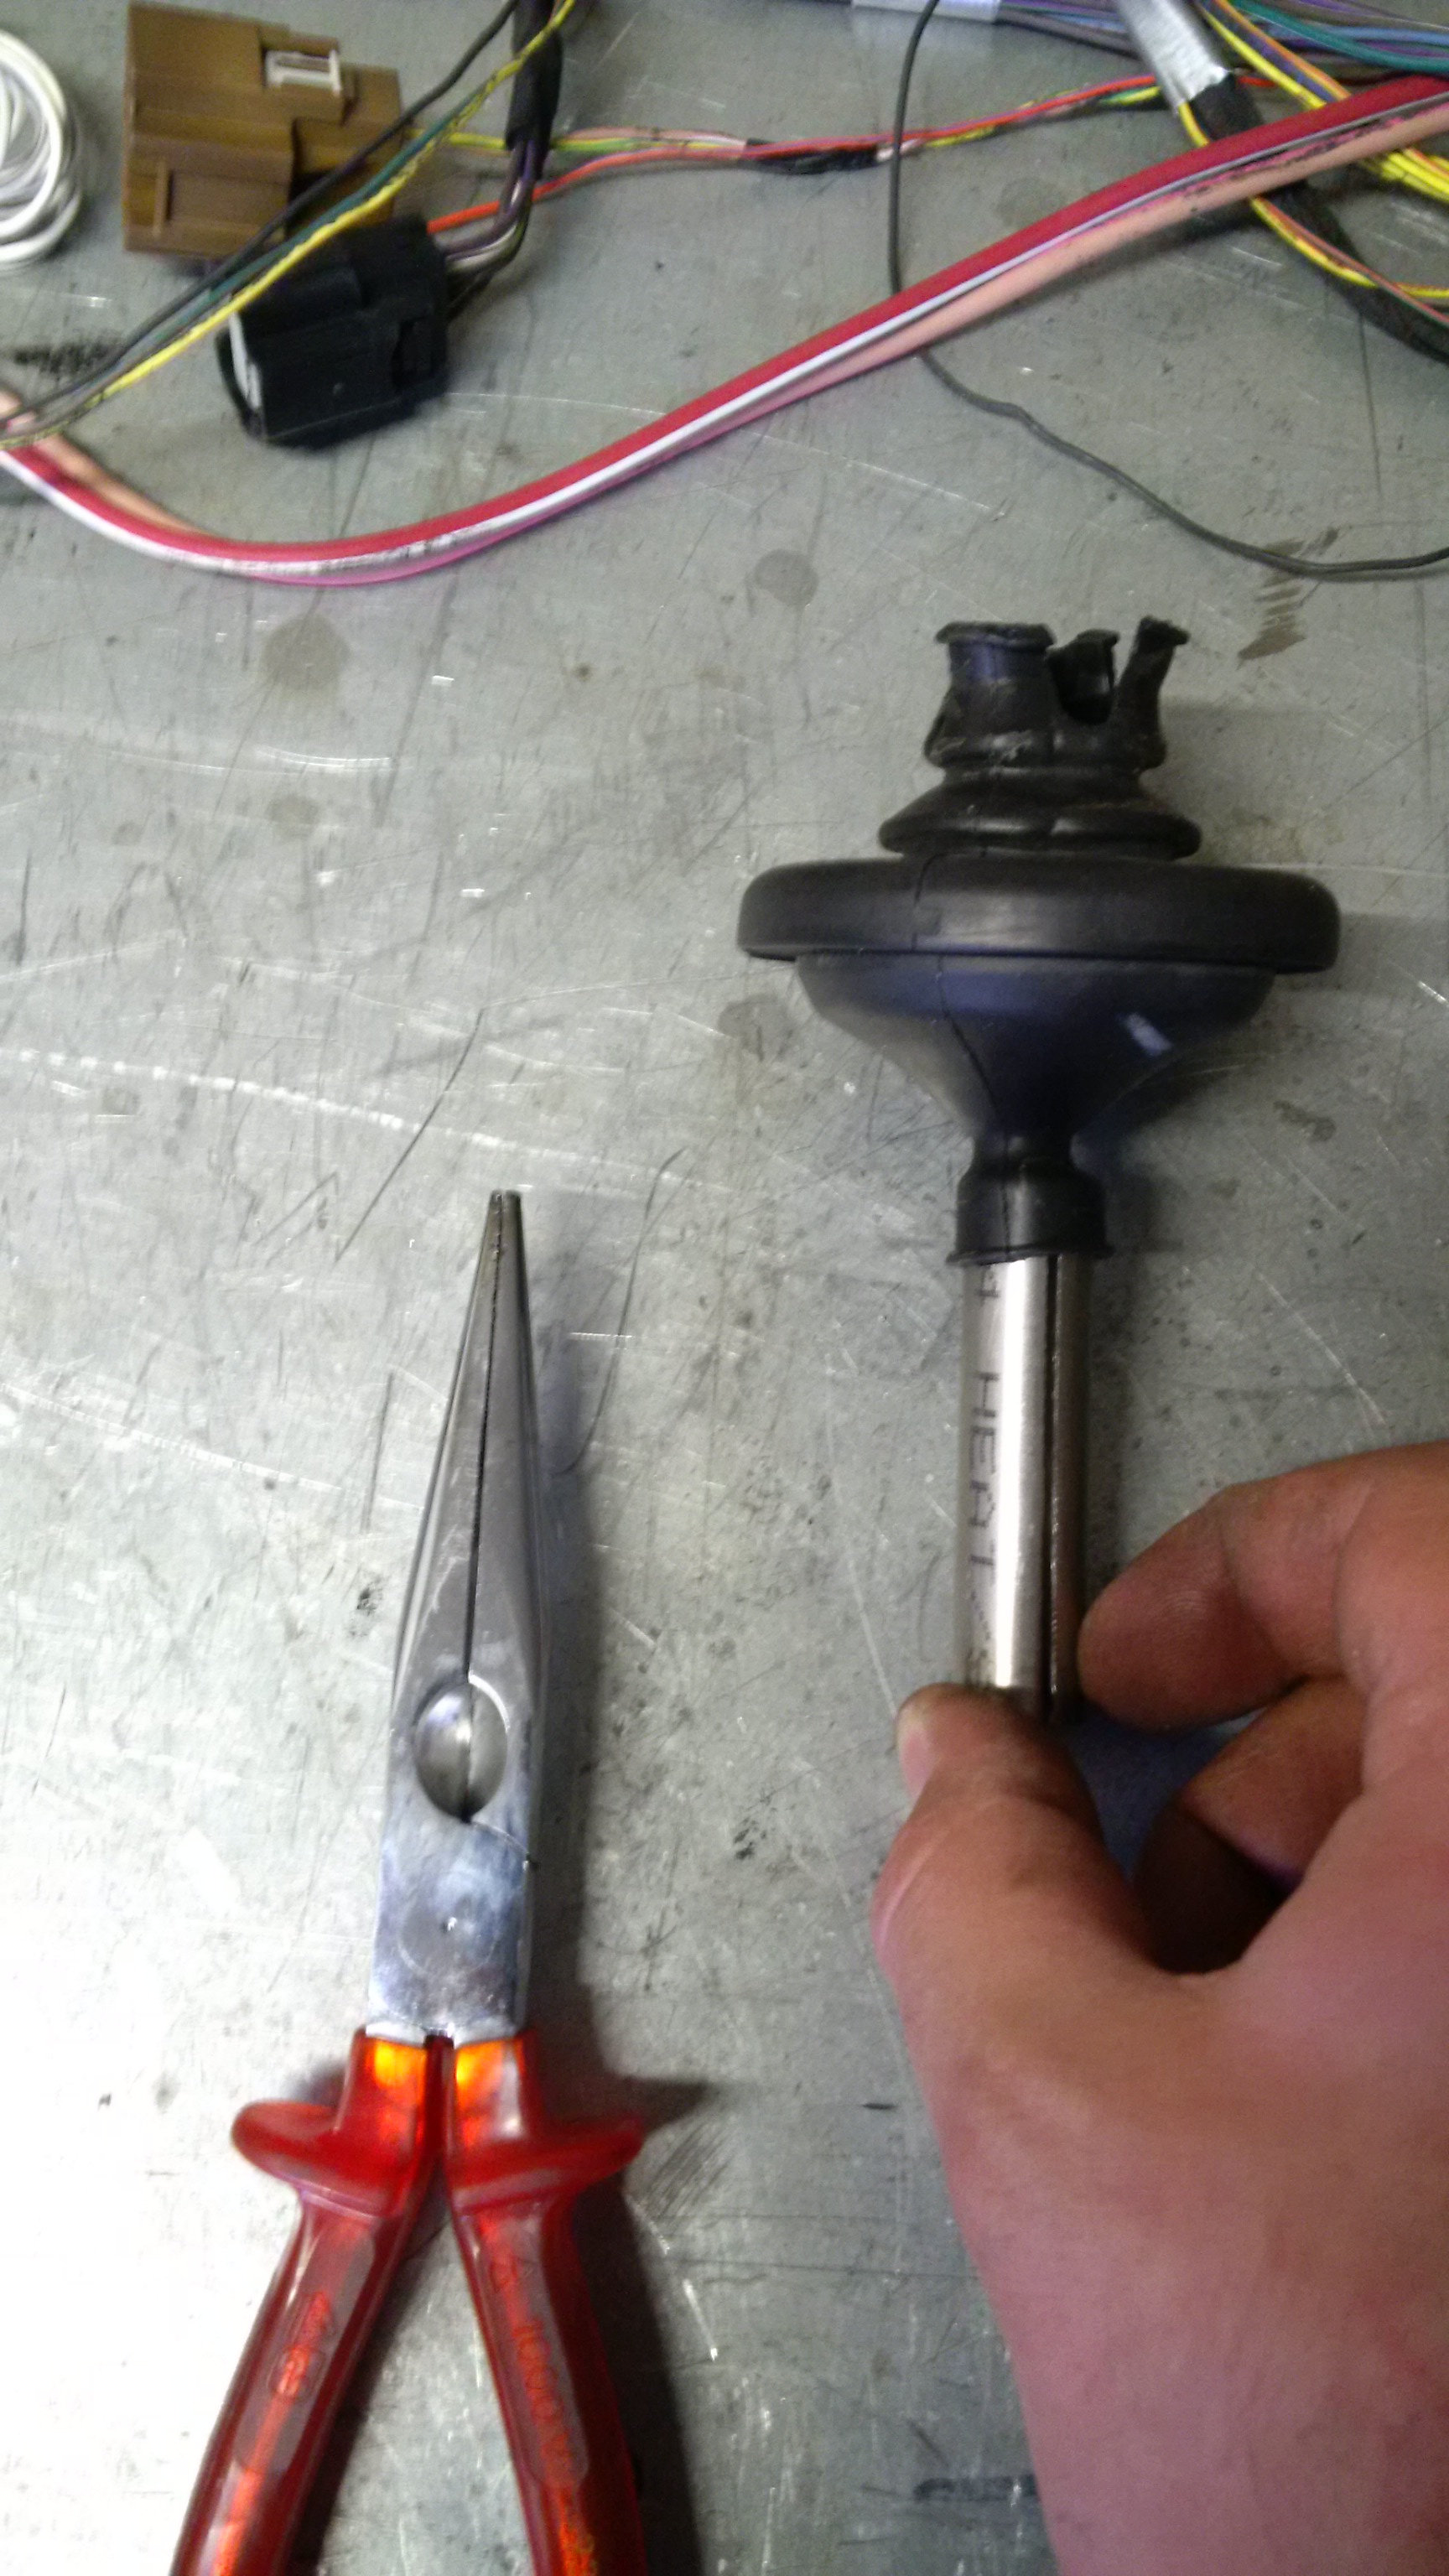
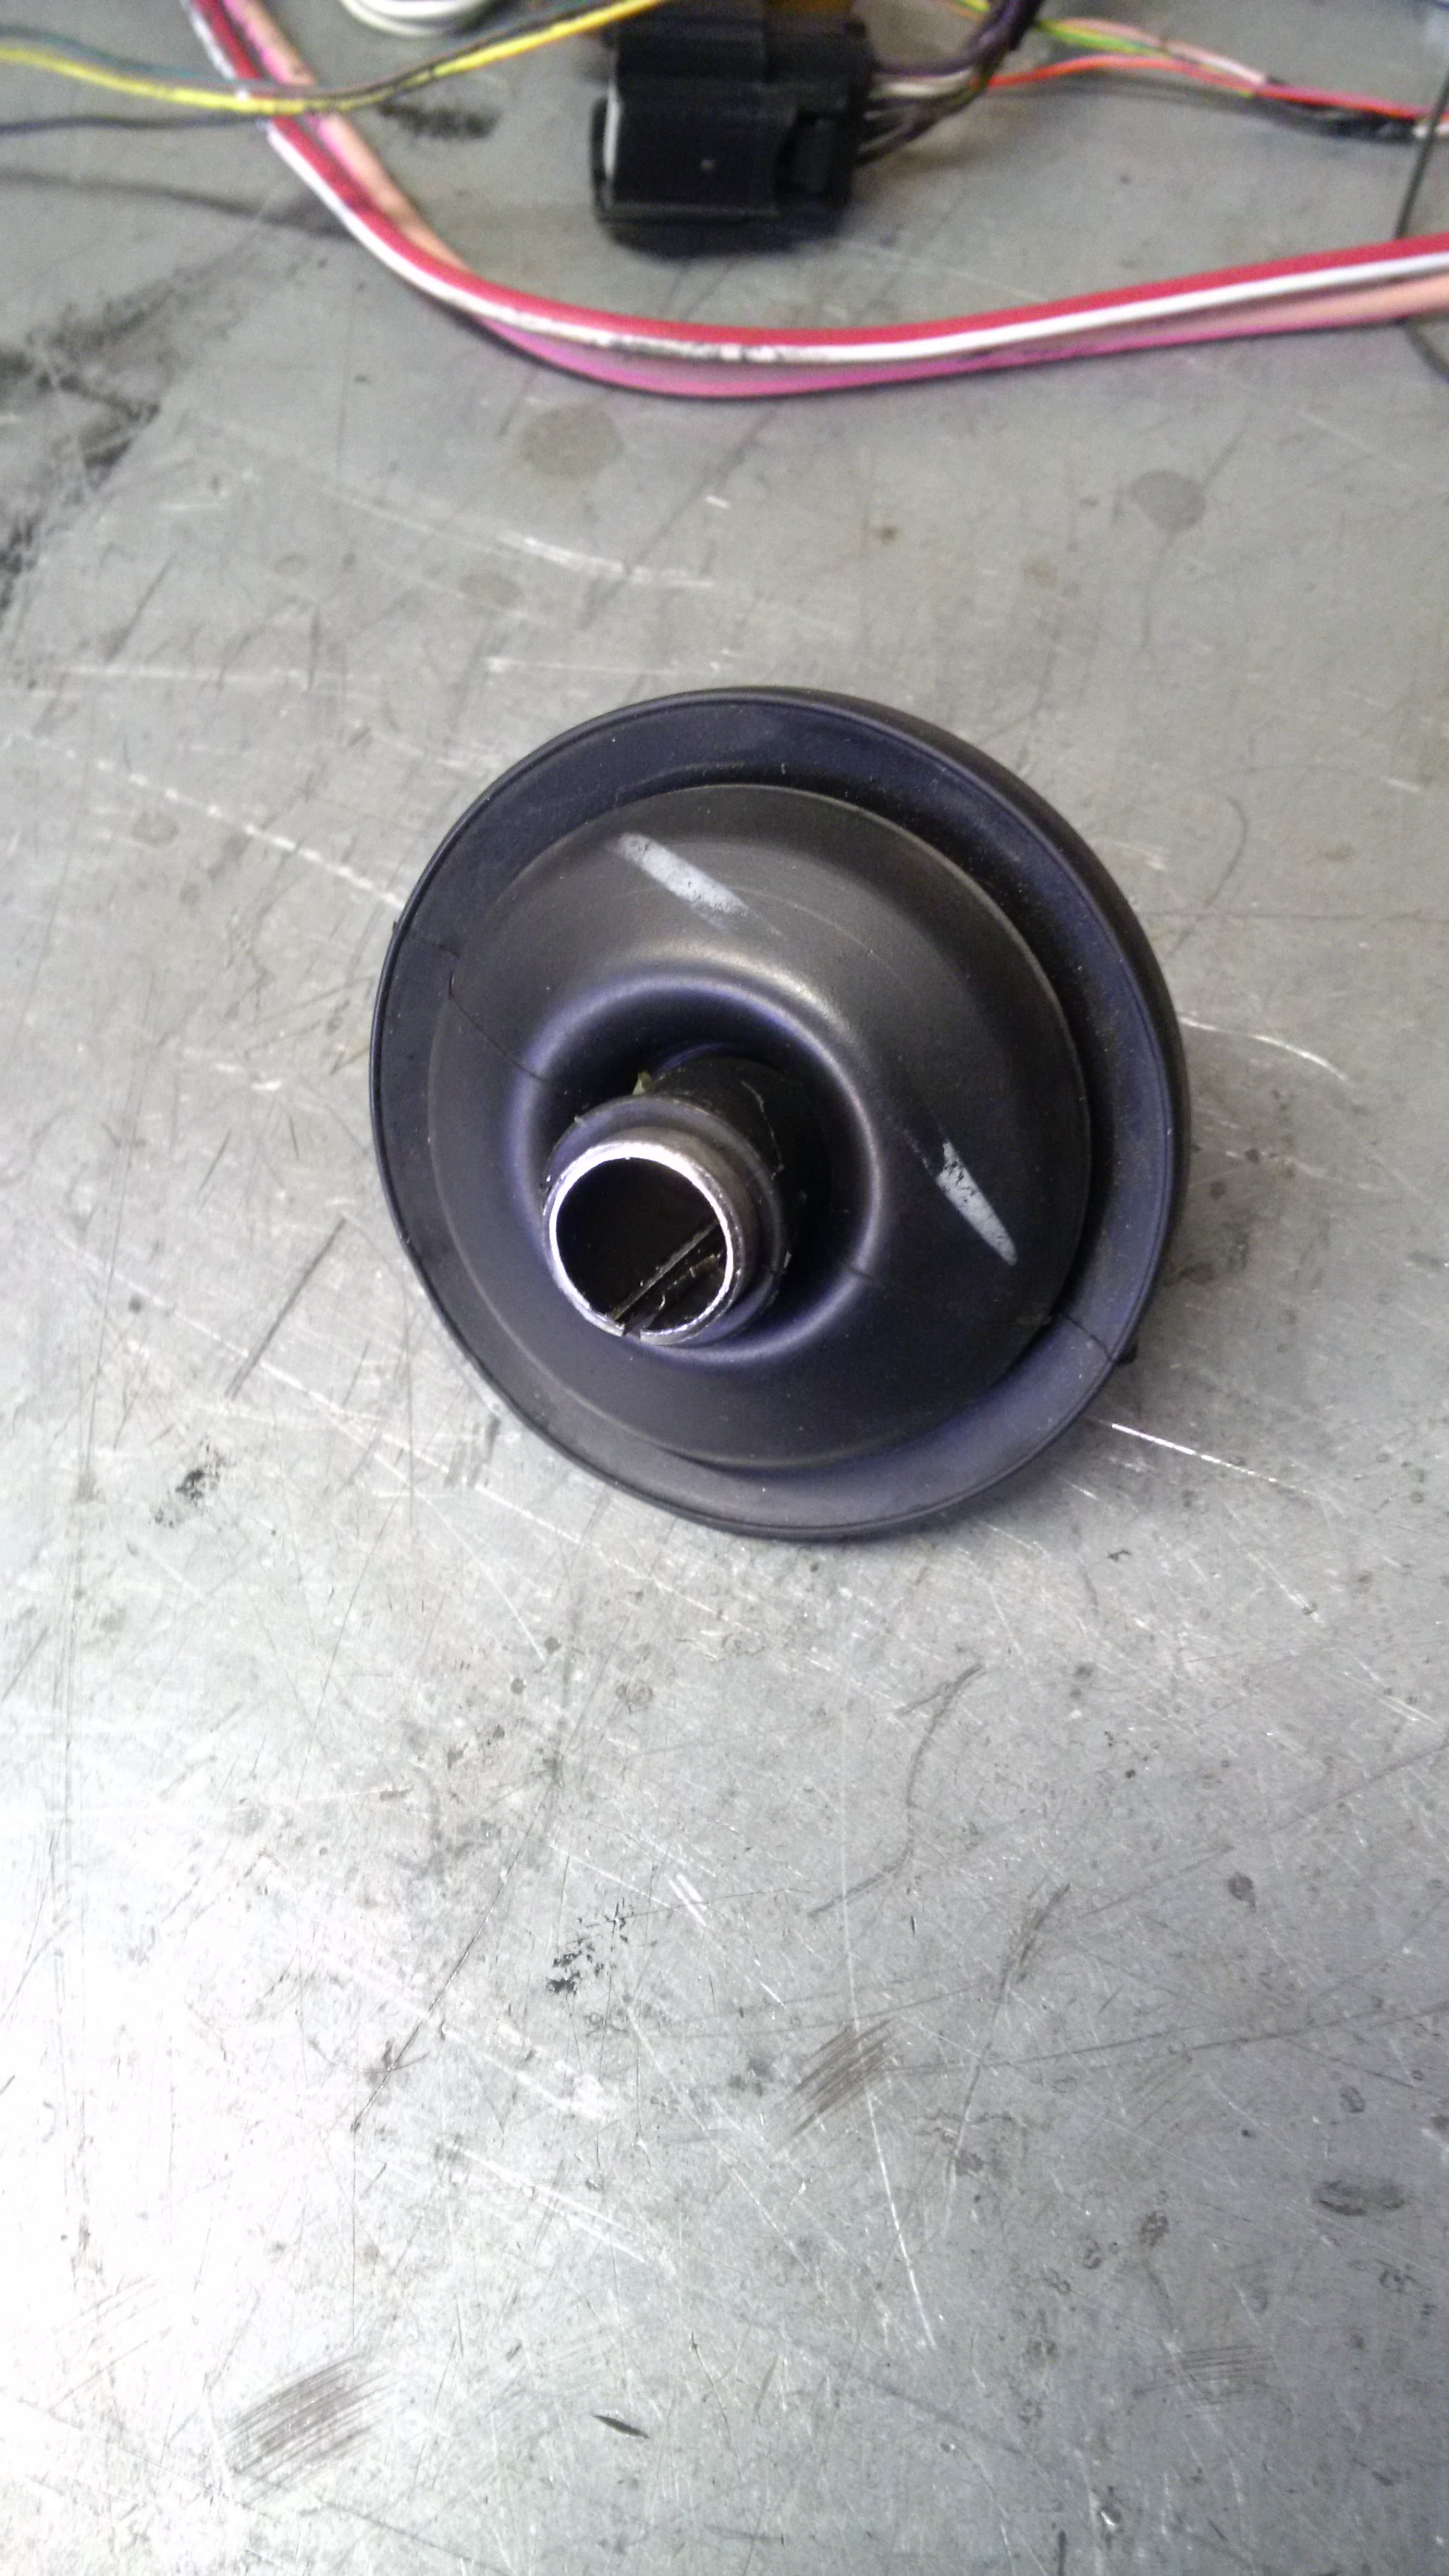
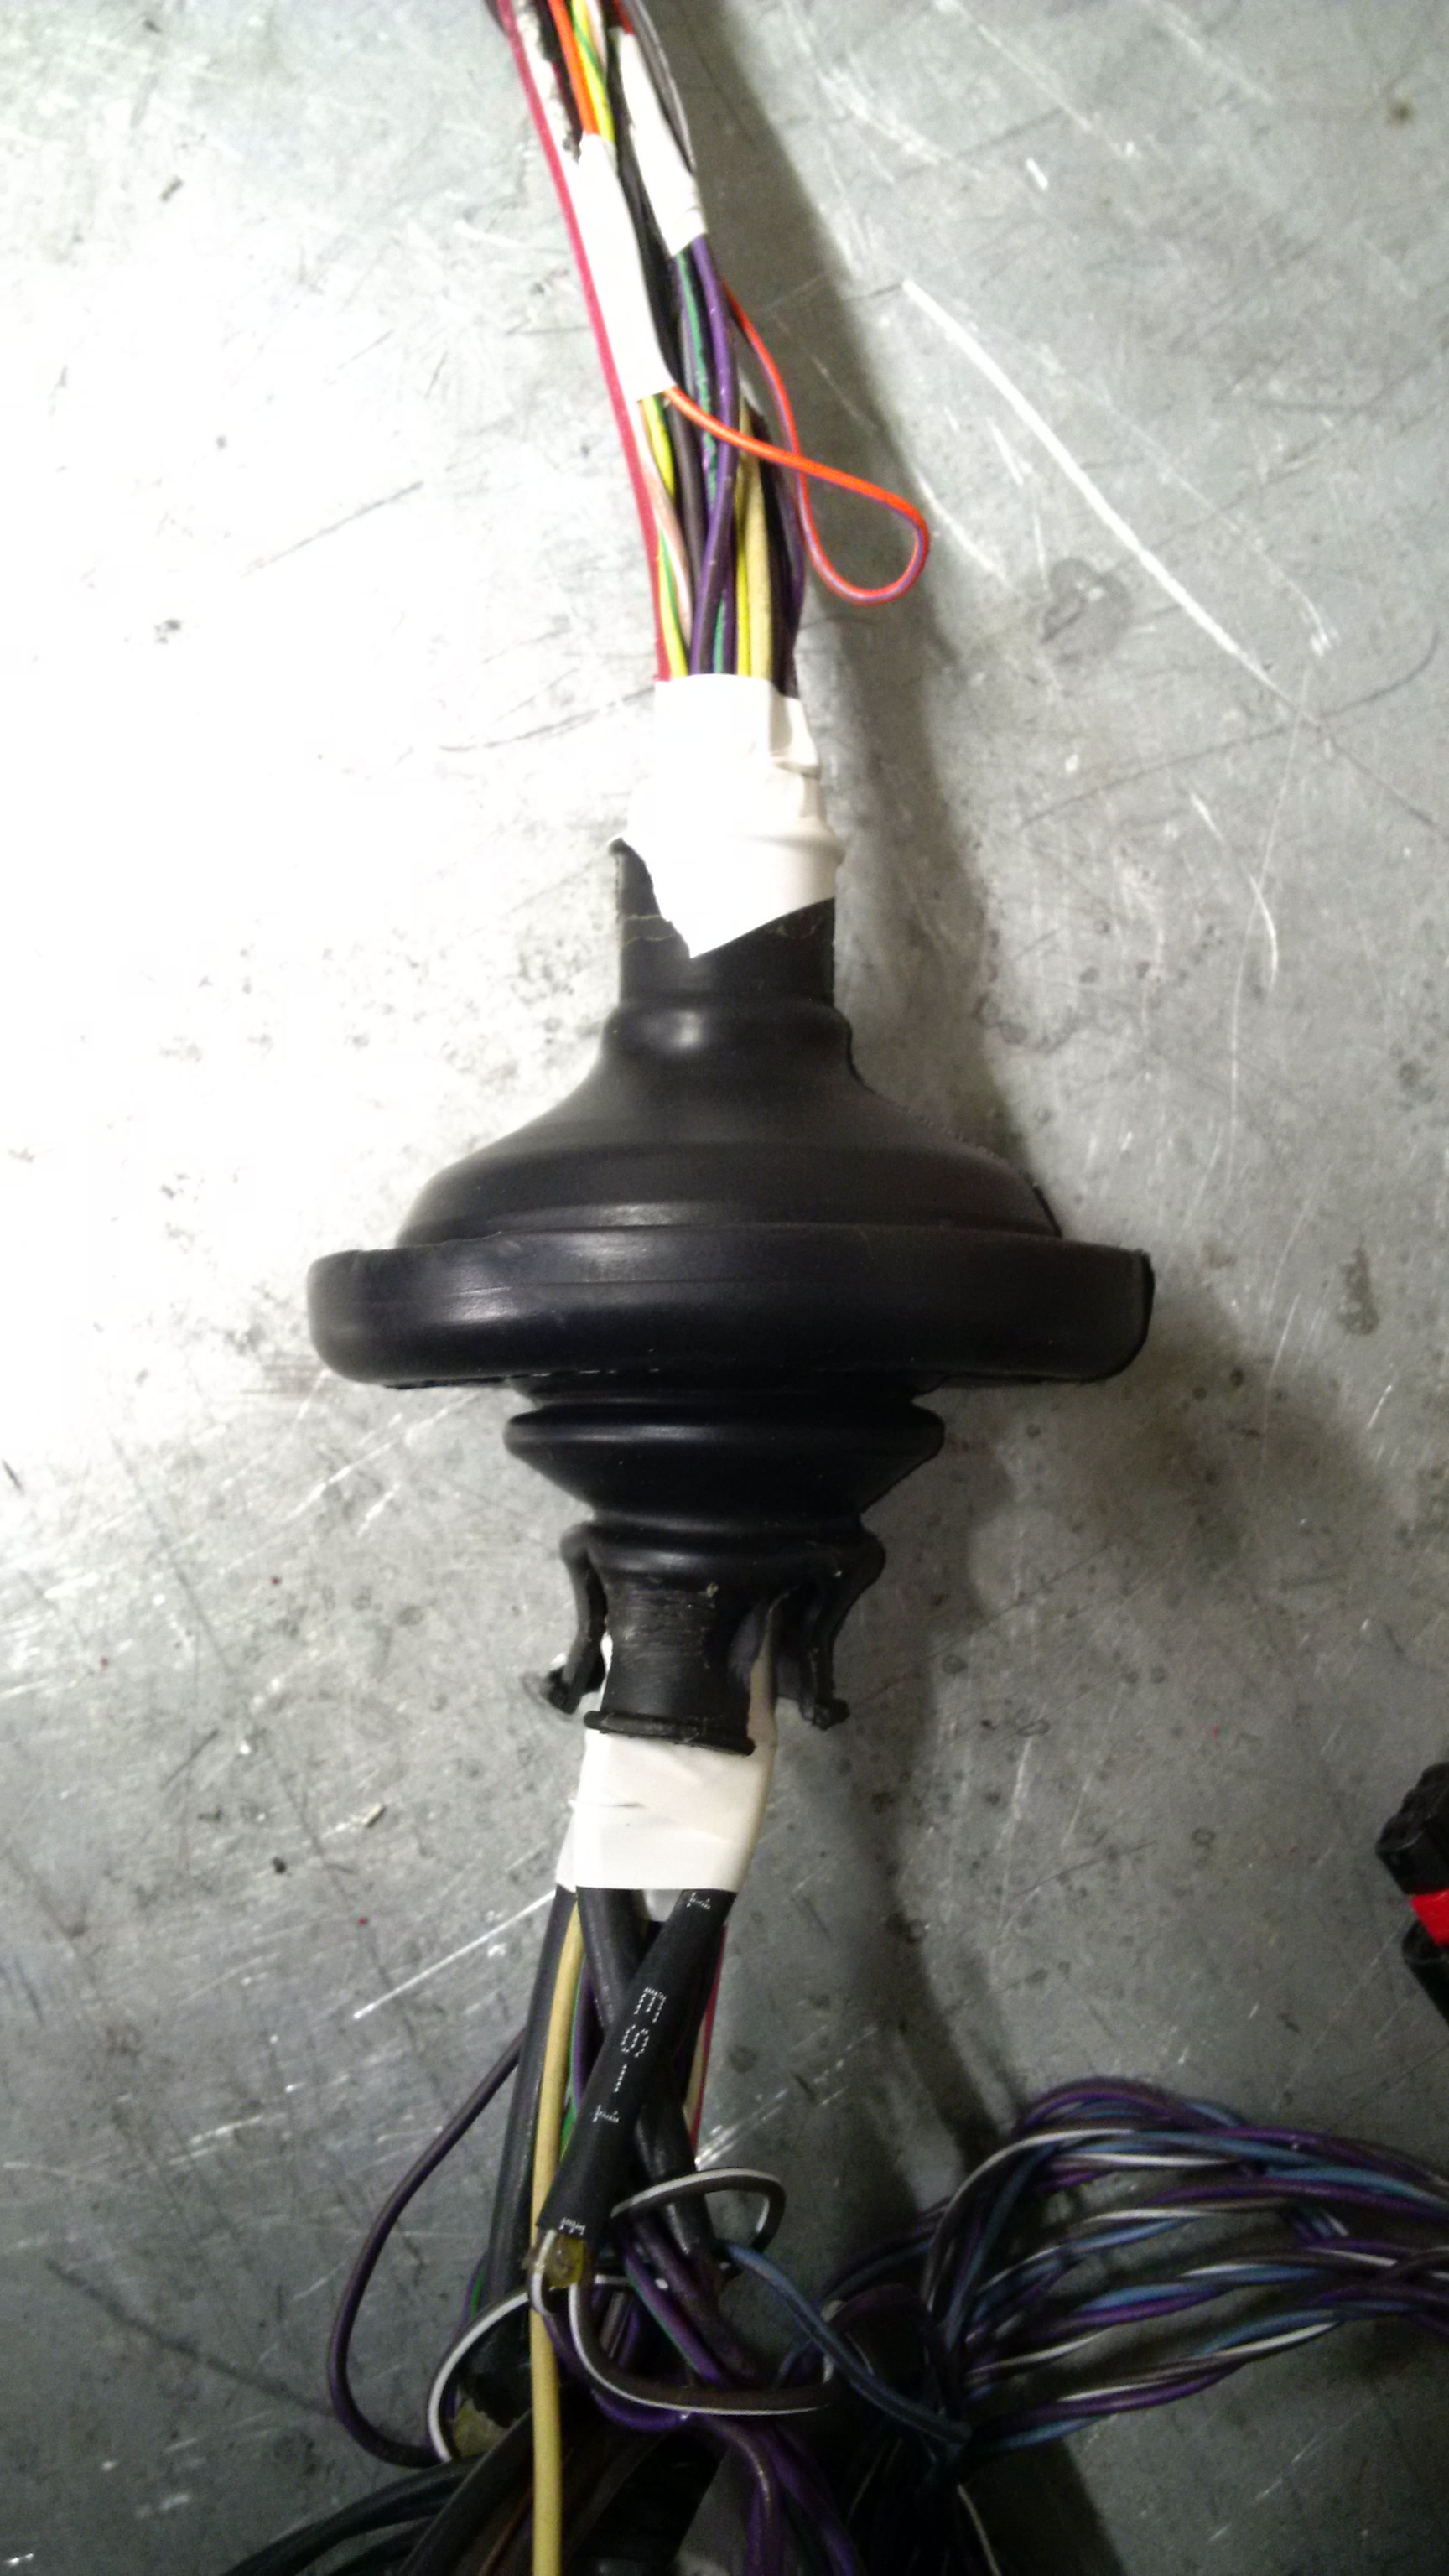
Right now i am knee deep in electrical tape and peeling all of it off of the Challengers wiring harness... did i say "fun to build"?
Alex
Well, this is my first post on this board and i figure i use it to intruduce myself and my project.
Which does not have as much in common with SRT-10 Rams, but you'll learn about it in a second.
My name is Alex, i am located in Germany. I have a knack for Dodge trucks.
My last truck was a '76 W200, now i own a '85 W250 and a matching '85 D150.
The W250 is in the process of receiving a restoration to stock spec, the D150 on the other hand is in the process of becoming a race truck.
I am not too fond of any Dodge truck design past the 80s, which is why i didn't settle for a 04-06 SRT-10.
If i can't have anything i like from a manufacturer, i am building it myself.
This is kind of my motto.
So when i got bitten by the "race-truck"-bug, i went and bought that '85 D150.
And a 2015 6.4 Hemi and TR6060 six speed transmission out of a wrecked 2015 Challenger SRT (including all the wiring, ECUs and such).
This was the easy part...
From that point, extensive hunt for suitable parts for brakes, suspension and steering began.
To spare you the gruel details:
I have now settled for a Chevy C10 trailing arm rear suspension, with 6" drop springs.
The rear axle is the first link between this project and a SRT-10.
It's the rearend out of a 2005 RC, 4.56:1 with the limited slip differential.
For the projects requirements i need (or want) huge brakes, what better than 14" discs on the rear end?
Finding matching stuff for the front axle and suspension looked incomparably more complicated.
Until i decided to see what that SRT-10 has for a front suspension and brakes. Second link.
Now i have a set of '05/'06 four piston calipers in my parts collection:
I also bought a spindle and regular 1500s lower control arms for mockup purposes, just to learn that there is a QC and a RC spindle and they apparently are different from eachother.
This is pretty much the third link.
I will have to ask a few more questions about that lateron.
I also plan to use the brake booster and master cylinder from a '05 or '06 to power the brakes.
I am now at the point where i am almost sure the 1500s/SRT-10 control arms can be adopted to my trucks frame and give a good front track width.
The suspension geometry will be double checked with a piece of software i aquired for this task.
To sum everything up and make it legal for track days, a complete racing roll cage with front and rear outriggers is in the plan aswell.
The exterior will receive subtle modifications with an air dam and a bumper made from carbon fiber and also a hood with large vents, made from carbon fiber.
Why?
Because i want that thing to run 170 (i know that 6.4 will have to make a little more power than the stock 485hp to reach that goal, but eventually we'll get there).
I also want it to handle good and while it might now be a vehicle able to compete, it'll be a ton of fun to build and drive.
Right now i am knee deep in electrical tape and peeling all of it off of the Challengers wiring harness... did i say "fun to build"?
Alex