Srt10650
Full Access Member
- Joined
- Sep 30, 2016
- Messages
- 360
- Reaction score
- 306
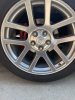
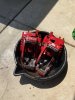
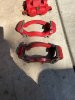
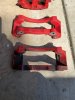
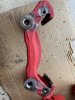
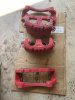
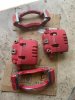
Looks like a great project done right, great job on cleaning the paint off the lines and caliper bolts!
I really wish our 4-pot calipers had a smoother surface.
I did the SS brake lines.. not a firm as I hopped. I have done some in the past and its soo nice and tight.. mine seemed more firm for sure.. but a less tight I guess I would say from different vehicle installs.
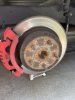
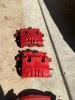
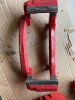
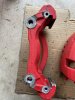
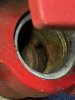
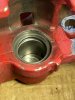
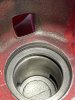
Question.. did you get the rebuild kit (seals and pucks) from Rockauto?
Thanks. Yes, below are the part numbers.
MOPAR 5143399AA Caliper Piston- you need 8 pistons, 4 per caliper
MOPAR 5143400AA Caliper Seals- you need 2, 1 per caliper.
")