ejholt
Full Access Member
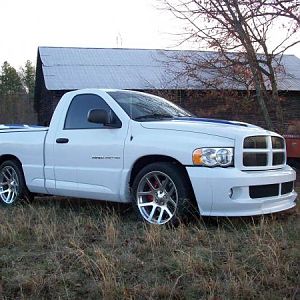
I was lucky enough to see the RAM SRT-10 have it's world premiere in April 2004 at the New York Auto Show.
Purchased the truck new in May 2005 in Waterville, ME. 1st Build was completed 1 year later and the truck has pretty much remained the same since:
http://www.cardomain.com/ride/2431032/2004-dodge-ram-srt-10/
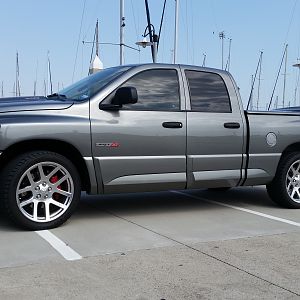
Almost 10 years later and less then 5K miles on the odometer, I've decided to take it out of storage and give the SRT a good overhaul / modernize as much as possible.....
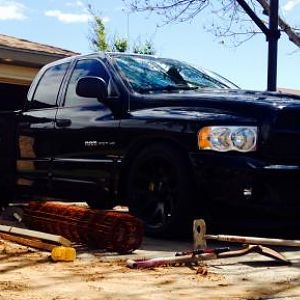
Build 2:
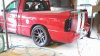
1) Motor Build, Supercharger, Side Exhaust, and A LOT more - Thanks to Justin @ JMB Performance;
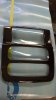
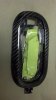
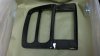
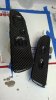
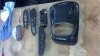
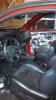
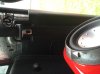
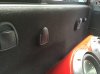
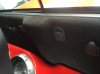
2) Alcantara, Carbon Fiber, and Black Chrome Interior;
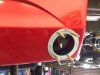
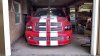
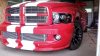
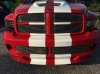
3) Exterior Paint (Red) and Darker Stripes (Gunmetal Pearl);
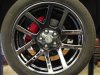
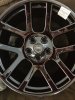
4) Black Chrome Wheels and all Black Chrome Exterior Accessories;
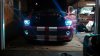
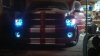
5) Exterior Upgrades - Venom Hood, Daytona Spoiler, Smoked Headlamps, Fog Lights, Tail Lights, 3rd Brake Light, LED Bulb Upgrade All Around, etc.; and
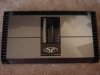
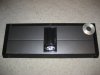
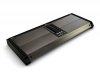
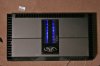
6) Audio (Pioneer / Rockford Fosgate / Infinity) / Security / Telemetry / GPS Tracking / K40 Radar Detector and Laser Jammer Upgrade - Thanks to Troy @ The Amp Lab.
A LOT of surprises to come and I want to Thank everyone whom I have purchased aftermarket parts & put their talents / hearts / souls into the past & current builds.
Cheers!!
Purchased the truck new in May 2005 in Waterville, ME. 1st Build was completed 1 year later and the truck has pretty much remained the same since:
http://www.cardomain.com/ride/2431032/2004-dodge-ram-srt-10/
Almost 10 years later and less then 5K miles on the odometer, I've decided to take it out of storage and give the SRT a good overhaul / modernize as much as possible.....
Build 2:
1) Motor Build, Supercharger, Side Exhaust, and A LOT more - Thanks to Justin @ JMB Performance;
2) Alcantara, Carbon Fiber, and Black Chrome Interior;
3) Exterior Paint (Red) and Darker Stripes (Gunmetal Pearl);
4) Black Chrome Wheels and all Black Chrome Exterior Accessories;
5) Exterior Upgrades - Venom Hood, Daytona Spoiler, Smoked Headlamps, Fog Lights, Tail Lights, 3rd Brake Light, LED Bulb Upgrade All Around, etc.; and
6) Audio (Pioneer / Rockford Fosgate / Infinity) / Security / Telemetry / GPS Tracking / K40 Radar Detector and Laser Jammer Upgrade - Thanks to Troy @ The Amp Lab.
A LOT of surprises to come and I want to Thank everyone whom I have purchased aftermarket parts & put their talents / hearts / souls into the past & current builds.
Cheers!!


") Hard to keep track of every single piece of aftermarket and correct product name......
Hard to keep track of every single piece of aftermarket and correct product name......