yellowfever#154
Full Access Member
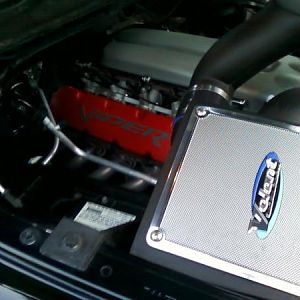
Heres a picture of Justin's fan mounted on the truck. I used a Flex-a-lite controller to operate the fan. Currently I have the controller set to the coldest position and with the truck running in the shop it never passed 170 F. Before it would have been over 200 F. For those contemplating on building there own, dont waste your time. This fan fits perfect and so far operates flawlessly.
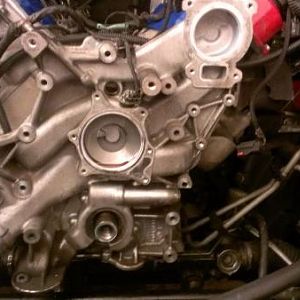
There are 2 different fan controllers from Flex-a-lite. One has a probe that gets pushed into the radiator core and the other has a thread in sensor. I used the one with the thread in sensor, there is a plug on the timing cover just behind the thermostat that is a perfect spot for the thread in probe. Heres the one I used:
http://www.amazon.com/Flex-a-lite-33054-Thermostatic-Fan-Control/dp/B000A8N3ME
")