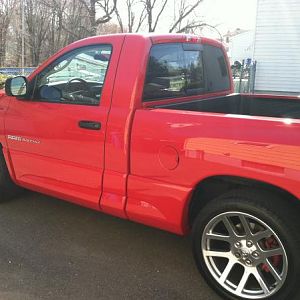
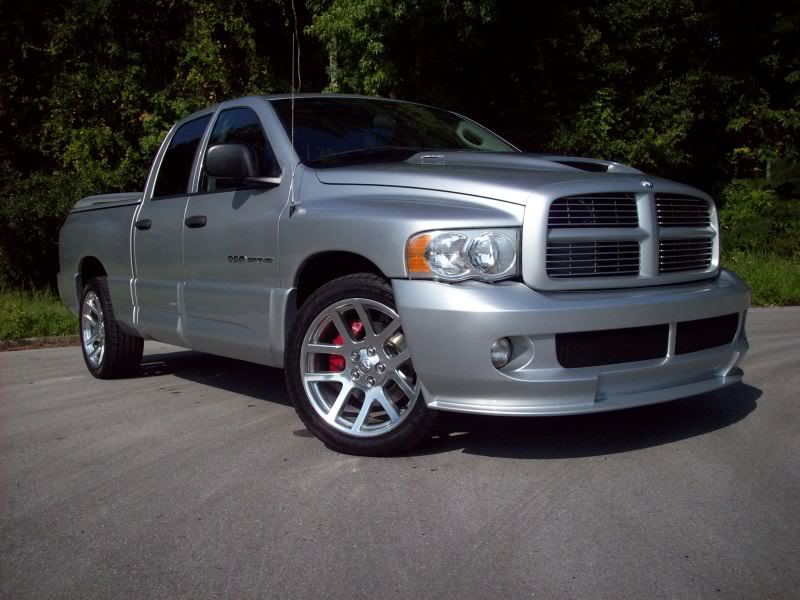
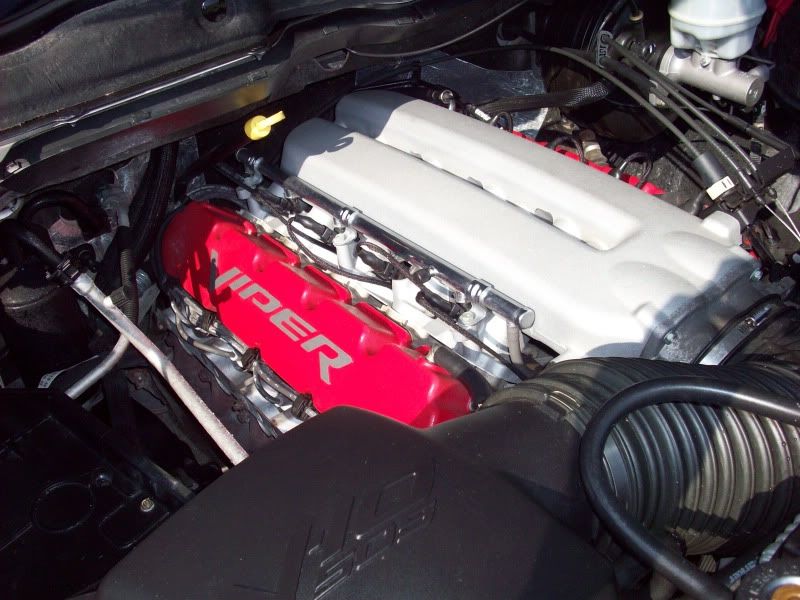
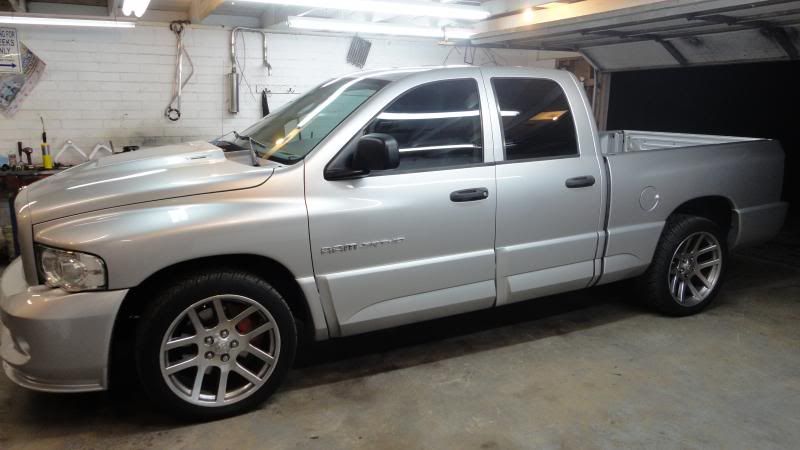
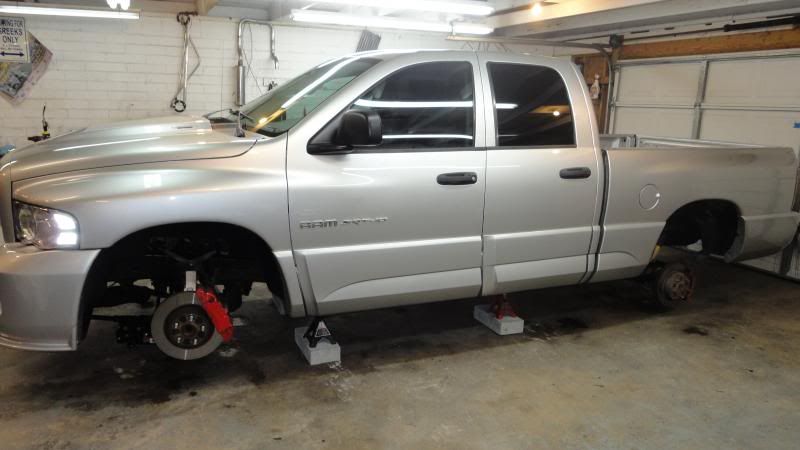
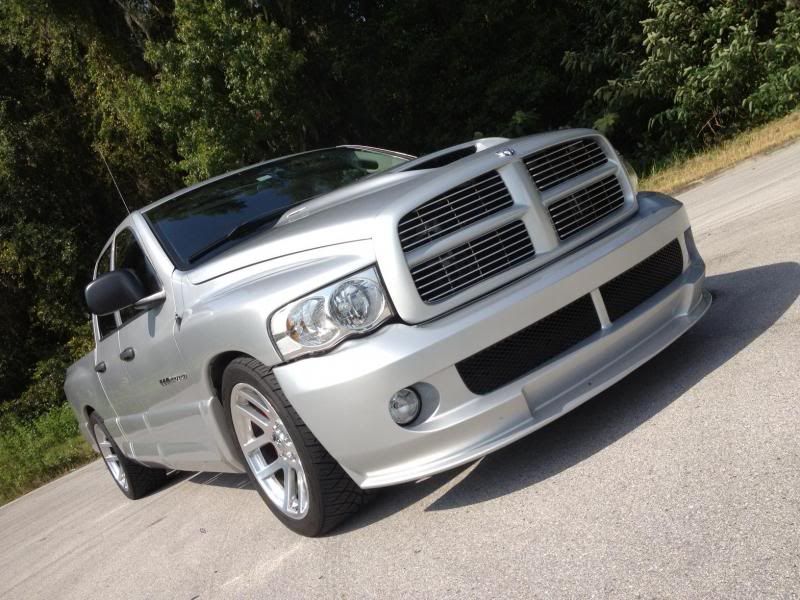
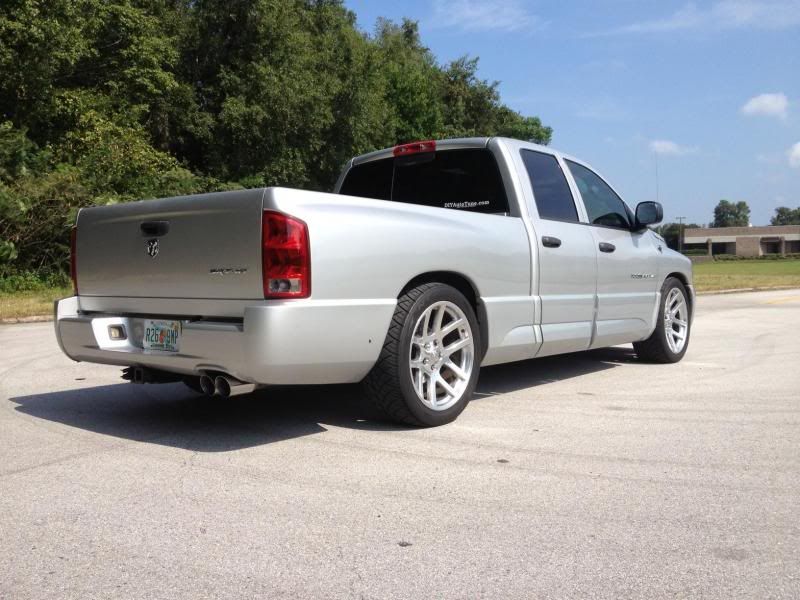
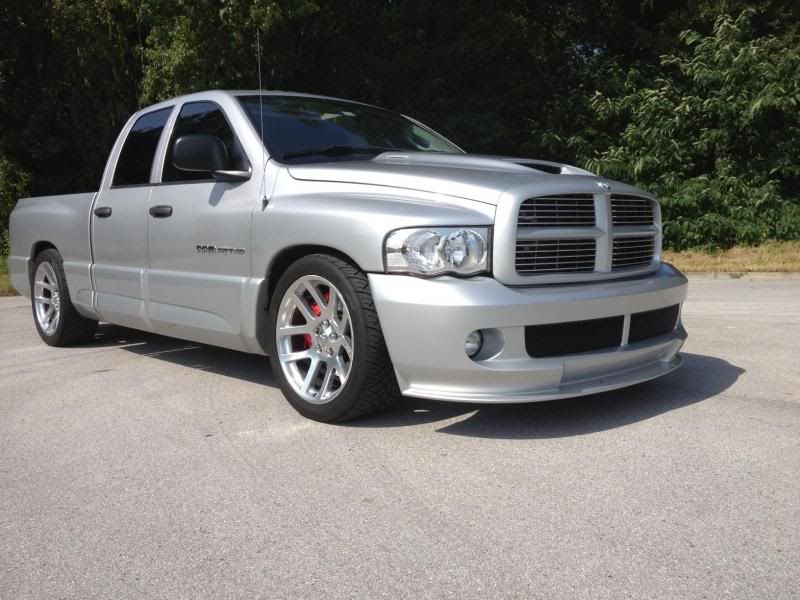
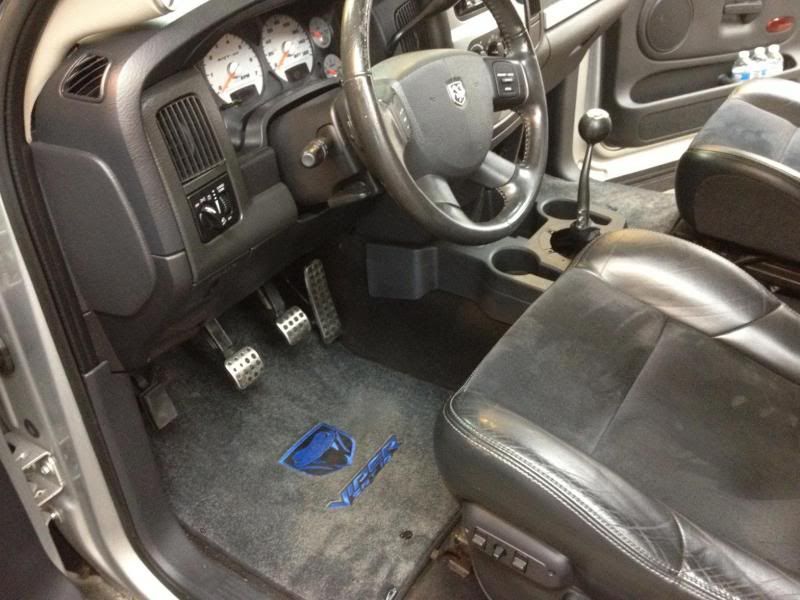
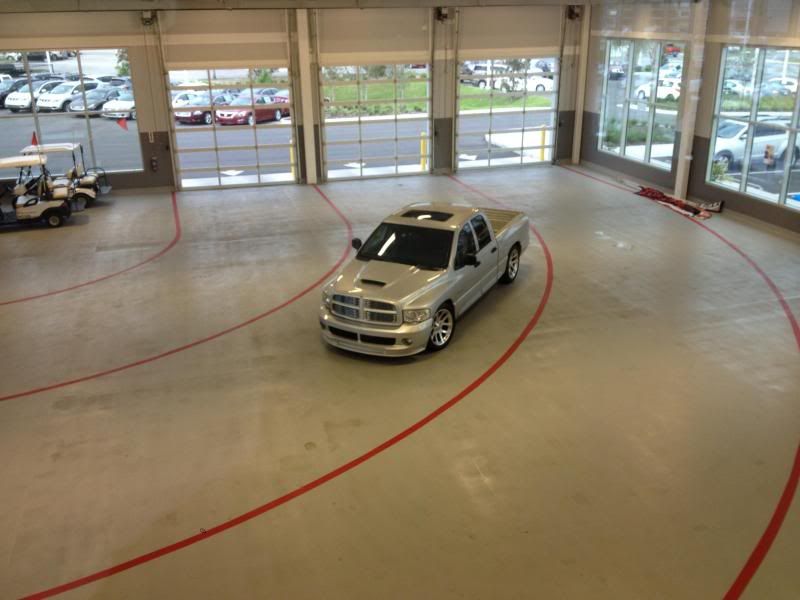
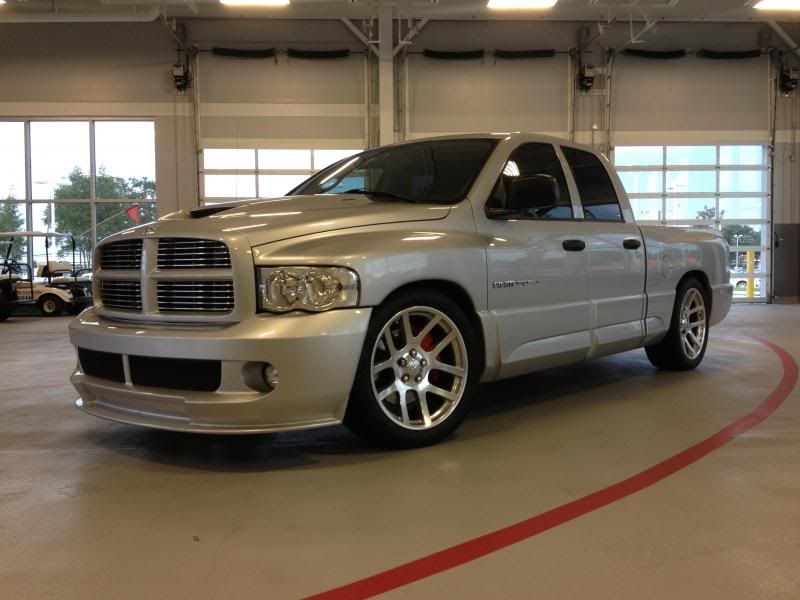
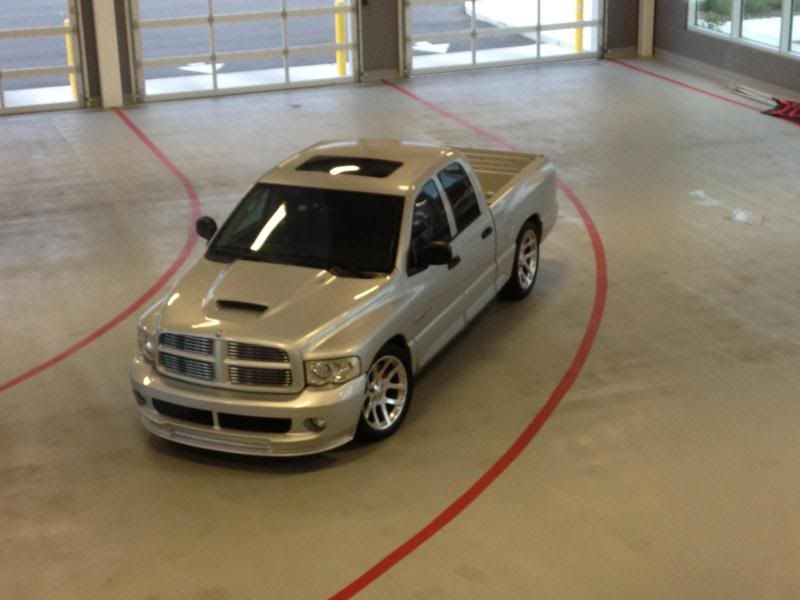
Here's my gal. A 2005 Dodge Ram SRT-10 Quad Cab. I bought the truck July 25th 2010 with 63k on it. It currently has just over 87k as of this writing.
Mods include:
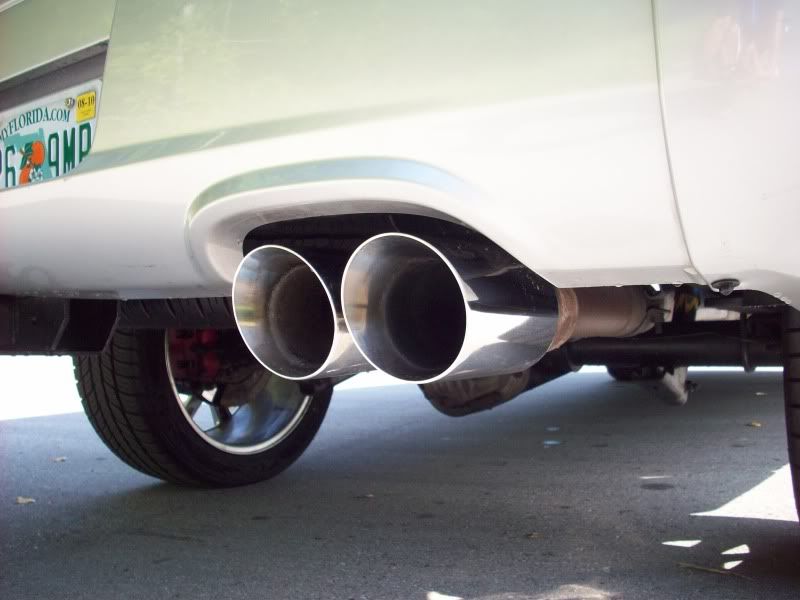
Magnaflow Catback exhaust
Euro clear headlights
Kicker compomnents
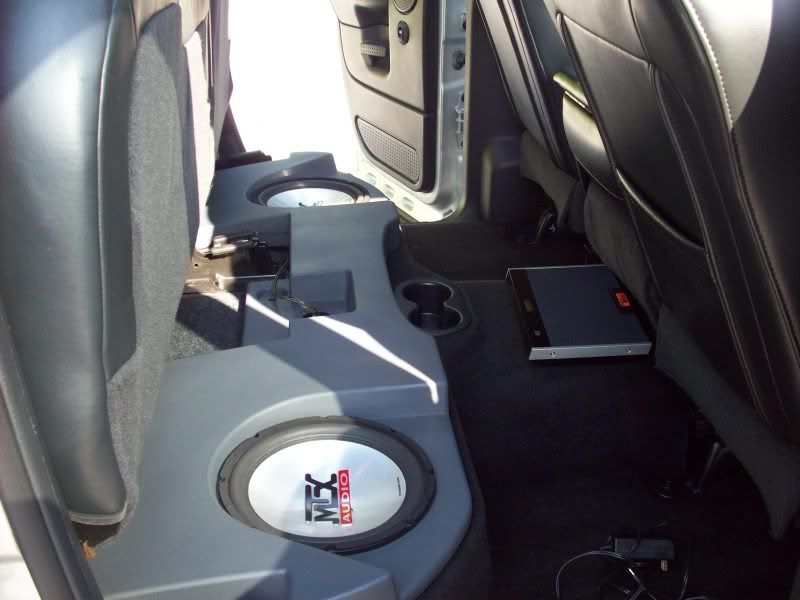
MTX Thunderforms under the rear seats
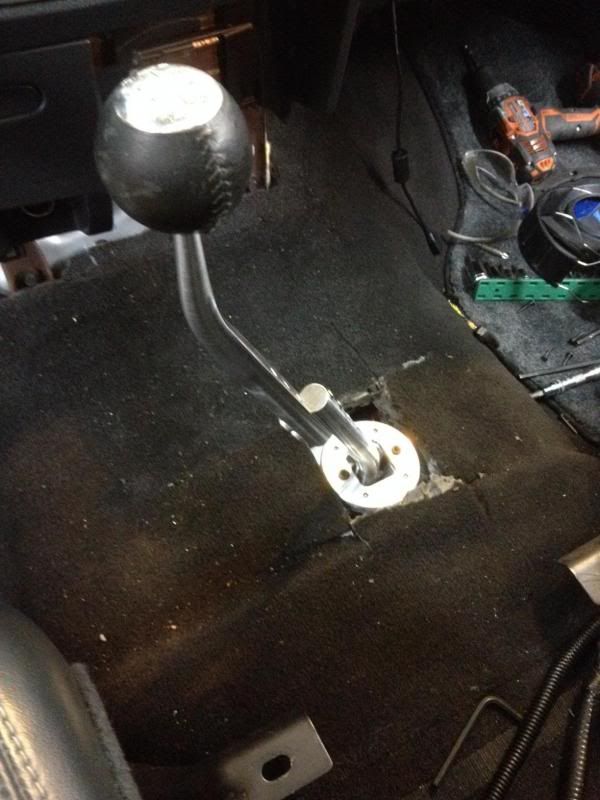
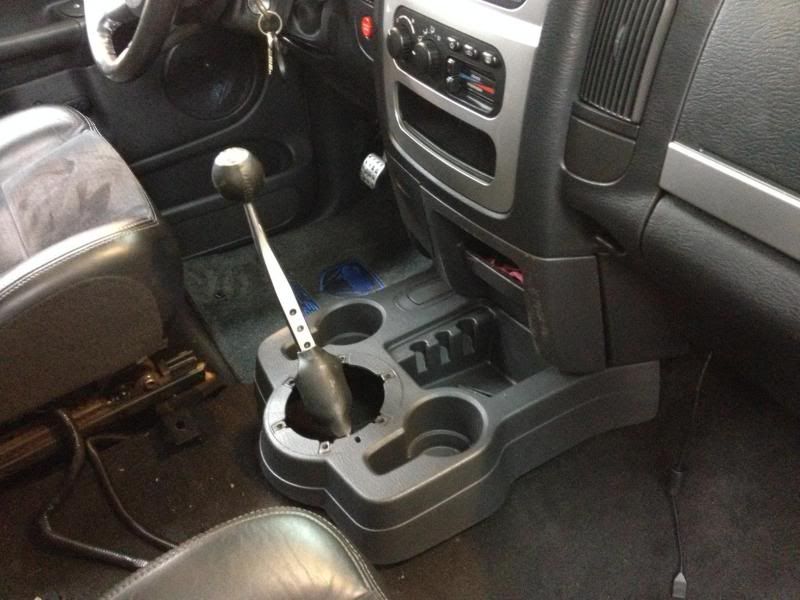
T56 equipped with custom one-piece aluminum driveshaft and a SPEC clutch.
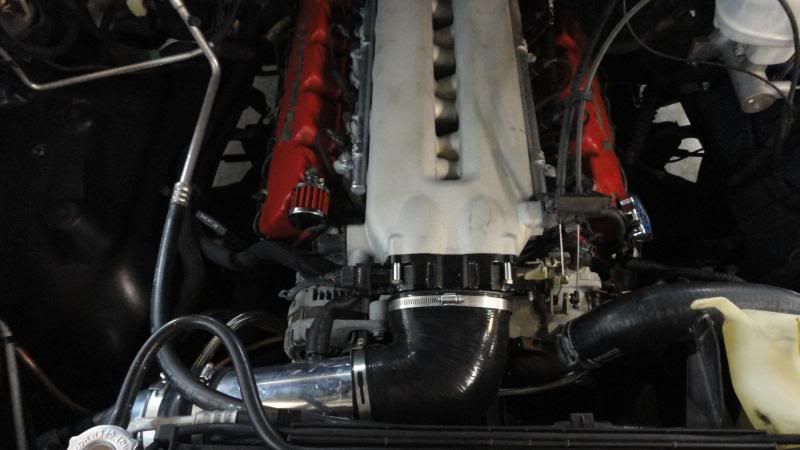
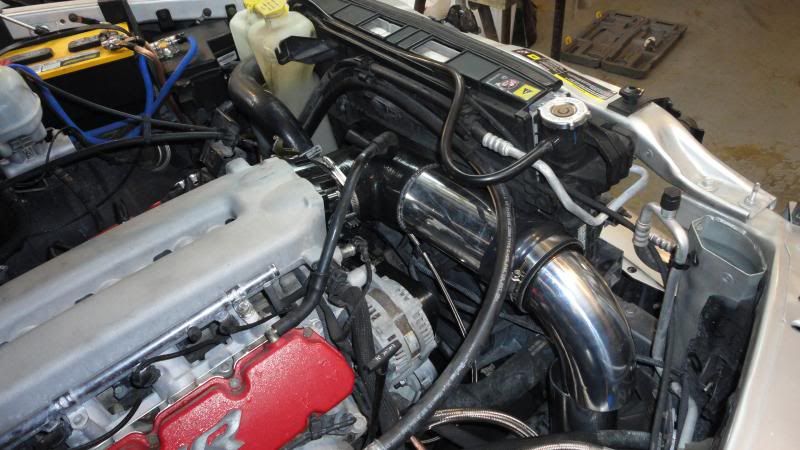
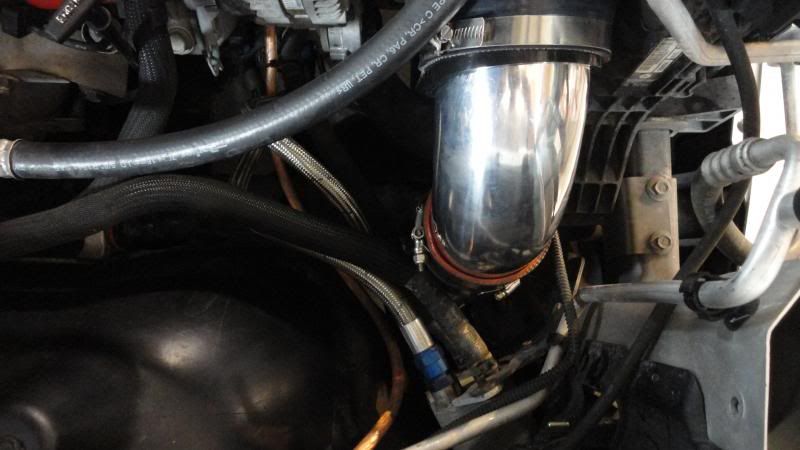
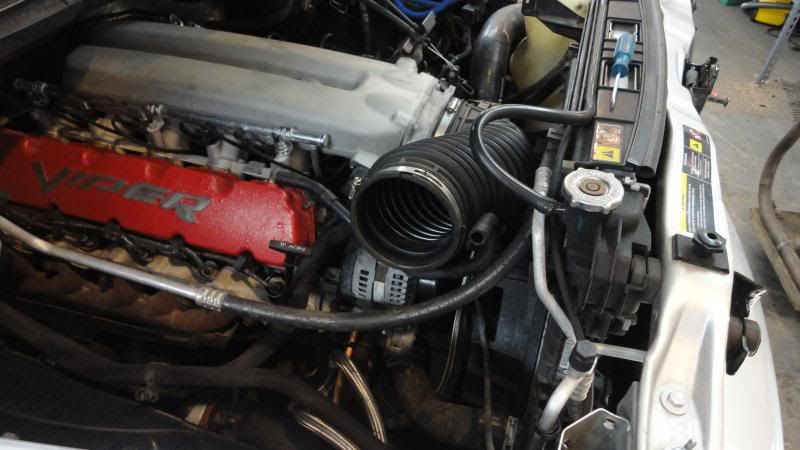
JTSVP power steering and oil lines
Upgraded Engine grounding system
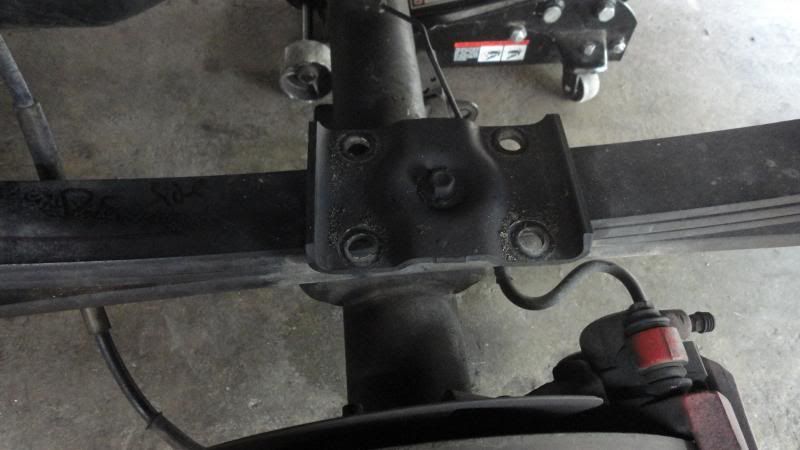
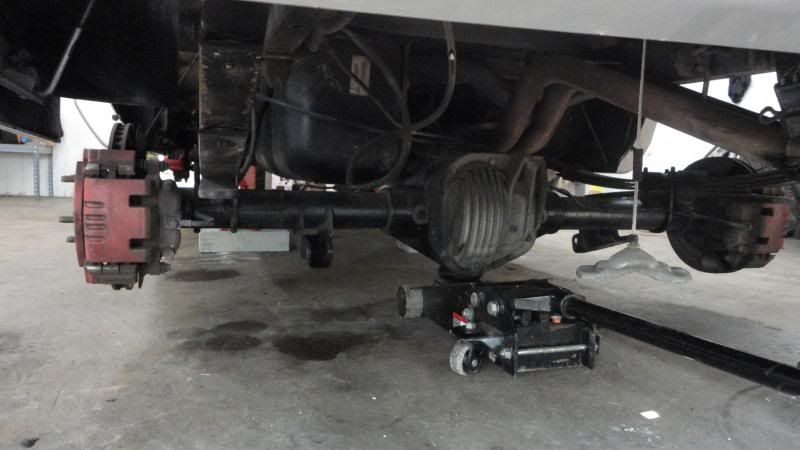
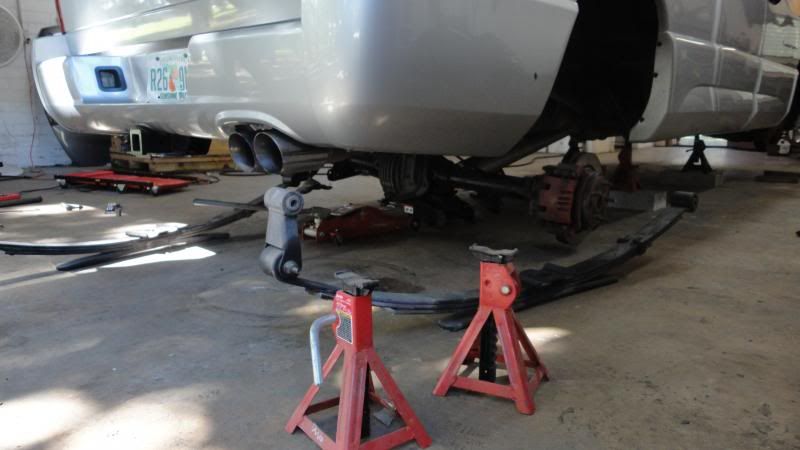
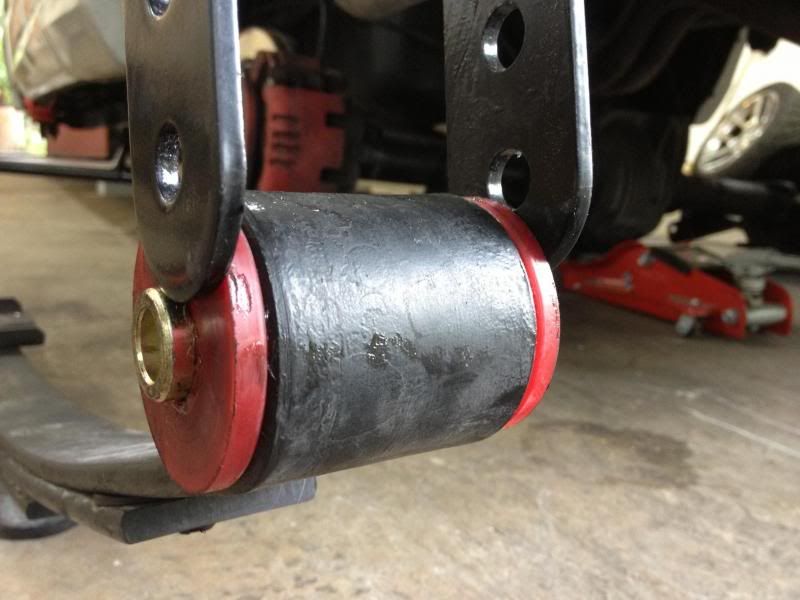
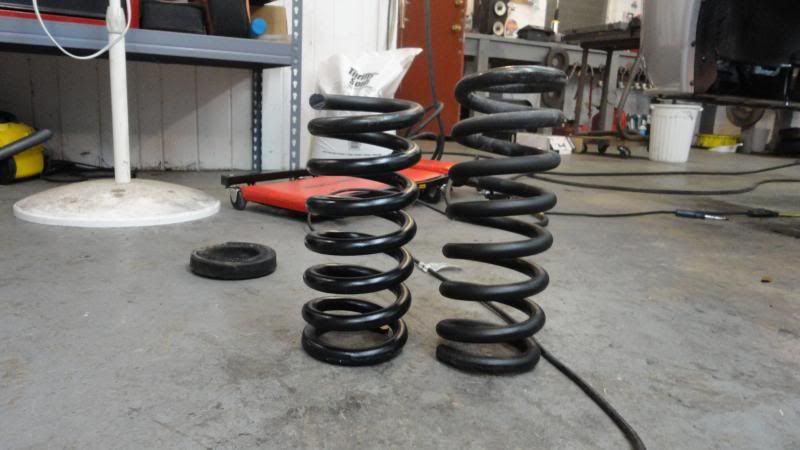
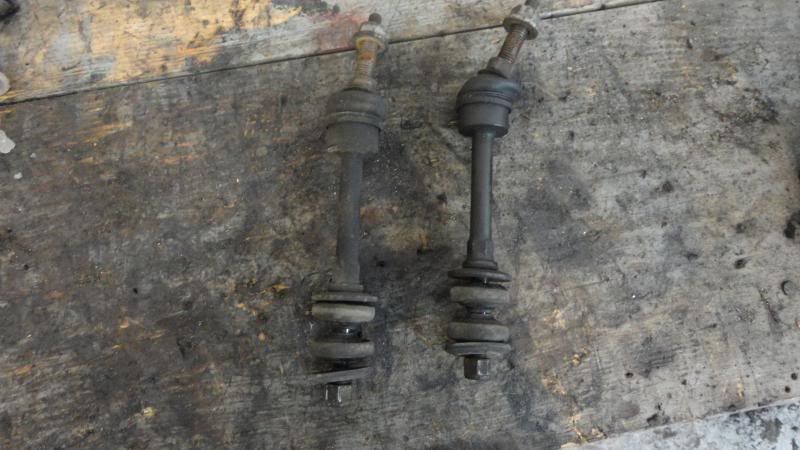
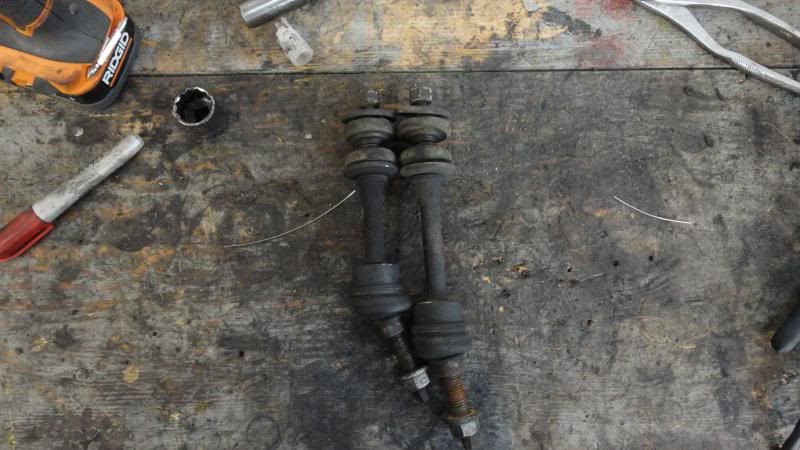
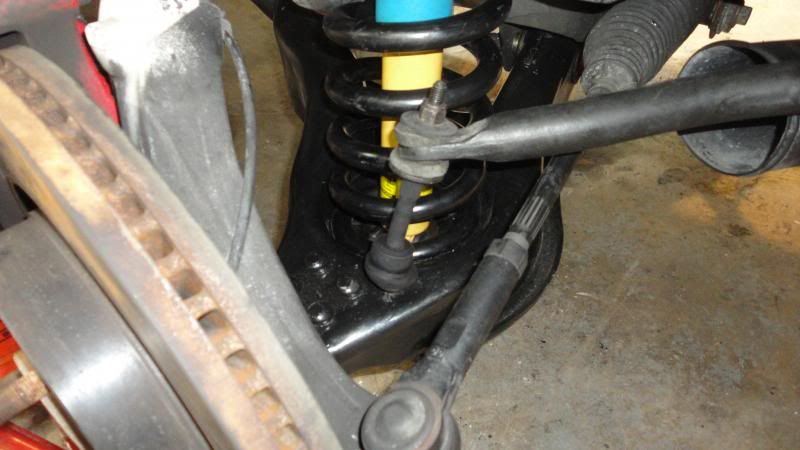
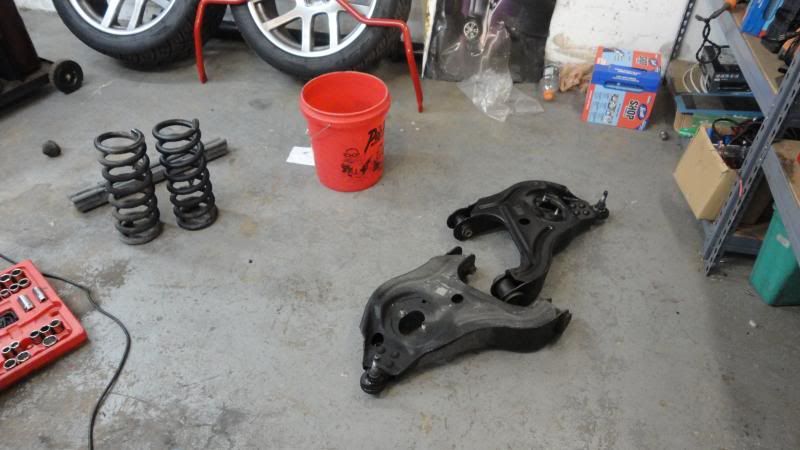
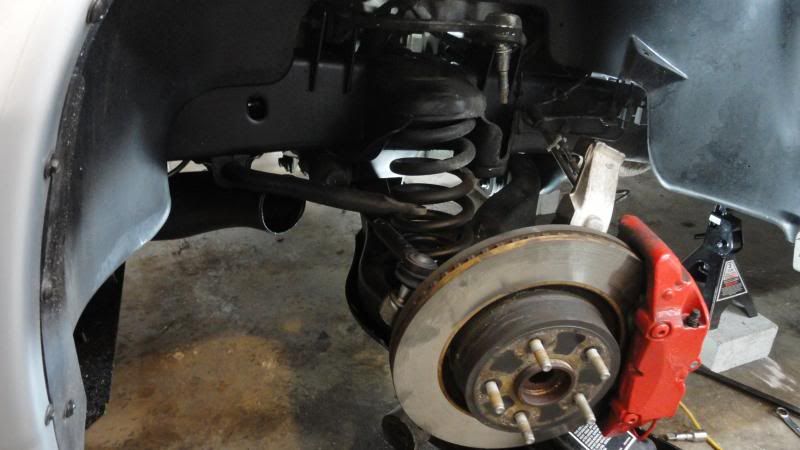
Soon to be installing lowering kit and UDP.
Plans include:
Long-tube headers
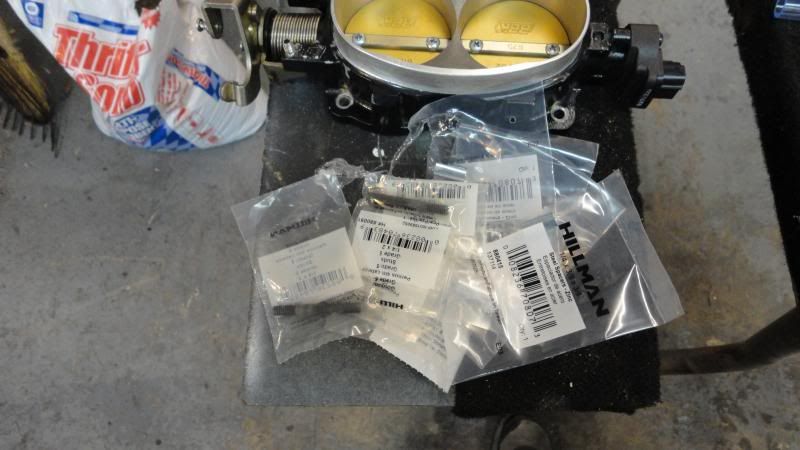
BBk Throttle body
Electric fan conversion
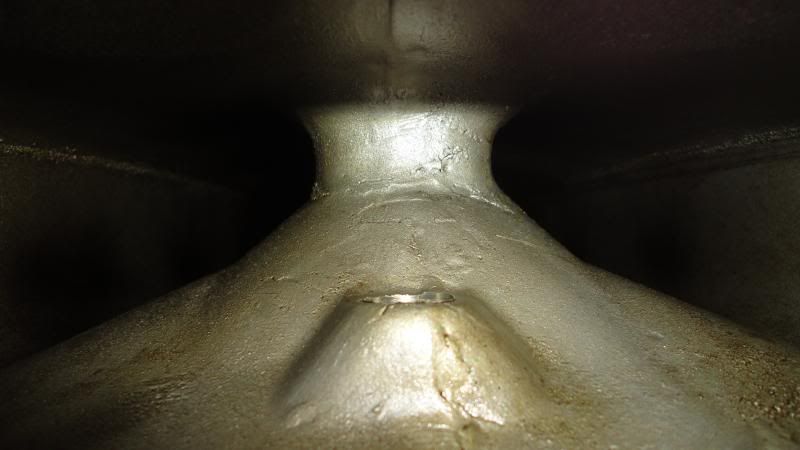
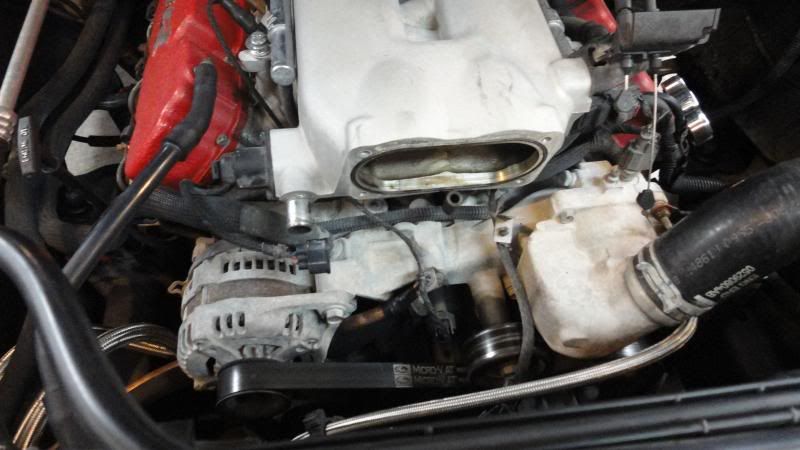
Ported intake manifold
True CAI
Stryker heads
Custom Cam.
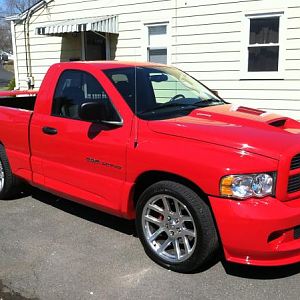
First day I bought it!
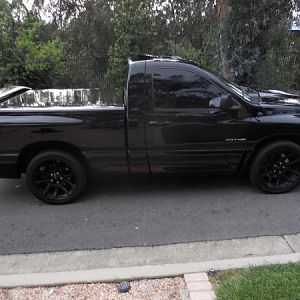
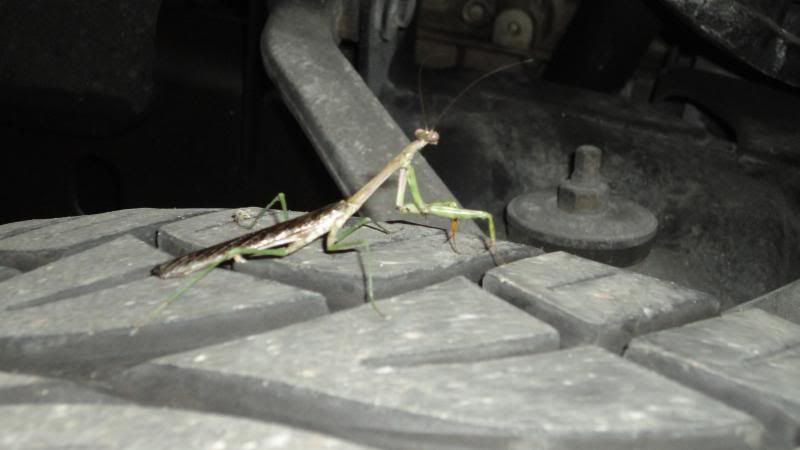
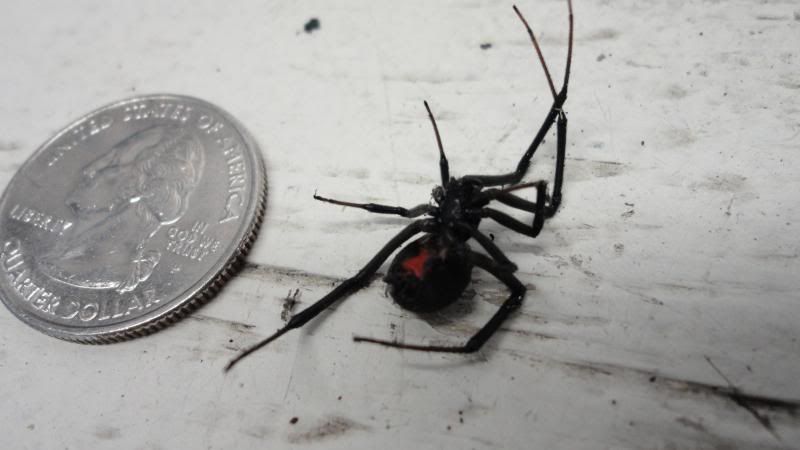
Now many of you are going to faint at the next picture. But… I bought this truck for multiple reasons. 1. for fun, 2. transport people 3. Its a truck…
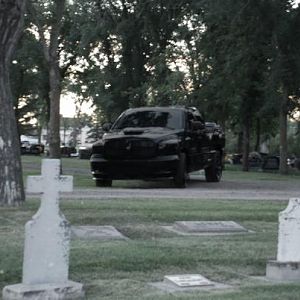
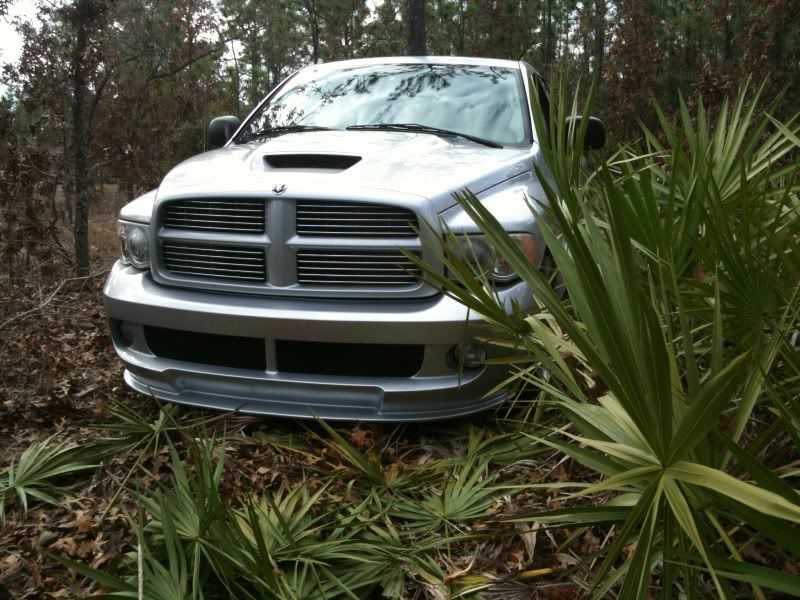
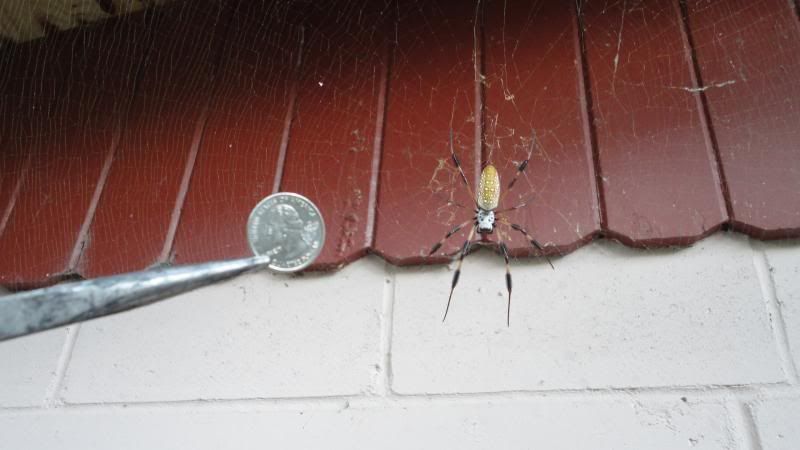
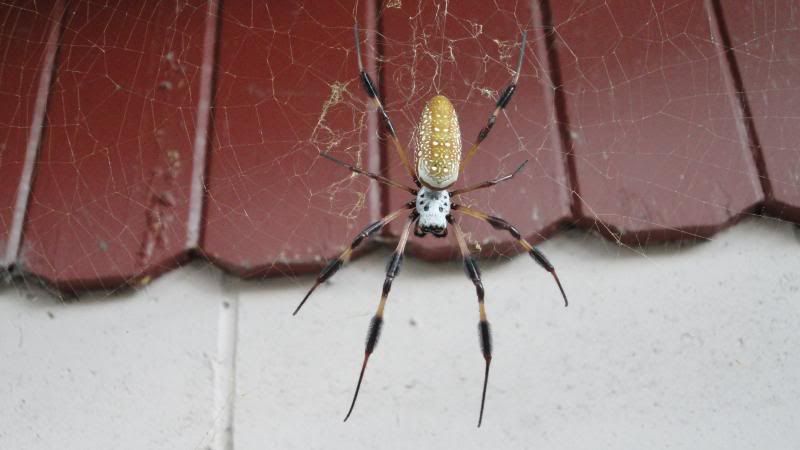
It is very stealthy in the woods…
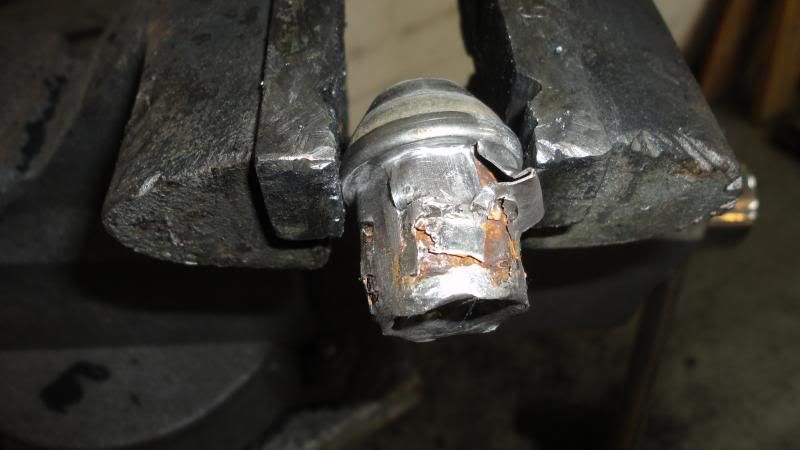
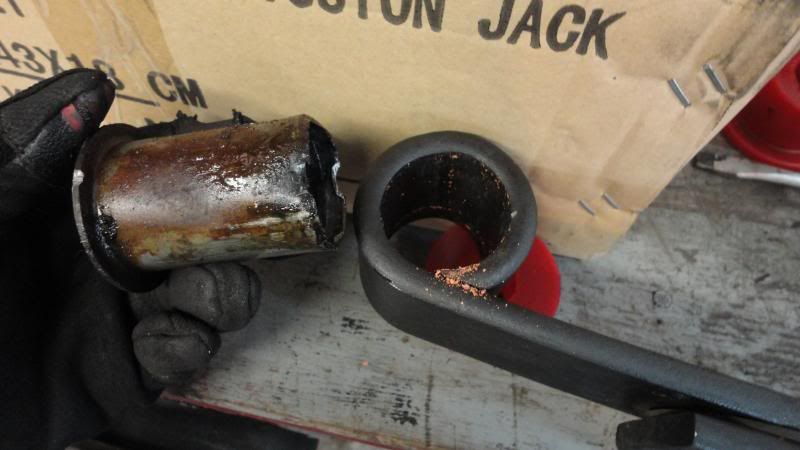
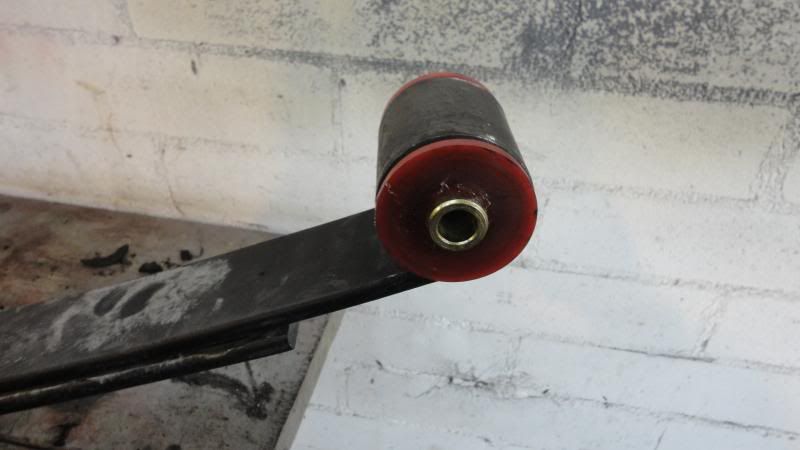
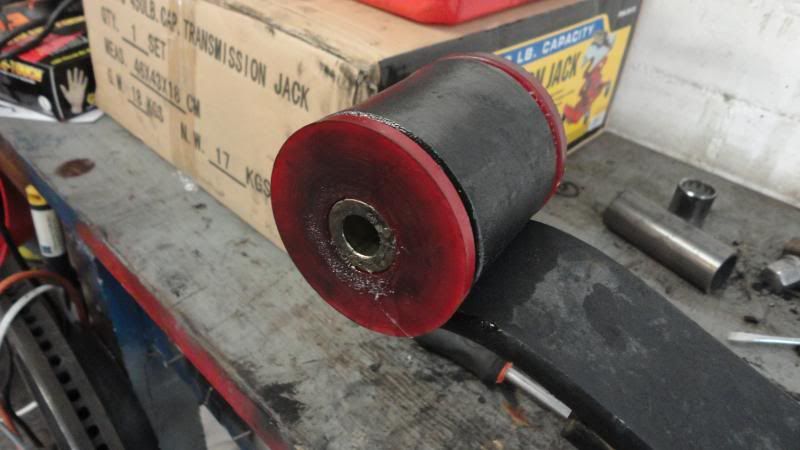
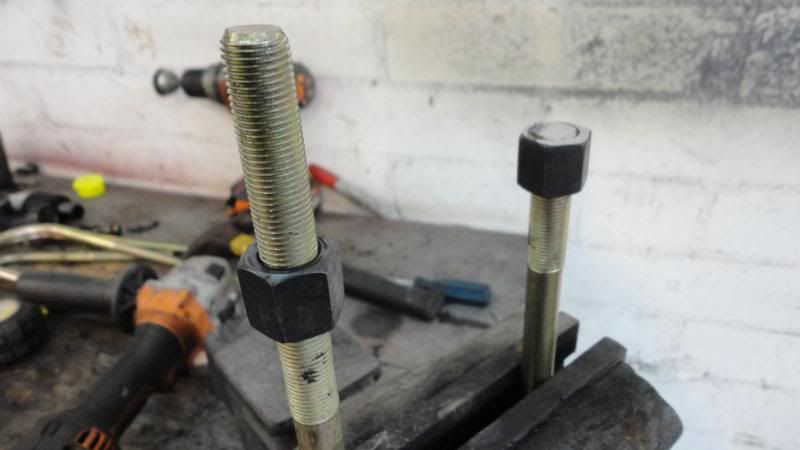
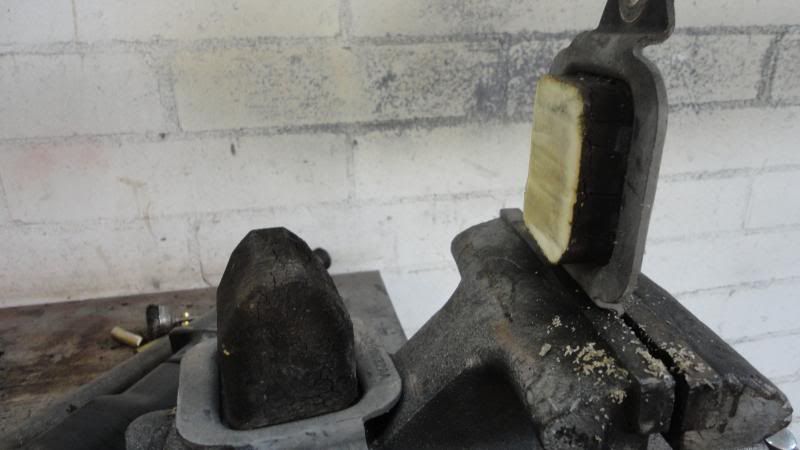
Going to be installing on my next day off.

Mods include:
Magnaflow Catback exhaust
Euro clear headlights
Kicker compomnents
MTX Thunderforms under the rear seats
T56 equipped with custom one-piece aluminum driveshaft and a SPEC clutch.
JTSVP power steering and oil lines
Upgraded Engine grounding system
Soon to be installing lowering kit and UDP.
Plans include:
Long-tube headers
BBk Throttle body
Electric fan conversion
Ported intake manifold
True CAI
Stryker heads
Custom Cam.
First day I bought it!
Now many of you are going to faint at the next picture. But… I bought this truck for multiple reasons. 1. for fun, 2. transport people 3. Its a truck…
It is very stealthy in the woods…
Going to be installing on my next day off.


")