The black Venom 1000 Wire tuck.

Renown Performance

Has Left the Room - Banned from VTCOA!
Joined
Aug 26, 2010
Messages
31
Reaction score
0
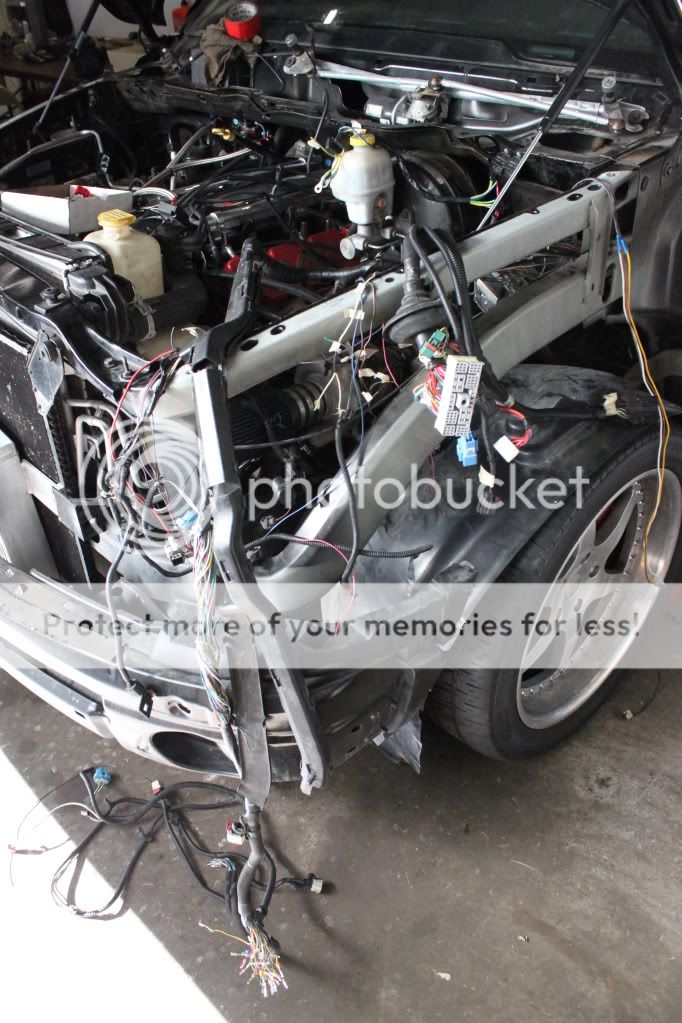
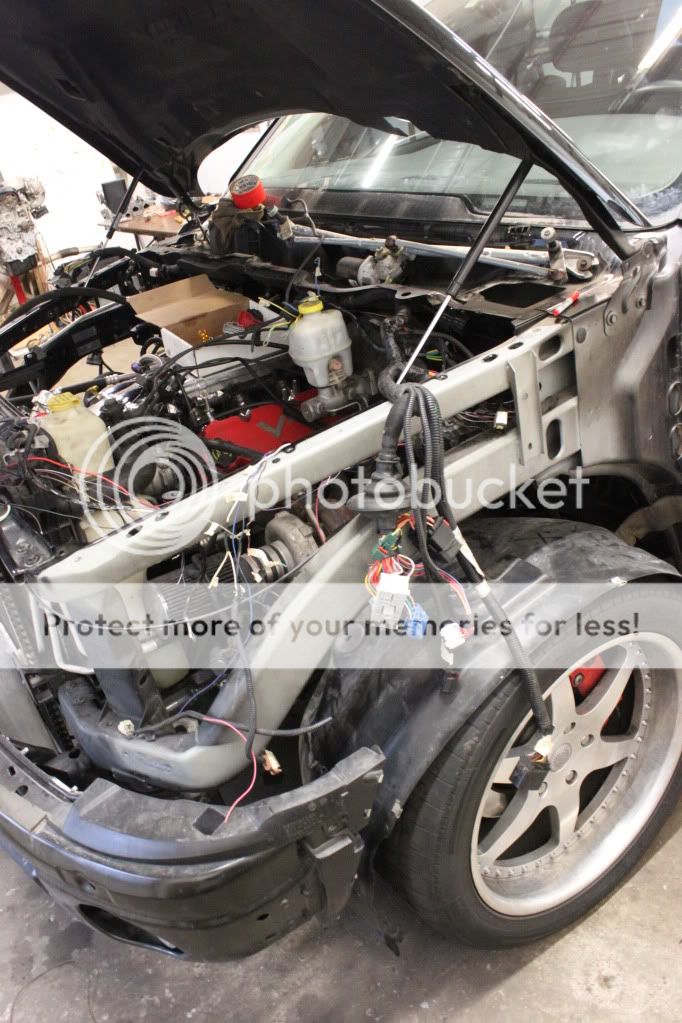
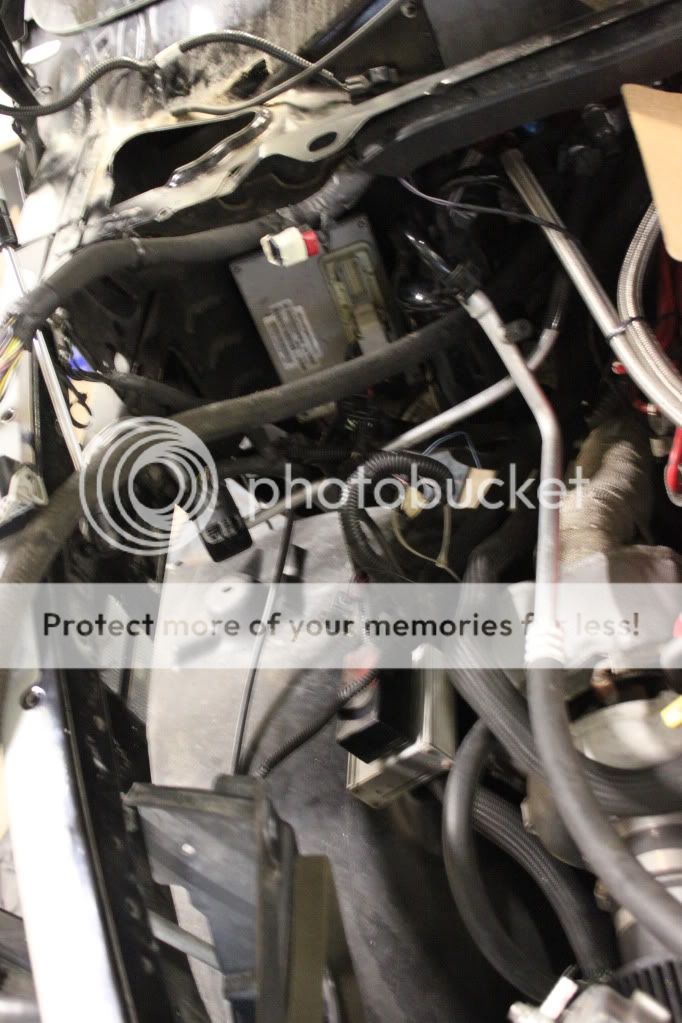
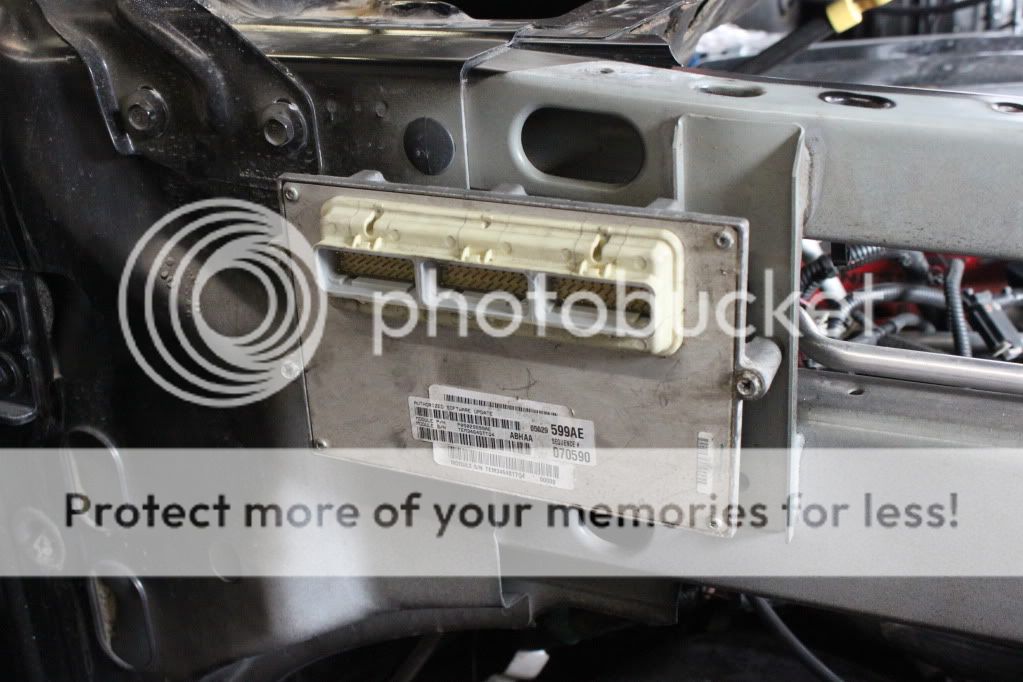
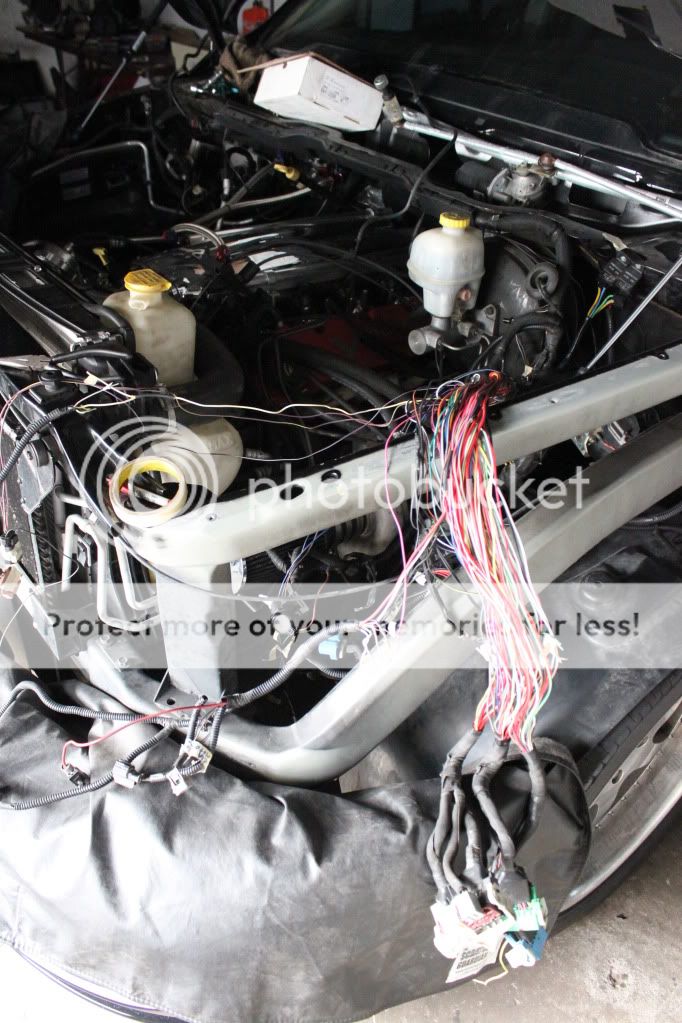
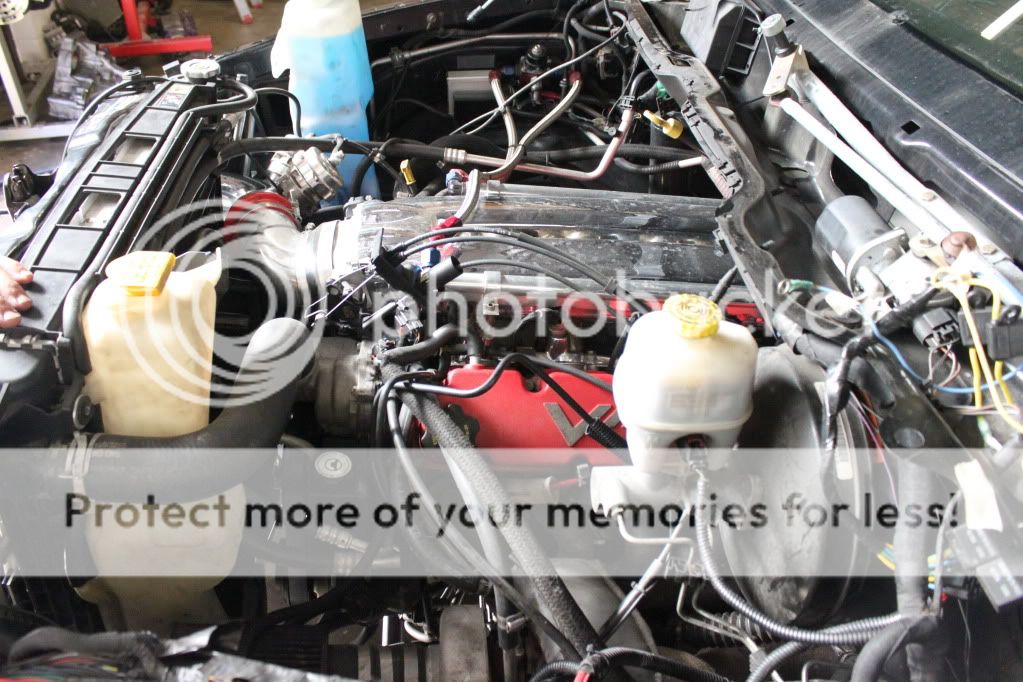
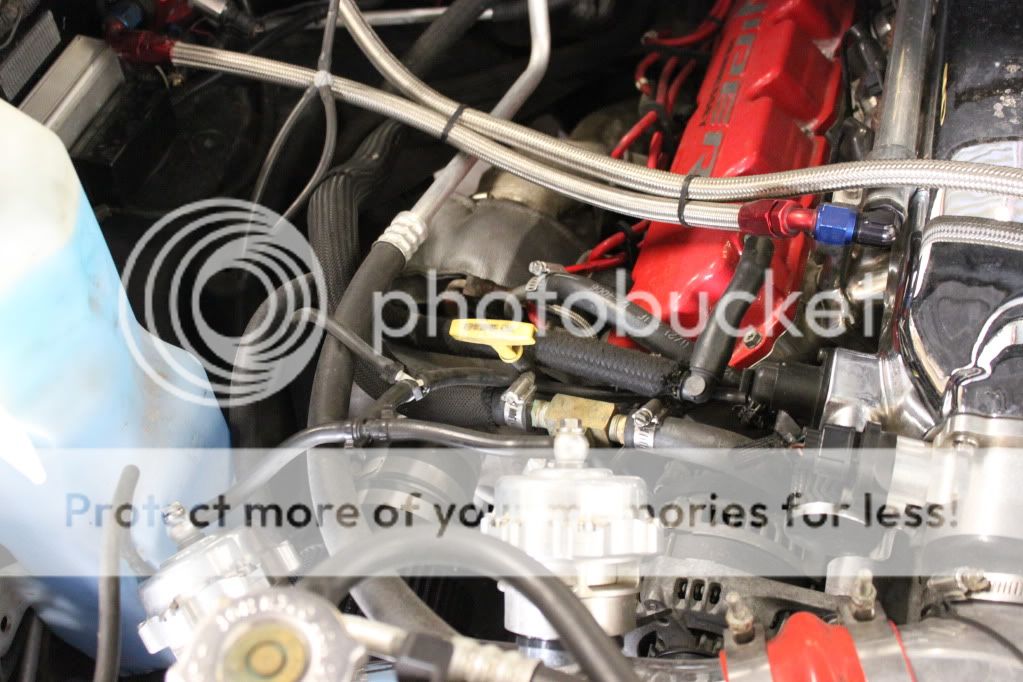
well i started the tuck today we will be relocating pretty much everything.
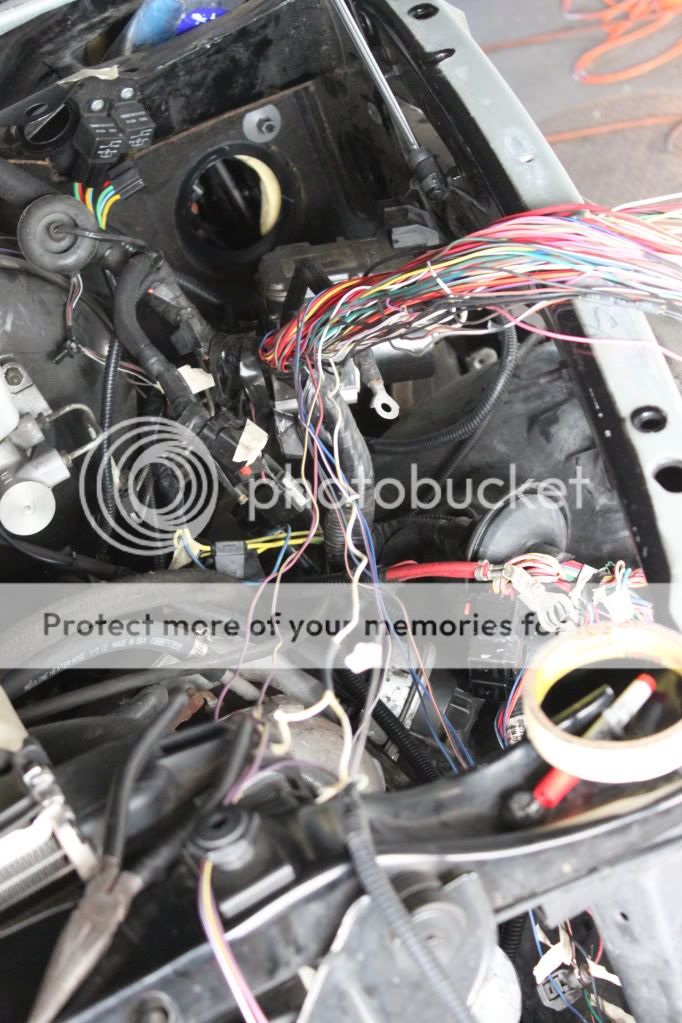
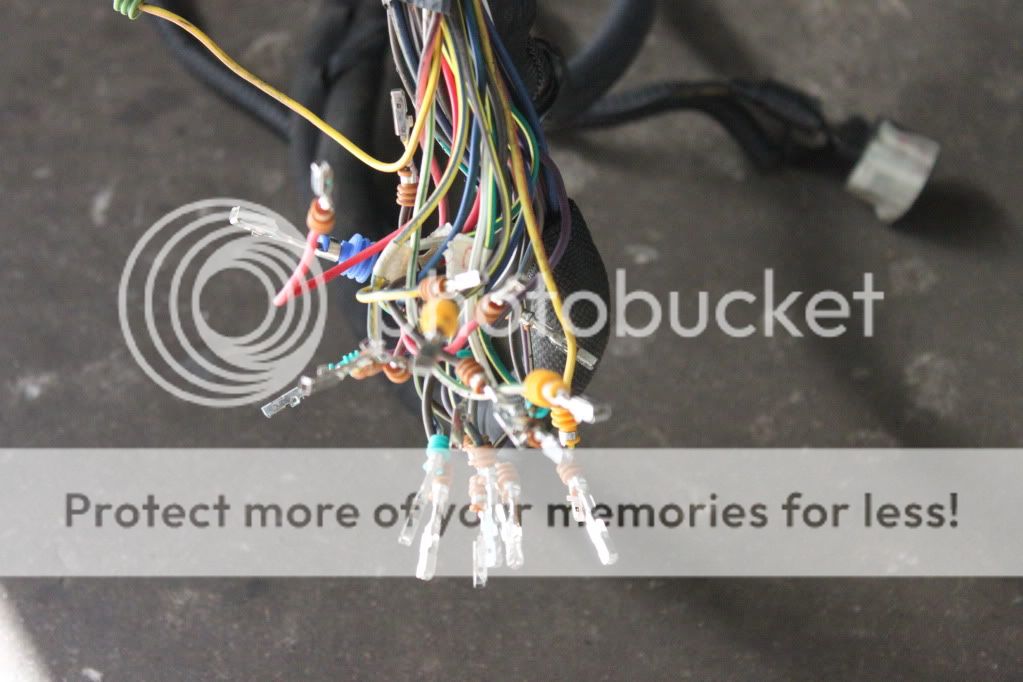
the fues box, ecu, all the wires, fues box, and relays and the battery, plus many other little things. the vacuum lines will also be rerouted.

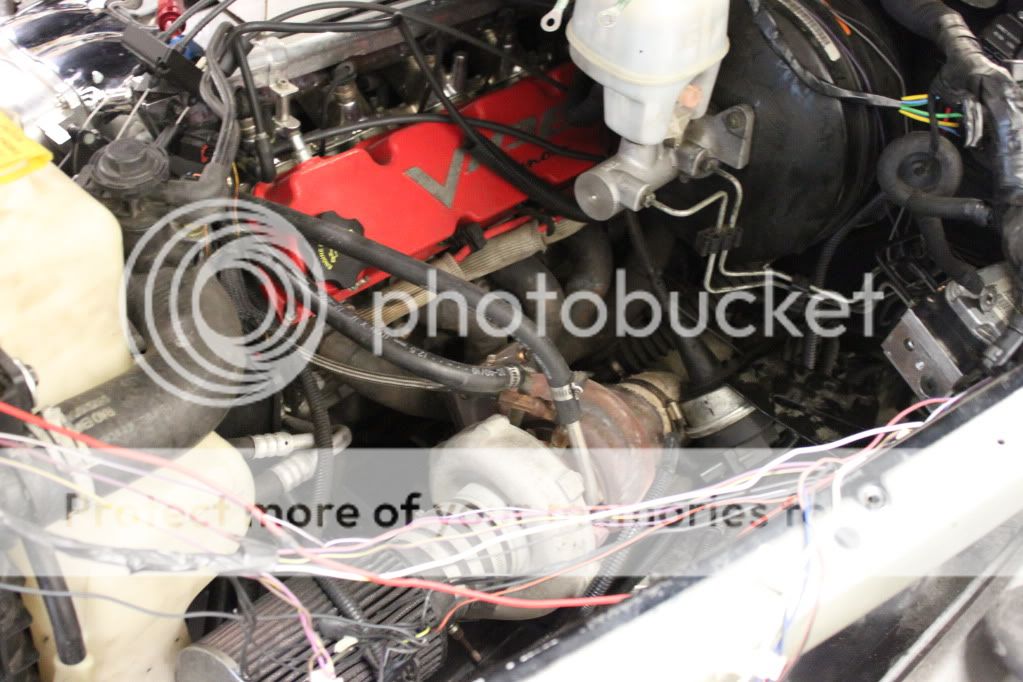
the reason for this is the turbo manifolds are gonna be redone, and the turos will be sitting up higher in the engine bay. pluse wire tucked engine bays just look AWESOME!

ill be posting pics just about daily. so keep checking back.

IMG_2400.jpg

IMG_2409.jpg

IMG_2403.jpg
 
Was this the "TUCK" that hit the deer? .......... :itsme: Sorry, inside joke. :eek:


Welcome to the forum! Hope to see lots of progress pictures. :rock:
 
well i dont wanna bash anyone i have a few pics on the shop camara of the engine bay before we touched it, this was like 10 minutes in, i will get the picks of what is was like before.
 
OMG what a mess! That looks like it was done in a hurry with no planning what so ever.
 
Take a look at mine! Mine were exactly like those before doug at dlm made the custom headers! He raised them up I guess how u plan too. Are u useing collectors? I have pics of mine on a motor before install incase u want ideas. Everyone who has seen the work is amazed how good they came out! Good luck!!!
 
slowly getting cleaned up. we have pulled all the vaccume lines, working on re routing, depinned most of the connectors and made the diagrams that we use in house so we can duplicat this job again.

WIRES! ;)
IMG_2434.jpg


IMG_2433.jpg


IMG_2433.jpg


IMG_2417.jpg


making the diagrams here, wire by wire.
IMG_2413.jpg


de pinned one of the main plugs for the main chassis harness.
IMG_2432.jpg


as u can see its looking cleaner.
IMG_2433.jpg


Stock ECU location
IMG_2416.jpg


re located and Mounted the ecu.
IMG_2430.jpg


looking a little better
IMG_2415.jpg


remember guys keep looking back here to watch for updates. if i get enough people liking this i can start making engine harnesses and having some on hand just incase someone wanted one.
 
UPDATE!!

Got some more pics for you guys.
we re routed all the vaccume lines, pulled the battery. and just getting further into the wiring. were just finishing up all the diagrams that we make up in our system, and labeling all the wires and making notes, so we can duplicate this job again, making the next truck or viper done much more efficient.

stay tuned guys for more updates.

enjoy!

IMG_2417.jpg


the harness on the firewall is now being gone through. (thicker wire harness hanging.
IMG_2434.jpg


IMG_2433.jpg


de pinned one of the major plugs.
IMG_2432.jpg


more de-looming wires
IMG_2413.jpg

IMG_2412.jpg


stock ECU location (UGLY)
IMG_2416.jpg


new location, very clean!
IMG_2430.jpg


looking much cleaner now
IMG_2415.jpg


and money shot!
IMG_2408.jpg
 
505'sFastestViper. said:
thats your intercooler ?? jesus its the size of the one on my drag bike

yes, obviously theres more to it than whats pitured.
its a 3.5" deep core.
 
Actually it's a 3 1/2 deep core and runs down about another 17"s below what's pictured
 
Did they run a split second fuel management system? If not ! What route did they go
 
this isnt my truck so the wheels are a unknown, also im looking into the fuel system.
 
Jfireboy1 said:
Take a look at mine! Mine were exactly like those before doug at dlm made the custom headers! He raised them up I guess how u plan too. Are u useing collectors? I have pics of mine on a motor before install incase u want ideas. Everyone who has seen the work is amazed how good they came out! Good luck!!!
STFU!!!! I'll run ya.:burnout:
 
Jfireboy1 said:
Did they run a split second fuel management system? If not ! What route did they go
I was just thinking the same thing Joe. I didnt see the split second box in the corner where the PCM is.:dontknow:
 

Latest posts

Support Us

Become A Supporting Member Today!

Click Here For Details

Back
Top