Couldn’t post a video myselfOk - maybe I am better with motors than computers, but when I select “upload a file” none of the videos are selectable to upload. Anybody know how to post videos?
worst case scenario you can message me your email and I’ll email
You are using an out of date browser. It may not display this or other websites correctly.
You should upgrade or use an alternative browser.
You should upgrade or use an alternative browser.
JMB Procharger Install
- Thread starter theCHASE
- Start date
Well damn ,, have to check that out ,,, inquiring minds need to knowNever done it but if you click on the filmstrip icon next to the pic icon - up there by the enojis it looks like you can link a url to wherever your videos are at. Give that a whirl?
Or try clicking on that camera in the same row as the emojis
or pm hemilonestar maybe he knows
scroll fast and make it a movie hahaha
https://www.vtcoa.com/media/looks-brutal.52/full
Last edited:
- Joined
- May 18, 2006
- Messages
- 27,159
- Reaction score
- 4,558
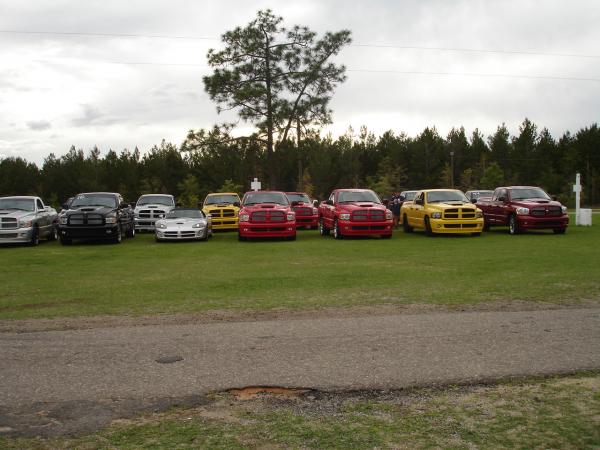
Nice pics! That Lineup to race pic made me wonder if the state color for florida is black! 

theCHASE
Active Member
I will try to get it posted to my YouTube and then include the URL. I don’t post videos normally, so it will be my first. Once I figure that out i will post a link.
Onward with install!
I will need to go back through this thread and make a few edits. Learned the hard way the upper intercooler pipe needs to go in BEFORE the radiator and AC condenser. So let me rewind to my Nov 1st post.
Once you get the lower intercooler pipe in, now is a good time to remove the upper crossmember. There are 4 bolts holding this in, I removed 3 and just pivoted the crossmember out. This makes getting the radiator and fan assembly in SO much easier after you get the upper intercooler pipe in.
Upper intercooler pipe is straightforward. I did have to trim the rubber joiner (about an inch) to get the pipe as close to the throttle body as possible and to leave as much room for the radiator/fan assembly. Put the rubber joiner on the throttle body first, then cinch your first clamp down. Slide on the second clamp, install the upper intercooler pipe and only snug up the second clamp. You want this a little loose so it can move a little as you’re trying to install the intercooler. Tightening this down can be one of the last steps you do.
If you have the dual electric fan setup it’s easiest to install the fans to the radiator while it’s out of the truck. Put the lower tabs in the slot and tighten up the 2 mounting bolts to the back/engine side of the radiator. Now it’s one piece to put into the engine bay. The radiator has 2 posts facing down on the sides - those fit into the body/frame on either side of the lower crossmember. Once you have it placed into position, you can re-install the upper crossmember. 2 bolts hold the radiator into place (same way it came out). Now you can re-install your AC condenser to the front of the radiator. (All this is in the Nov 1st post).
The intercooler is a bit of a pain, it definitely takes 2 people. It’s not light, and you have to do a couple things simultaneously. First off, place your rubber joiners on the ends of each intercooler pipe - slide 2 clamps over each pipe. These should be roughly 40” apart from the outer edges and sit a couple inches above the lower crossmember. Do some measuring of your intercooler and the spacing on the pipes before you try and get it into place.
Once you’re comfortable with where the pipes are, grab the intercooler with a buddy, haul it over to the front of the truck and get those joiners onto the intercooler. It’s best if you snug up the clamps now, that way as you position the height and center the intercooler you won’t keep pulling the joiners off. Get the mounting forks lined up with the upper crossmember where the AC condenser USED to mount. The intercooler uses these tapped holes in the crossmember to mount. JMB provides 4 self-tapping screws that you will use on the lower tabs of the intercooler. Drill those into the lower crossmember (I drilled small pilot holes before so these go in a bit easier). Once the placement is right, have your buddy hold it into place while you get those lower screws in. Once you have 2 self-tapping screws in they should support the weight of the intercooler. (I ran into some slight alignment issues here and had to improvise the upper mounts a little - pics below).
Once the intercooler is in, install your blowoff valve into the top of the upper intercooler tube. This is pretty self-explanatory. There’s a clamp ring that fits over the grooves on the pipe/blowoff valve. Get this into place and tighten it down.
Remember that little plug we used to cap the port under the intake manifold? Yea…pull that out - this is where I decided to route the vacuum hose for the blowoff valve. You CAN run it back to the brake booster, but I wanted a cleaner look so I ran it to the port under the intake manifold. IF you run to the booster, you MUST T into the line BEFORE the check valve on the brake booster. If you T in after the check valve you will run into issues with the blowoff valve operating appropriately. (The check valve is the little circular knob looking thing on the brake booster) - pic below. The other end of the vacuum line hooks up to the barbed fitting on top of the blowoff valve.
Once you hit this step, you can give her a test start-up. Turn your key on-off 3-4 times to engage the fuel pump and build some pressure in the fuel line. You may need to feather the gas a little on the first start-up. Let it run for a minute or two and LOOK, LISTEN and FEEL.
Look at your gauges, look in the engine bay - make sure everything looks good. Listen to the WHINE, but also listen to your motor. Make sure you hear the airflow through the intercooler (no leaks), listen for any vacuum leaks, and listen to make sure everything is firing normally. While sitting in the truck, make sure everything feels normal. Any aggressive rumbling, rocking or rattling is no bueno. Note: I did notice the truck rocking a little more that usual - this is likely due to the pull on the SC which is not centered in the engine bay. A little more rocking is normal, a lot of rocking is not.
Now - look in the mirror and appreciate that big ass smile you have on your face. The whine is loud, the airflow is loud and the blowoff valve sounds like an 18 wheeler releasing its air brakes. It’s all awesome…
Fill up your radiator (takes 18 quarts of coolant), check your belts for tension, make sure everything is tightened down (clamps and any bolts) - your install is done
I hope this helps the next person that comes along. There may be little things here and there I didn’t go into detail on or inadvertently omitted. If you have any questions whatsoever feel free to reach out to me on this thread.
If I think of any more handy tips I will post them below.
Thanks for following along!
Attachments
theCHASE
Active Member
Handy tip - when tightening the supercharger pulley bolt the pulley will want to spin. I took some rubber shims (you can find ‘em at Home Depot) and wedged them between the pulleys. Leave 1 extended out a little bit so you can yank it out with pliers once you get the pulley torqued (i believe it torques to 60ftlbs). Don’t get them stuck between the pulleys - tighten it a bit then reset the shims.
Attachments
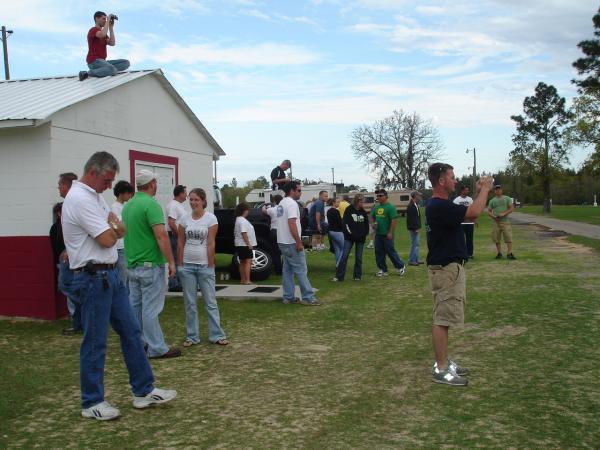
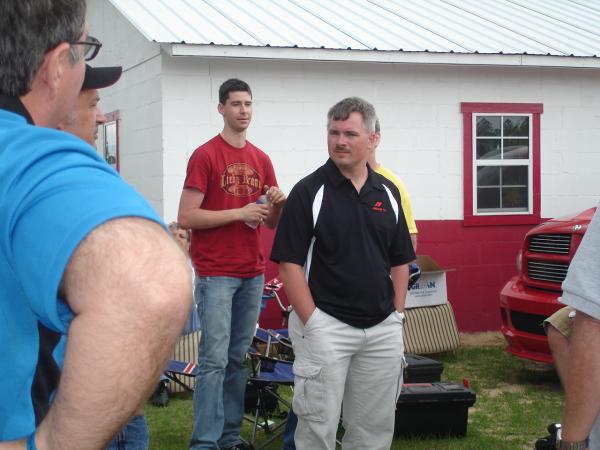
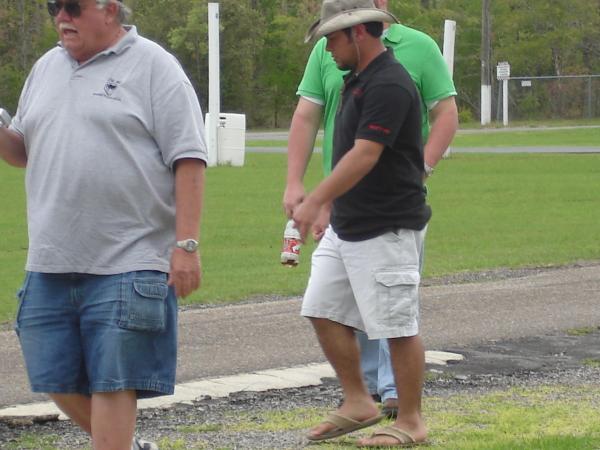
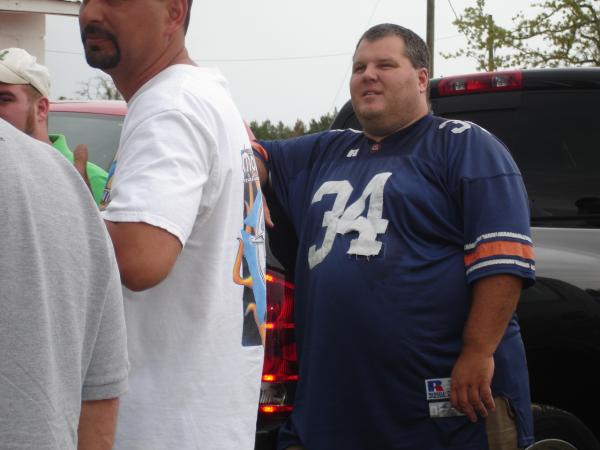
Wifey their should be many on in those pics you recognize from this site .. how many can you name ..Nice pics! That Lineup to race pic made me wonder if the state color for florida is black!
I will try to get it posted to my YouTube and then include the URL. I don’t post videos normally, so it will be my first. Once I figure that out i will post a link.
Onward with install!
I will need to go back through this thread and make a few edits. Learned the hard way the upper intercooler pipe needs to go in BEFORE the radiator and AC condenser. So let me rewind to my Nov 1st post.
Once you get the lower intercooler pipe in, now is a good time to remove the upper crossmember. There are 4 bolts holding this in, I removed 3 and just pivoted the crossmember out. This makes getting the radiator and fan assembly in SO much easier after you get the upper intercooler pipe in.
Upper intercooler pipe is straightforward. I did have to trim the rubber joiner (about an inch) to get the pipe as close to the throttle body as possible and to leave as much room for the radiator/fan assembly. Put the rubber joiner on the throttle body first, then cinch your first clamp down. Slide on the second clamp, install the upper intercooler pipe and only snug up the second clamp. You want this a little loose so it can move a little as you’re trying to install the intercooler. Tightening this down can be one of the last steps you do.
If you have the dual electric fan setup it’s easiest to install the fans to the radiator while it’s out of the truck. Put the lower tabs in the slot and tighten up the 2 mounting bolts to the back/engine side of the radiator. Now it’s one piece to put into the engine bay. The radiator has 2 posts facing down on the sides - those fit into the body/frame on either side of the lower crossmember. Once you have it placed into position, you can re-install the upper crossmember. 2 bolts hold the radiator into place (same way it came out). Now you can re-install your AC condenser to the front of the radiator. (All this is in the Nov 1st post).
The intercooler is a bit of a pain, it definitely takes 2 people. It’s not light, and you have to do a couple things simultaneously. First off, place your rubber joiners on the ends of each intercooler pipe - slide 2 clamps over each pipe. These should be roughly 40” apart from the outer edges and sit a couple inches above the lower crossmember. Do some measuring of your intercooler and the spacing on the pipes before you try and get it into place.
Once you’re comfortable with where the pipes are, grab the intercooler with a buddy, haul it over to the front of the truck and get those joiners onto the intercooler. It’s best if you snug up the clamps now, that way as you position the height and center the intercooler you won’t keep pulling the joiners off. Get the mounting forks lined up with the upper crossmember where the AC condenser USED to mount. The intercooler uses these tapped holes in the crossmember to mount. JMB provides 4 self-tapping screws that you will use on the lower tabs of the intercooler. Drill those into the lower crossmember (I drilled small pilot holes before so these go in a bit easier). Once the placement is right, have your buddy hold it into place while you get those lower screws in. Once you have 2 self-tapping screws in they should support the weight of the intercooler. (I ran into some slight alignment issues here and had to improvise the upper mounts a little - pics below).
Once the intercooler is in, install your blowoff valve into the top of the upper intercooler tube. This is pretty self-explanatory. There’s a clamp ring that fits over the grooves on the pipe/blowoff valve. Get this into place and tighten it down.
Remember that little plug we used to cap the port under the intake manifold? Yea…pull that out - this is where I decided to route the vacuum hose for the blowoff valve. You CAN run it back to the brake booster, but I wanted a cleaner look so I ran it to the port under the intake manifold. IF you run to the booster, you MUST T into the line BEFORE the check valve on the brake booster. If you T in after the check valve you will run into issues with the blowoff valve operating appropriately. (The check valve is the little circular knob looking thing on the brake booster) - pic below. The other end of the vacuum line hooks up to the barbed fitting on top of the blowoff valve.
Once you hit this step, you can give her a test start-up. Turn your key on-off 3-4 times to engage the fuel pump and build some pressure in the fuel line. You may need to feather the gas a little on the first start-up. Let it run for a minute or two and LOOK, LISTEN and FEEL.
Look at your gauges, look in the engine bay - make sure everything looks good. Listen to the WHINE, but also listen to your motor. Make sure you hear the airflow through the intercooler (no leaks), listen for any vacuum leaks, and listen to make sure everything is firing normally. While sitting in the truck, make sure everything feels normal. Any aggressive rumbling, rocking or rattling is no bueno. Note: I did notice the truck rocking a little more that usual - this is likely due to the pull on the SC which is not centered in the engine bay. A little more rocking is normal, a lot of rocking is not.
Now - look in the mirror and appreciate that big ass smile you have on your face. The whine is loud, the airflow is loud and the blowoff valve sounds like an 18 wheeler releasing its air brakes. It’s all awesome…
Fill up your radiator (takes 18 quarts of coolant), check your belts for tension, make sure everything is tightened down (clamps and any bolts) - your install is done
I hope this helps the next person that comes along. There may be little things here and there I didn’t go into detail on or inadvertently omitted. If you have any questions whatsoever feel free to reach out to me on this thread.
If I think of any more handy tips I will post them below.
Thanks for following along!
There is no doubt your install it’ll help others on an install , it’s been very though and to the point . A you tube video will be seen as a great help to many IMO .. utube has a huge amount of following for everything . Mention the VTCOA and we may see more on here .. I’m waiting patiently to see it already ..
theCHASE
Active Member
theCHASE
Active Member
There is no doubt your install it’ll help others on an install , it’s been very though and to the point . A you tube video will be seen as a great help to many IMO .. utube has a huge amount of following for everything . Mention the VTCOA and we may see more on here .. I’m waiting patiently to see it already ..
I will go in tomorrow and add some description and add a link to this thread.
Enjoy the videos! More to come once I get her moving! I’ll post dyno results as well!
Sweet ,, It’s making a noise ,,,, VAROOOOOOM !I will go in tomorrow and add some description and add a link to this thread.
Enjoy the videos! More to come once I get her moving! I’ll post dyno results as well!
- Joined
- May 18, 2006
- Messages
- 27,159
- Reaction score
- 4,558
Your writing skill is excellent. So is your mechanical skill, but I'm really impressed with your writing. Are you a teacher? Just curious
Great job and thanks for sharing!
Great job and thanks for sharing!
- Joined
- May 18, 2006
- Messages
- 27,159
- Reaction score
- 4,558
Well I see Jack and Roz and Stinker and that's all I can name. I've only met some of the members face to face and that was in Bakersfield 2006. There I met Jack, Shawn (Iltemprd) Mikey, Django, Billy (Begood) silverback (Dad) Nowhat, Trainman, Jeffey, several of the Los Angeles area guys but I can't remember their screen names right now and many others I can't recall at the moment lol. Been awhile ago but it sure was a great day.Wifey their should be many on in those pics you recognize from this site .. how many can you name ..

Well I see Jack and Roz and Stinker and that's all I can name. I've only met some of the members face to face and that was in Bakersfield 2006. There I met Jack, Shawn (Iltemprd) Mikey, Django, Billy (Begood) silverback (Dad) Nowhat, Trainman, Jeffey, several of the Los Angeles area guys but I can't remember their screen names right now and many others I can't recall at the moment lol. Been awhile ago but it sure was a great day.
Well I see Jack and Roz and Stinker and that's all I can name. I've only met some of the members face to face and that was in Bakersfield 2006. There I met Jack, Shawn (Iltemprd) Mikey, Django, Billy (Begood) silverback (Dad) Nowhat, Trainman, Jeffey, several of the Los Angeles area guys but I can't remember their screen names right now and many others I can't recall at the moment lol. Been awhile ago but it sure was a great day.
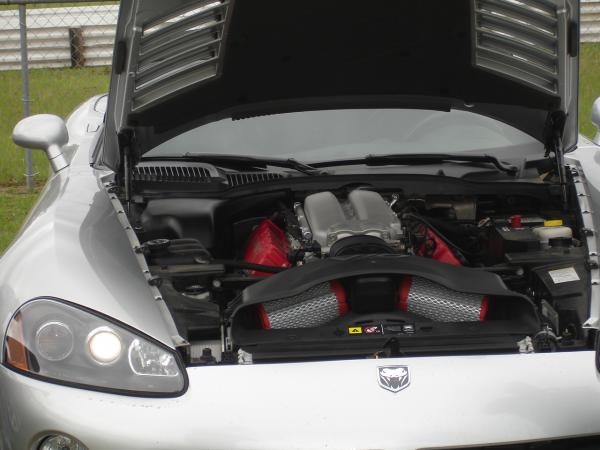
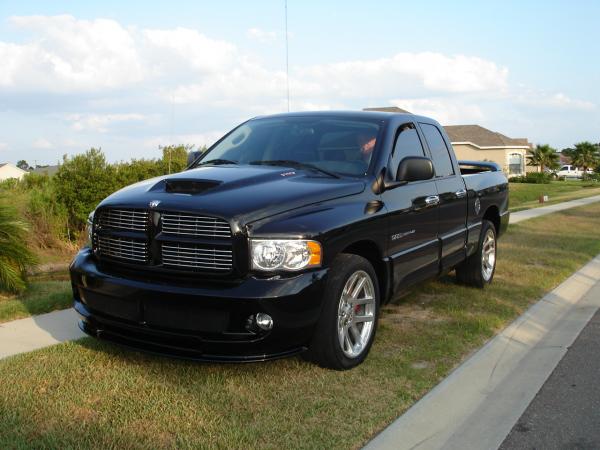
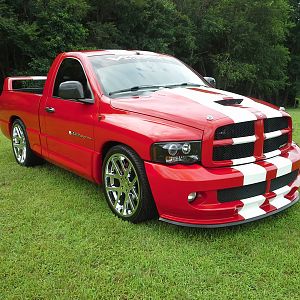
Fst Jake , fat Jack , Stinker , jmb Justin , Chub ( RIP ) , Roz, Steve Borden , Eddie are the names I can remember in those pics ..and if you look real close you can see me in the windshield of the black truck at the bottom hahaha ! The truck that has the twin turbos is Stinkers truck JSTVP !
Wish I could find the pics of Brats GTG’s . Those were great with cops and burnout wild . Do you remember Mutt , he did a squirly burnout with a cop coming in the opposite direct Mutt turned around and pull back into the drive with smoke rolling out of his bed cover . The cop pulled in and came up to everyone , but was a Clearwater cop and had no jurisdiction! He was cool and talked to everyone and just said to be carefully and enjoy hahaha Cool cop ! He never new witch truck did the burnout and we laughed our asses off as the smoke dissipated from Mutts truck bed …
Maybe Brat will post up a bunch of those pics .. I saw him lurking on here a few weeks too ! He also needs to boost his post count as you’re heading to the top of the list hahaha ! Possibly Jake has some pics and can post them also . He’s popped on here a few time recently.
Last edited:
- Joined
- May 18, 2006
- Messages
- 27,159
- Reaction score
- 4,558
I do remember Mutt! What a great cop! It would be great to see any more pics others have to post up as well! Thanks for the ones you put up
Fst Jake , fat Jack , Stinker , jmb Justin , Chub ( RIP ) , Roz, Steve Borden , Eddie are the names I can remember in those pics ..and if you look real close you can see me in the windshield of the black truck at the bottom hahaha ! The truck that has the twin turbos is Stinkers truck JSTVP !
Wish I could find the pics of Brats GTG’s . Those were great with cops and burnout wild . Do you remember Mutt , he did a squirly burnout with a cop coming in the opposite direct Mutt turned around and pull back into the drive with smoke rolling out of his bed cover . The cop pulled in and came up to everyone , but was a Clearwater cop and had no jurisdiction! He was cool and talked to everyone and just said to be carefully and enjoy hahaha Cool cop ! He never new witch truck did the burnout and we laughed our asses off as the smoke dissipated from Mutts truck bed …
Maybe Brat will post up a bunch of those pics .. I saw him lurking on here a few weeks too ! He also needs to boost his post count as you’re heading to the top of the list hahaha ! Possibly Jake has some pics and can post them also . He’s popped on here a few time recently.
Hopefully some old timers will pop on and do just thatI do remember Mutt! What a great cop! It would be great to see any more pics others have to post up as well! Thanks for the ones you put up
- Joined
- May 18, 2006
- Messages
- 27,159
- Reaction score
- 4,558
I've seen lots of old threads that look great but mist all the pics have a big red X
theCHASE
Active Member
Your writing skill is excellent. So is your mechanical skill, but I'm really impressed with your writing. Are you a teacher? Just curious
Great job and thanks for sharing!
Thank you so much, Wifey! I am not a teacher but I have certainly considered teaching college analytics courses. I'm not a toot my own horn type of guy but will submit I am highly educated. I have a masters degree in business/analytics and went to a pretty tough private school for my undergrad (Texas Christian University). It's no Ivy League school, but very tough to get into. Very expensive to boot, but the GI BILL helped me cover all expenses for both degrees. I was a rescue swimmer in the Navy and had a lot of fun during my time in. I primarily focused on counter-narcotics in South America, so I have plenty of awesome stories from those days (2006-2010).
I have written A LOT of papers lol. My capstone in my undergrad was 45 pages long and the topic was nuclear proliferation in Iran (such a fun topic I know lol).
My day job is in revenue management for healthcare organizations and my wife is a doctor and owns her own private practice. I also have a real estate investment company - so emails, contracts, writing and finance is all right up my alley. Motors are a hobby, but I play as hard as I work!
I grew up a gear head and have always loved taking things apart and learning how they work.
I appreciate your comments
Last edited:
Support Us
Become A Supporting Member Today!


